Contents
Setting up a new ACES project in Maya
When starting a fresh new project, there are a number of steps you need to do to get up and rendering with ACES within RenderMan.
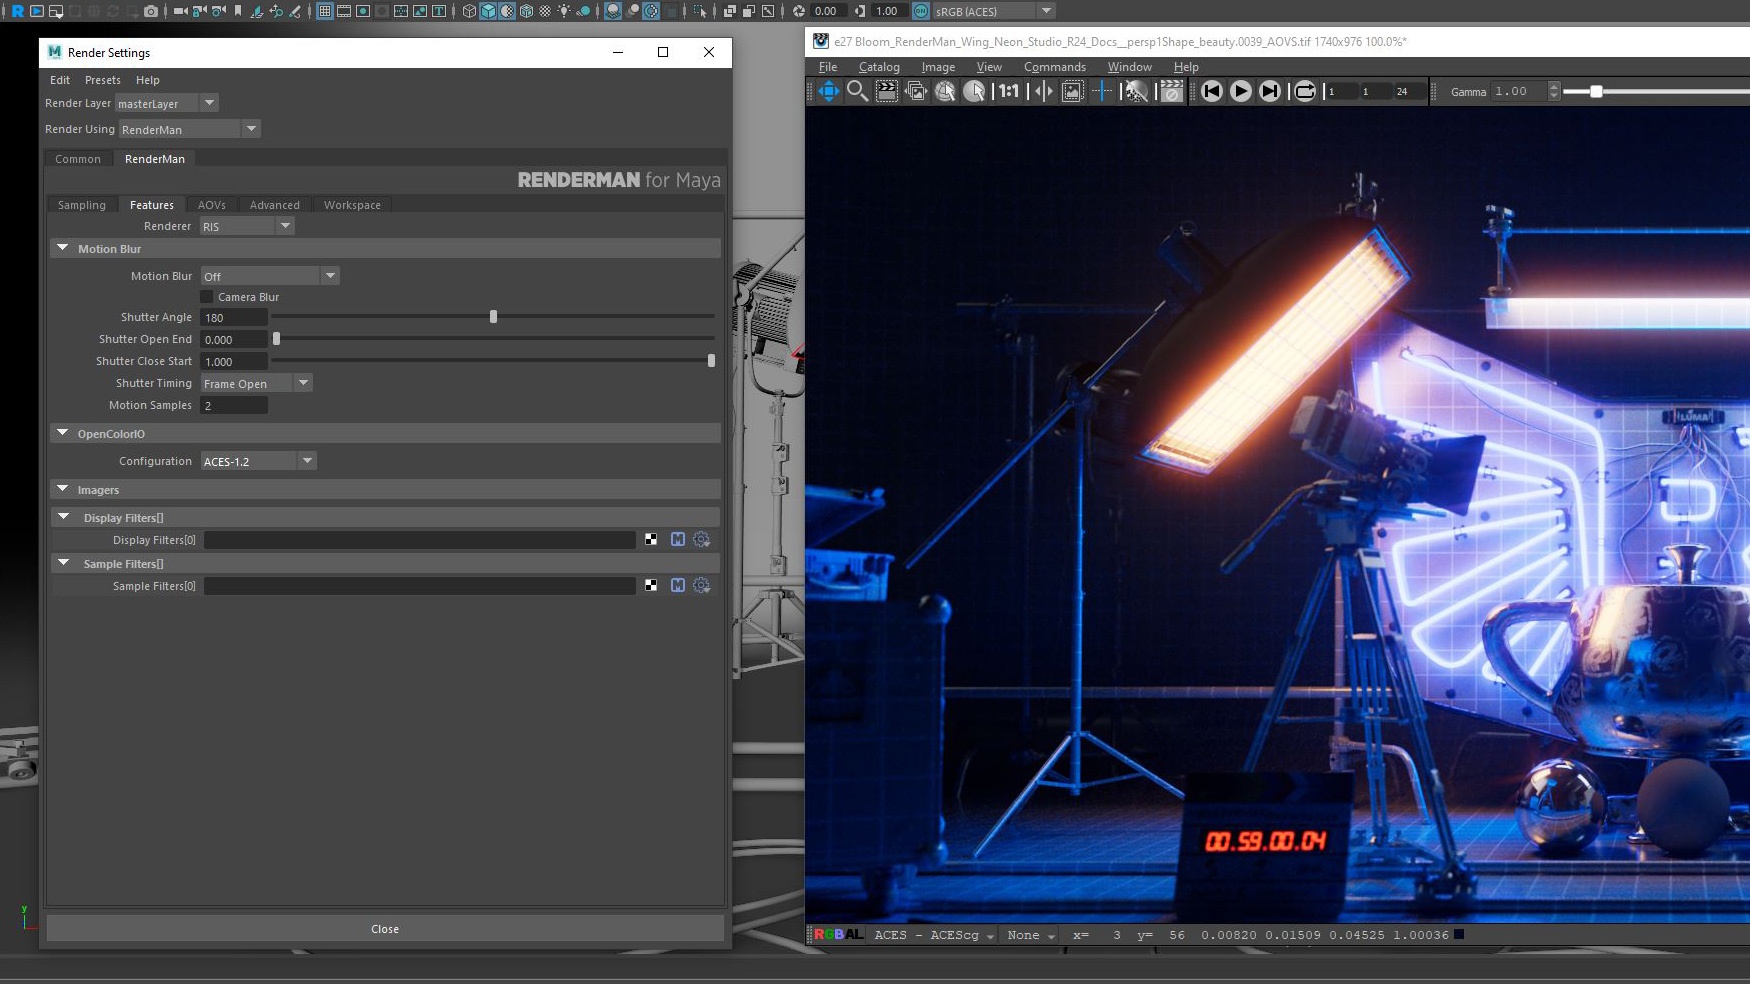
- When starting a new project, you'll need to select the ACES1.2 config from the OpenColorIO parameter in the Features tab within the Render Settings.
- If RenderMan's Image Tool is already open from a previous Linear project, you have to close and re-open IT, to ensure you are now rendering within the new ACES color space.
If you are rendering within Maya's viewport, you simply need to restart your interactive render session. - When working with textures, RenderMan will handle all the conversion needed to get your textures into the ACES color space.
For instance, if you insert a Diffuse or Albedo color linear sRGB map into the Diffuse parameter of a PxrSurface, the Texture Manager will not only convert it to RenderMan's preferred file format (.tex) but will also automatically handle the color conversion to the ACES color space at the same time. - This is also the same for when you insert an HDRI map into the PxrDomeLight or when working with Normal or Bump maps. Based on the rules defined, the Texture Manager handles all the conversions for you.
- You are now working with ACES calibrated light temperatures and intensities, so feel free to increase the values higher to see one of the main visual benefits of ACES
- Whether you render within IT, Maya's viewport, or Maya's RenderView, you are now be rendering within the ACES color space.
Converting an older Linear Maya project to ACES
If you wish to pick up an older Maya project and re-render it using ACES, here are some guidelines.
- With your project loaded in Maya, select the ACES1.2 config from the OpenColorIO parameter in the Features tab within the Render Settings.
- Open RenderMan's Texture Manager from either the RenderMan shelf or menu and next to the Parse Scene button, you will now see a new Refresh all Textures and Re-Parse the scene icon. Once pressed, the Texture Manager will now go ahead and convert all your color maps (diffuse, albedo, etc) into the ACES color space.
- You might now need to re-adjust your light intensities and temperatures, along with any Dome Light settings to re-compensate for the adjustment of moving to the ACES color space.
As TxMake works its magic in converting your textures to ACES, you will notice that it will add the _acescg suffix to your texture filename for convenience