Contents
Note that IPR clamps trace depth to 1 diffuse bounce and 2 specular bounces you can change this in the Advanced Controls, IPR menu
Starting IPR
Interactive Preview Rendering can be started by clicking the IPR button in the RenderMan shelf.

The usual methods in Maya for starting IPR also work. The only difference is that the button in the RenderMan shelf always switches to RenderMan before starting a render.
The IPR button offers a menu with some convenient options for starting up with a particular camera or resolution.
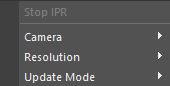
Stopping IPR
When IPR is running, it can be stopped from the popup menu of the shelf button.
There is also a cancel button in "It" that works to stop IPR.

The Render View has a button in the top right corner for stopping IPR.

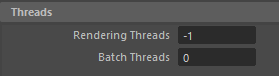
IPR Threads
In the threads section of the RenderMan Preferences, the Rendering Threads setting is used for both Preview and IPR renders. The default value of -1 means that all but one CPU will be used for rendering. It's advised to leave at least one thread to allow for interactivity in Maya while rendering is underway. Zero threads means all processors will be used for rendering. You can also choose a specific number.
IPR Display
In the RenderMan section of Maya's Preferences Window, you can choose whether IPR should use Image Tool (It) or Maya's Render View.
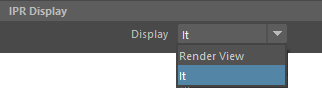
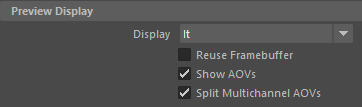
There is a separate display preference for preview rendering. "It" is the default for both preview and IPR, because it offers better performance and more features, but you may prefer to use a docked Render View panel for IPR.
IPR Camera
IPR and preview renders typically uses the camera from the active viewport panel. The popup menu from the IPR button also allows selection of a particular camera. The camera listed in the Render Settings window is used for batch rendering.
Select Object or Material from Render
When running IPR in "It", objects or their materials can easily be selected from the render. Click on one of these icons in "It" to activate object or material picking. Then click in the render. The corresponding object or material will become selected in Maya.

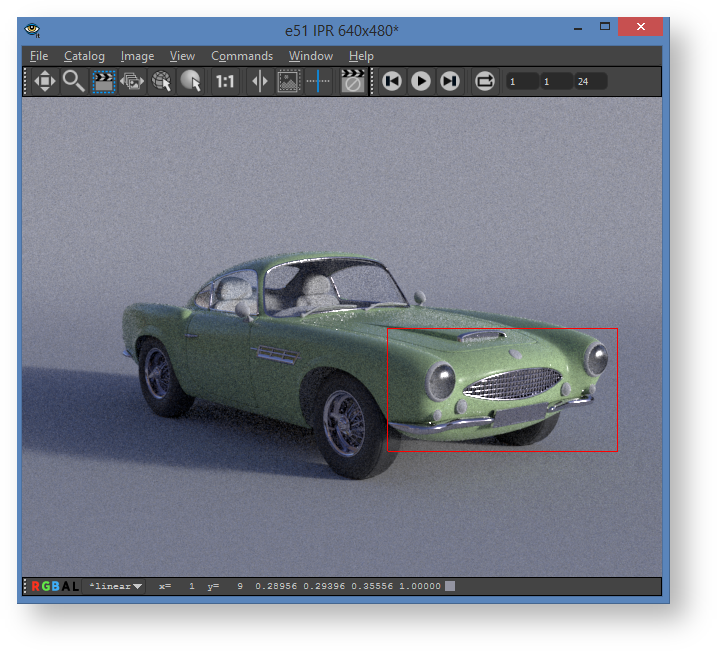
Crop Rendering in It
To crop render in "It" during IPR, click on the crop button.

Draw a crop region in the "It" window. Then hit the 'r' key to trigger an IPR update. After hitting the 'r' key, pixels will only update inside the crop window.
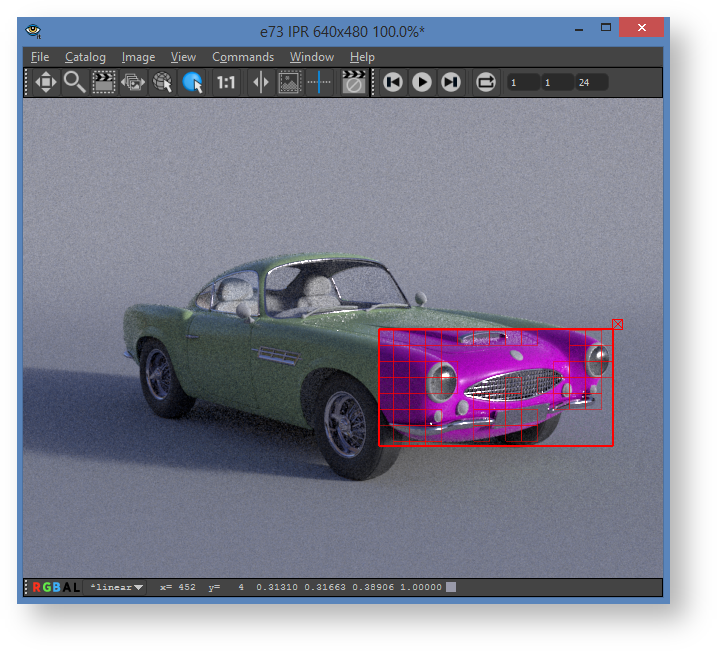
Remove or Resize Crop Window
Click inside the crop window in "It" to make it editable. An 'x' appears in the upper right corner of the crop window when it is editable. Drag on any of the edges to resize. Or click on the 'x' in the upper right corner to remove the crop window. Click outside the crop window to make it non-editable again.
If you resize or remove the crop window, hit the 'r' key again to signal that IPR should start using the region.
Crop Rendering in Render View
To crop render in Render View, simply click and drag in the image to draw a crop region. IPR will immediately update with the new region. To draw a new region, click and drag again. The crop region can be removed by just clicking once in the image.
IPR Demo