Contents
Maya Curves
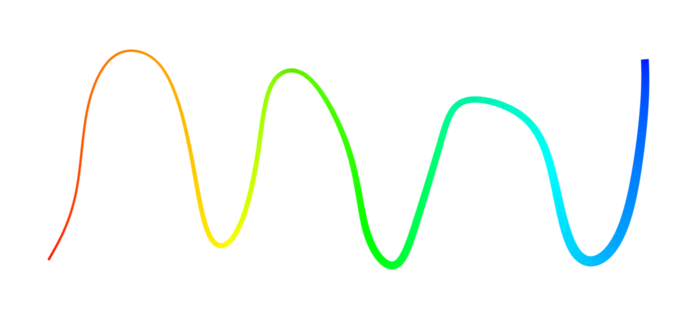
Maya curves can be tagged to be rendered. Create curves with one of the curve tools under:
Create > Curve Tools
In the Attribute Editor be sure and assign a material to your curves:
That's it! You should see the curve in your render.
For hair/fur curves: To use the IGS/Interactive Xgen surface UVs for color/texture, you can reference this in the PxrManifold2D of your color placement as scalpS and scalpT Primvars.
Paint Effects
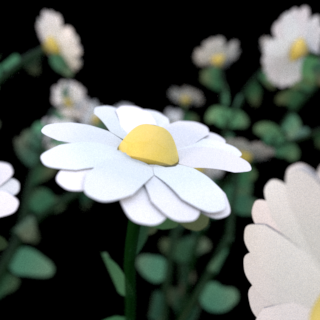
This image is rendered entirely with curves generated with Paint Effects.
To create Paint Effects, open Maya's Visor window: Windows > General Editors > Content Browser. Find the Paint Effects tab, click on a brush type in one of the folders, and then draw in the Maya viewport.
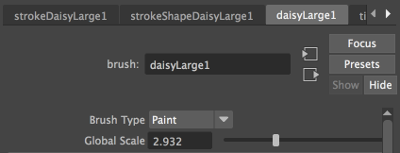
Paint Effects strokes that use a Brush Type "Paint" are rendered directly as curves by RenderMan. It isn't necessary to translate to a mesh, although in some cases you may wish to do that. You can find the brush type on the brush node after drawing a stroke.
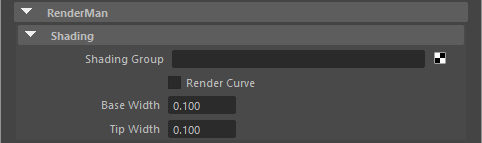
After creating a Paint Effects stroke a couple extra steps are required to set up a RenderMan material for rendering. Shading for Paint Effects brushes is not fully translated. However, a Cs (color) primitive variable is emitted for the curves, so you can make use of that in a material assigned to the stroke. PxrPrimvar > Color Input
In the PxrPrimvar make the type a color and use Cs. This will pass the Paint Effects color to the material. You can then hook this up to a material assigned to the stroke in the RenderMan rollout in the Attribute Editor.