...
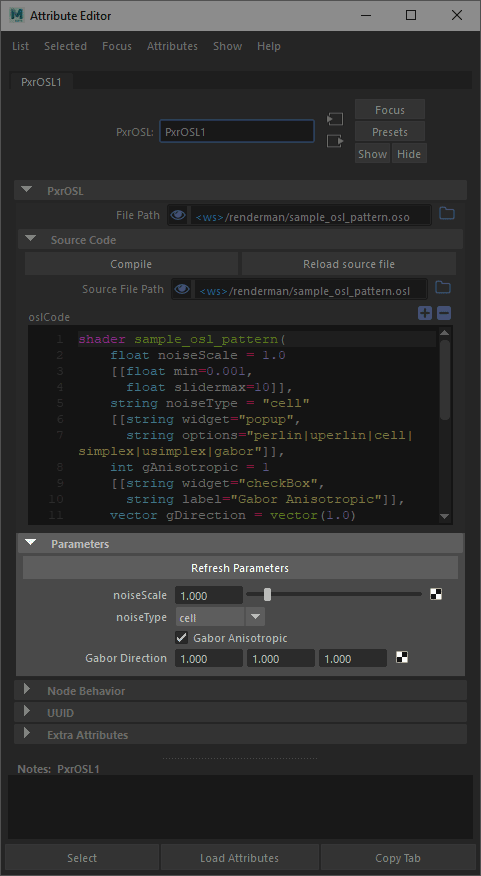
The Parameters rollout will populate given a correct .oso file.
Using Custom OSL Patterns
To begin, take a look at the page on Installing Custom Nodes.
Define the RFM_SHOW_PATH environment variable to point to your own custom configuration directory.
Create a config directory in that new location and save a custom rfm.json file (you can copy the original one to make changes). Here's a simple version:
| Code Block |
|---|
{
    "$schema": "./rfmSchema.json",
    "resources": {
        "user": {
            "nodes": {
                "search_paths": ["/Users/Artist/Shading/OSL_pkg/shader/myshow"]
            }
        }
    }
} |
You should have the following structure:
| Code Block |
|---|
RFM_SHOW_PATH
   |_ config
|_ rfm.json |
Now add some metadata to your OSL shaders (below we use a simple example):
| Code Block |
|---|
//
// AddFloat_1
//
shader AddFloat_1
[[
    string category = "math",
    string help = "Adds two float inputs",
    int rfm_nodeid = 1553001,
    string rfm_classification = "rendernode/RenderMan/pattern/Studio/math"
]]
(
    float input_A = .0,
    float input_B = .0,
    output float resultF = .0 [[ string widget="null" ]],
)
{
    resultF = input_A + input_B;
} |
Here are the parts of the Help data:
- category - we classify this as a "math" node category
- help - Useful data for the user, a description basically.
- rfm_nodeid - is a unique ID for the node, Autodesk typically assigns these in a block. This is required to prevent clashes.
- rfm_classification - is the classification for the UI/Viewport that 'shader' objects must use under 'rendernode/RenderMan/pattern/' to be handled