...
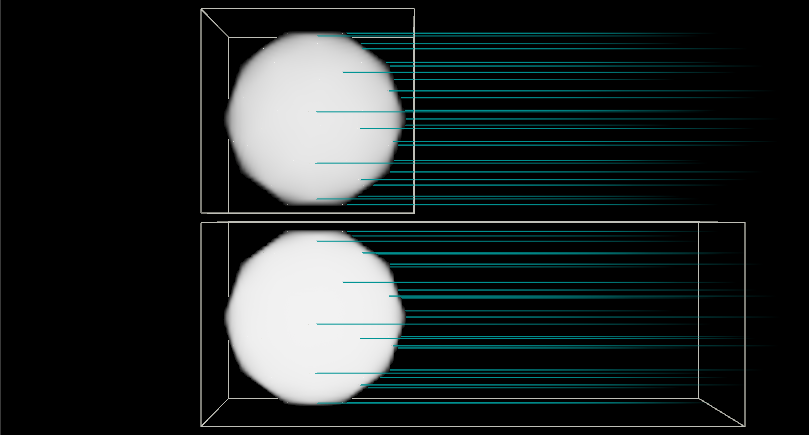
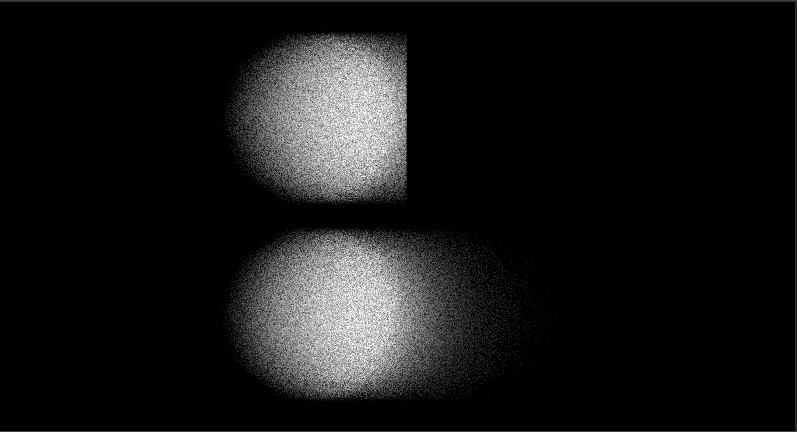
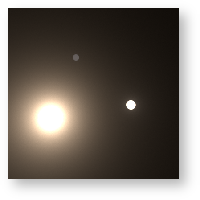
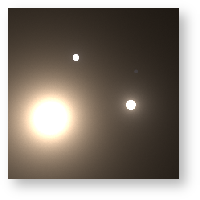
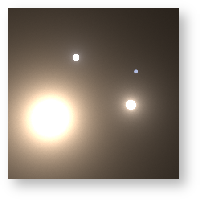
The renderer supports two techniques for deformation motion blurred volumes. The "Eulerian" technique, supported as of 23.5 (and the default since that version), has low preprocessing time, very low memory overhead, has low bias (assuming that the micropolygon length is set to a reasonable value), and is reasonably accurate. The downside of this technique is that the velocity values must be non-zero and supplied everywhere in the path of the motion, even if the volume has no "presence" in that path at the current baked shutter time. This is because the Eulerian technique assumes that time-varying property of a volume (e.g. the time-varying density) can be approximated by using the velocity at the current time, backtracking using that velocity value, and looking up the density at the backtracked location. The following images from Houdini demonstrate these boundary velocity requirements for Eulerian motion blur. The 1st image shows two spheres with density and wireframe boxes representing the velocity field bounds. The green lines show the intended motion of the volume. If the velocity field is not fully written out over the range of motion, Eulerian motion blur will clip the velocity as shown on the right rendered images. Note that in some highly chaotic fluid scenes, even if this requirement is not satisfied, the rendered image may still look satisfactory (the clipping may not be obvious).
The "Reves" technique, which was the algorithm used for deformation motion blurred volumes prior to 23.4, is more accurate than the Eulerian technique and has a faster convergence time after the renderer has started. Unfortunately, it has a very high preprocessing cost, very high memory requirements, and is inherently a biased technique. As such, it requires the micropolygon length to be set to low numbers (exacerbating both the time and memory costs) in order to avoid visible biasing which manifest as blurry volumes. In most cases, the Eulerian technique should be preferred unless the velocity boundary conditions mentioned above cannot be satisfied for some reason.
...
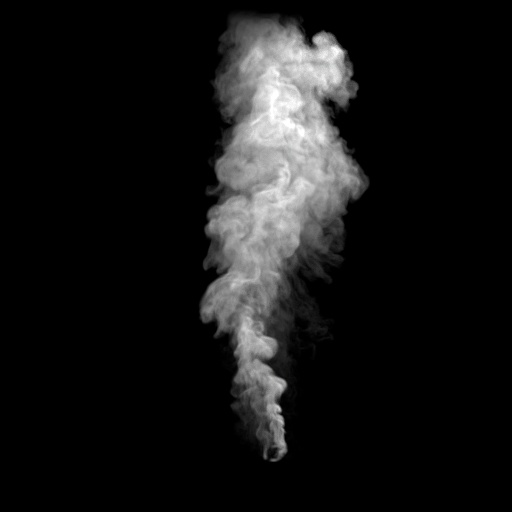
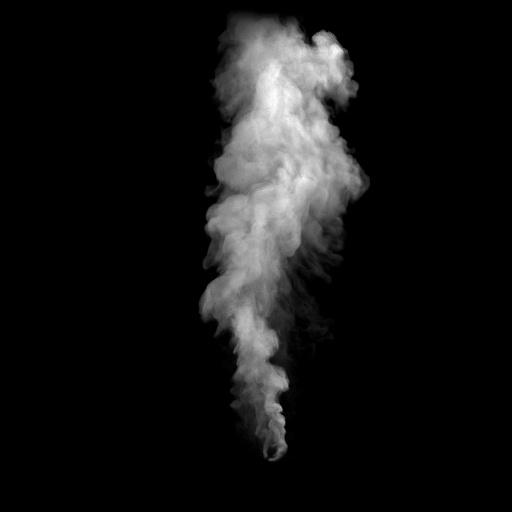
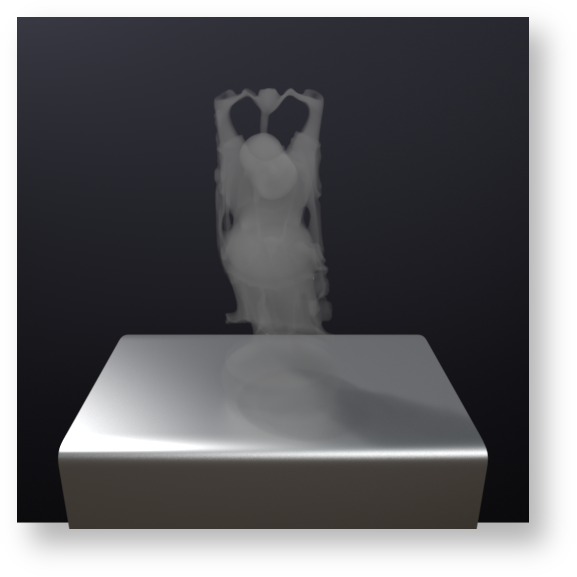
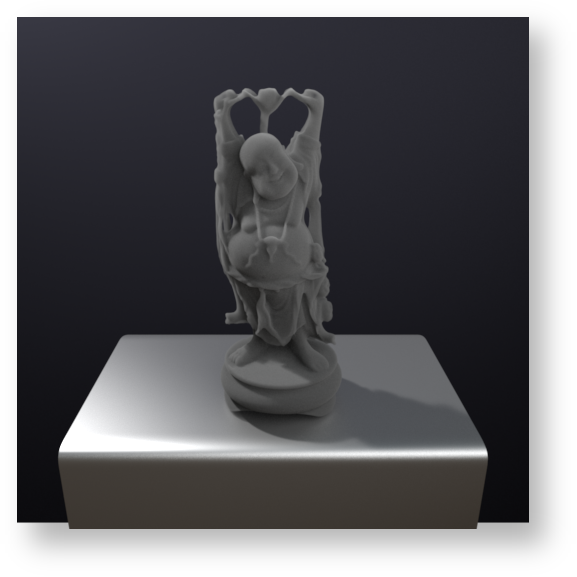
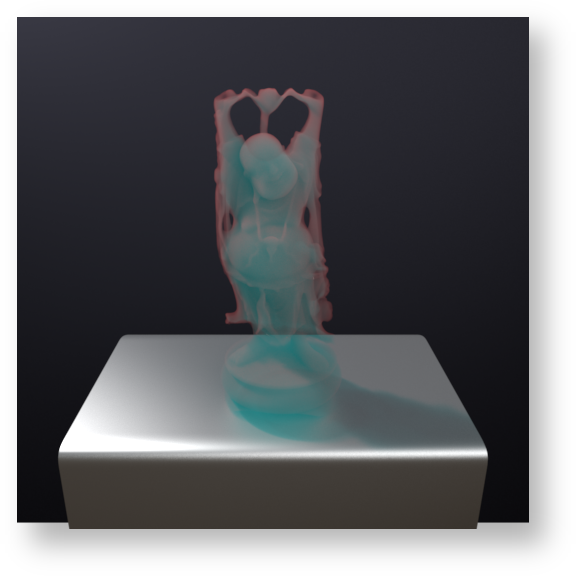
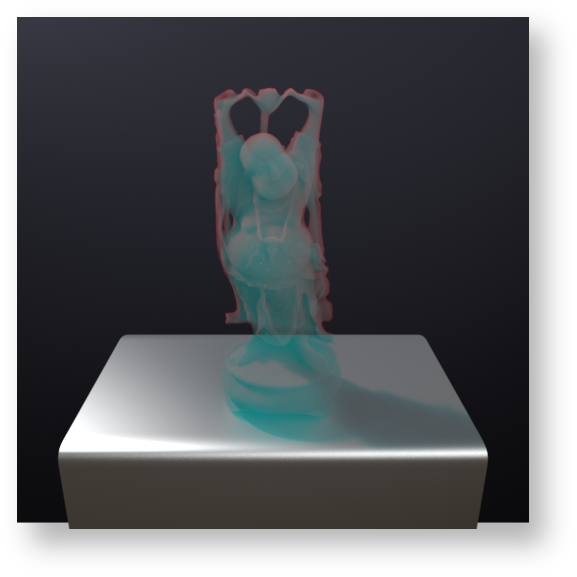
The following images were rendered using Eulerian motion blur, in conjunction with an OpenVDB file containing a velocity grid. Image on the left was rendered with no blur, while the image on the right has velocity supplied by a connection to the PxrPrimVar node reading a velocity grid from the file. The velocity has been exaggerated by a factor of 10. Note that this OpenVDB file (from openvdb.org) does not satisfy the boundary requirements of having velocity data in all areas of movement - this can be seen in the fact that the silhouette edges of the volume do not change significantly despite the exaggerated movement. However, there are no obvious objectionable artifacts, and area of the volume away from the boundary convey the desired velocity detail.
| Expand | ||
|---|---|---|
| ||
Extinction Distance This is the distance (in scene units) at which a homogeneous volume becomes opaque. If this is non-zero, it overrides the density connections, maintaining a homogeneous volume. This is great for creating fog/mist that fills a scene. Below we set the parameter to a low value and then increase it until the last light in the scene is clearly visible.
Density Float PrimVar A primvar from the geometry which overrides the density float of the volume, unset by default. Setting this overrides the densityFloat input, and is more efficient than simply using a PxrPrimVar pattern connection. For workflows that use a baked volumetric representation (such as an OpenVDB file) we highly recommend the use of this parameter setting over the use of an input connected to the Density Float parameter. Density Float The density of the volume directly controls how light is attenuated by the volume - i.e. it directly affects how the volume casts shadows. The density float parameter is overridden by the density color if density color is changed from its default value. Unless you require colored shadows, you should prefer to set this parameter rather than the density color parameter as the volume will render more efficiently. Making an input connection on this parameter will create a heterogeneous volume. The density is also known as the extinction coefficient (the sum of the absorption and scattering coefficients). Below, from left to right: density of 0.1, 0.25, and 2.0.
Density Color PrimVar A primvar from the geometry which overrides the density color of the volume, unset by default. Setting this overrides the densityColor input, and is more efficient than simply using a PxrPrimVar pattern connection. For workflows that use a baked volumetric representation (such as an OpenVDB file) we highly recommend the use of this parameter setting over the use of an input connected to the Density Color parameter. Density Color The density of the volume directly controls how light is attenuated by the volume - i.e. it directly affects how the volume casts shadows. The density color parameter overrides the density float if density color is changed from its default value. If you do not need colored shadows from the volume, then you should set the density float parameter and leave the density color parameter untouched; the volume will render more efficiently. Making an input connection on this parameter will create a heterogeneous volume. The density is also known as the extinction coefficient (the sum of the absorption and scattering coefficients). Below, from left to right: density color of (1.0, 0.25, 0.25), (2.0, 0.25, 0.25) and (5.0, 0.25, 0.25). Note that since the density of the volume is higher in the red channel, more red light is scattered away, leaving behind a cyan contribution.
Max Density The max density parameter is only used by heterogeneous volumes and controls the step size used to sample the volume. For correctly unbiased rendering, the max density must be higher than any density encountered inside the volume. A high value of max density may result in slower renders since more steps will be taken to sample the volume. Setting the max density too small will speed up your render, but will also lead to incorrect (biased) rendering as dense regions of the volume will be undersampled. Starting in version 20.7, for RiVolumes only, PxrVolume will also automatically compute the density bounds over the subsections of the volume, and use this information to vary the step size over the ray. This means that more steps will only be taken in denser parts of the volume. Therefore, for very heterogeneous volumes, setting a higher value for max density will no longer have a detrimental effect over the entire volume; in practice, it is often possible to simply set this to a very high value and not worry about this parameter any further. The default value of max density is 1.0. |


...