Shadows in an image convey a lot of information. Everything from time of day to how many lights there are can be inferred from shadows. Soft shadows from indirect lighting and shadows from objects off-screen can also be pleasing and realistic. The below guide explains how shadowing works in RenderMan as well as types of shadowing and quality.
The type of shadowing produced in RenderMan is based on controls in the lights as well as what's available to the integrator. Beyond the descriptions below, it's important to know that shadow softness is controlled by the size (or apparent size in an HDRI) of the light source. Larger light sources create softer shadows.
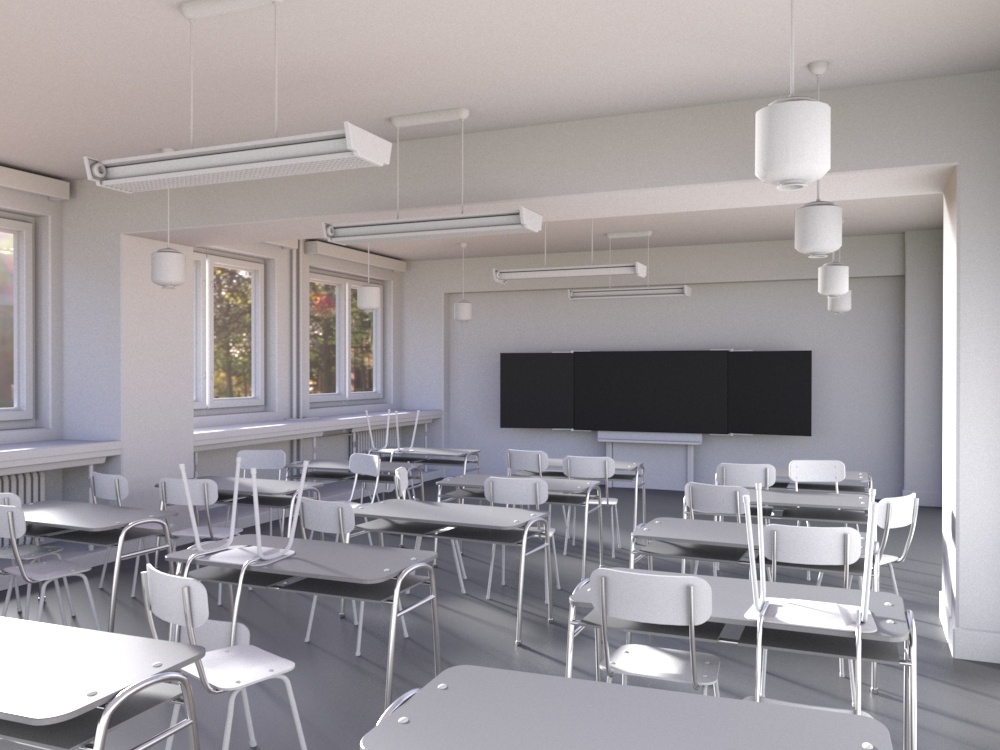
Thin Shadows
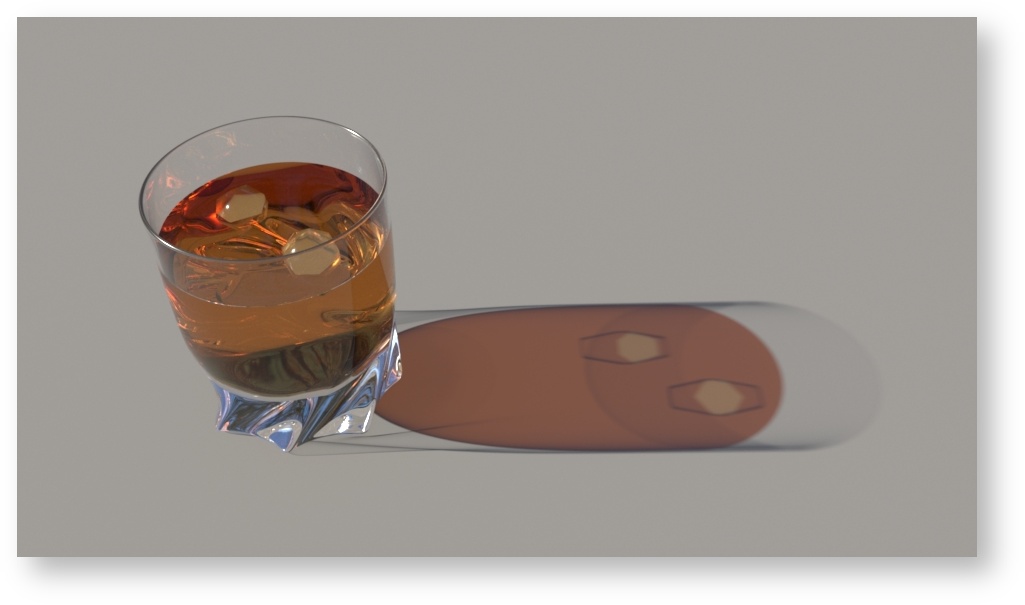
Typically users render with the PxrPathTracer Integrator and the default light settings of "Thin Shadow". This combination produces a quick and somewhat plausible image for transparent/refractive objects. It also obeys the object color such as transparent red glass or maybe green emeralds, etc. You can manipulate the shadow for art direction including shadow color, distance, falloff and gamma (see each light's page for examples).

If you were to disable Thin Shadows on the light by selecting Trace Light Paths, and render with the PxrPathTracer, you would see a solid shadow.
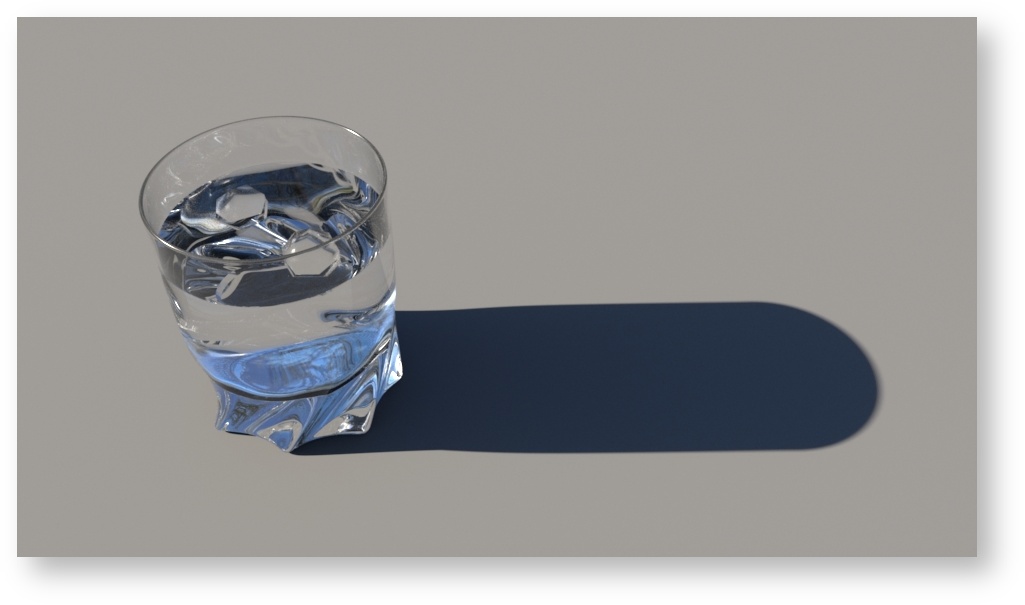
The integrator would render a physically correct shadow now, but the PxrPathTracer doesn't generate photons by default and would make this very difficult to resolve using Allow Caustics as seen below.

Trace Light Paths
If using Trace Light Paths on the light, you should combine this with the PxrVCM or PxrUnified integrators and selectively enable this parameter to generate photons for realistic shadows. Below the dome light is using Trace Light Paths.

Tracing photons for caustics can be very expensive and difficult to art direct. In some cases your hero object may not get enough photons as they are scattered around the scene. Other times it may come into the path of a very bright light and suddenly there are caustics scattered all over the scene which may be a distraction. By selectively choosing which lights use Trace Light Paths, the artist can better direct where they want photons and at what intensity.
The PxrVCM and PxrUnified integrators also have a Guiding parameters that allows artists to direct where they want to concentrate the photons in the scene. This parameter can bias the render (make it incorrect physically) if driven with high values, but for art direction purposes it can greatly improve convergence. Below are two images, both with 32 samples. Notice the image on the left is much less converged, Photon Guiding was set to 0.00 while the right image used the glass bounding box information as the Photon Guiding BBox and Photon Guiding set to 0.900.
The Manifold Walk
PxrUnified has a novel way to generate caustics selectively using the Manifold Walk technique.
Shadow Falloff Trickery
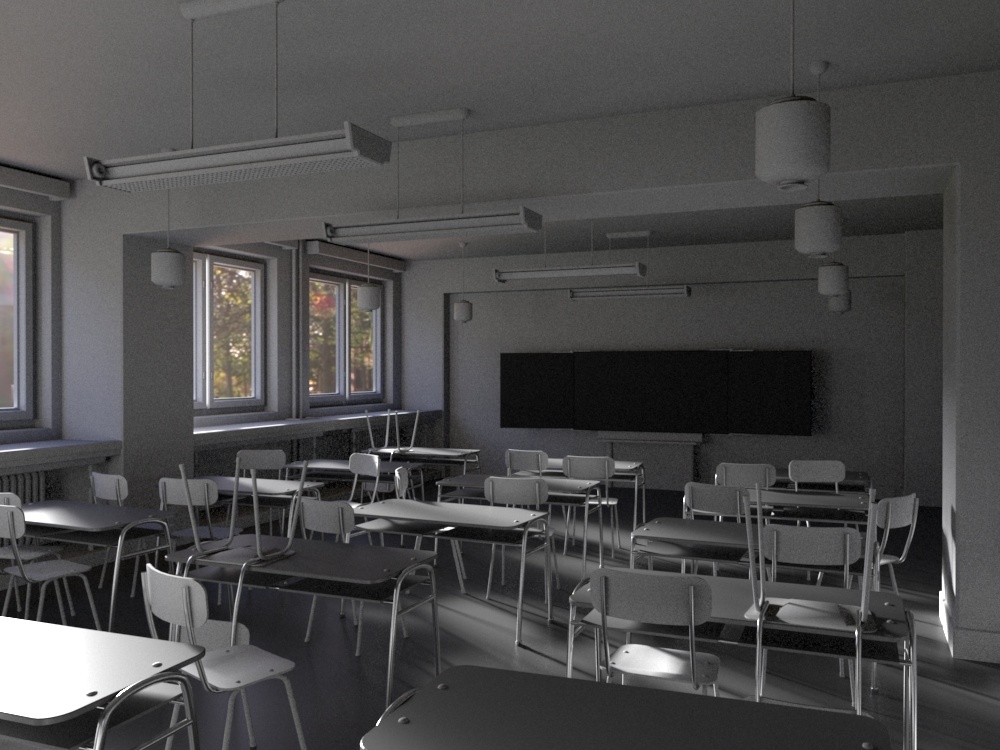
When using some lights, you may be tempted to alter the shadow falloff parameter. In many cases it's purely pure artistry, but for the PxrDomeLight is it can be a useful hack for quick interior renderings. Since this operates as an overall environment light, you can reduce the shadow falloff (based on your scene extent) to get more light into an interior in a way that might resemble ambient occlusion. Below are some examples. Note how the shadowing on the right side of the image simply goes away.
Typical render at default with no falloff or portal lights
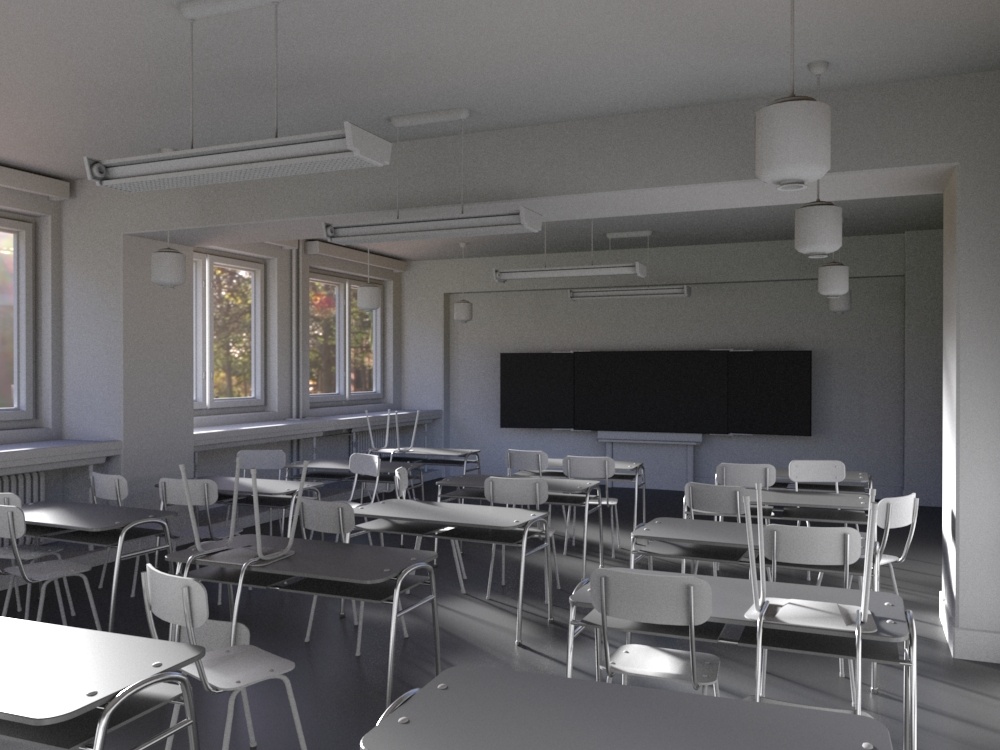
Shadow falloff set to 500 units
Shadow falloff set to 50 units
Scene courtesy of Julien Duval.