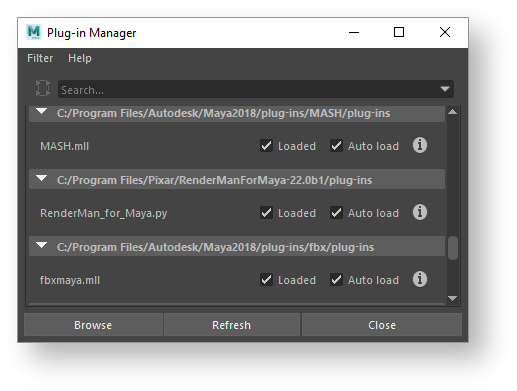
Load the Plug-in
Open the Plug-in Manager in Maya, scroll down and find the RenderMan for Maya plug-in. Note, an open source Open VDB visualizer plug-in is also included in the installation. If If you can't find RenderMan for Maya listed, don't head for the browse button. See troubleshooting to figure out what may have gone wrong during installation.
Windows > Settings/Preferences > Plug-In Manager


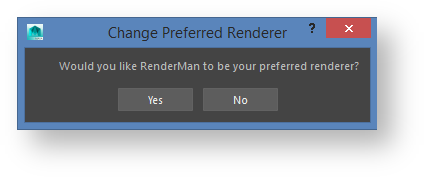
Preferred Renderer
...
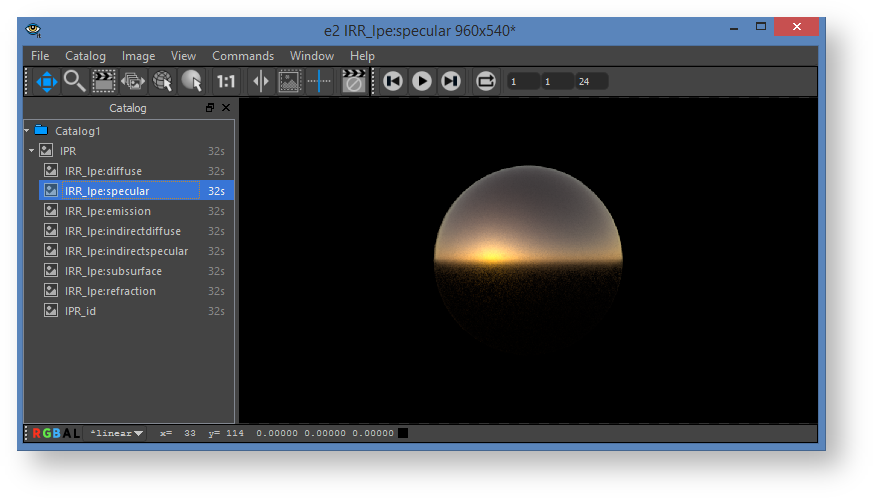
The RenderMan shelf includes buttons for preview rendering and interactive preview rendering (IPR). Maya's buttons for these actions work as well.


IPR continues rendering until stopped, while changes to materials or lights appear in the render. Preview rendering continues until the image converges or is cancelled.
The first time you render, the Image Tool 'It' opens.
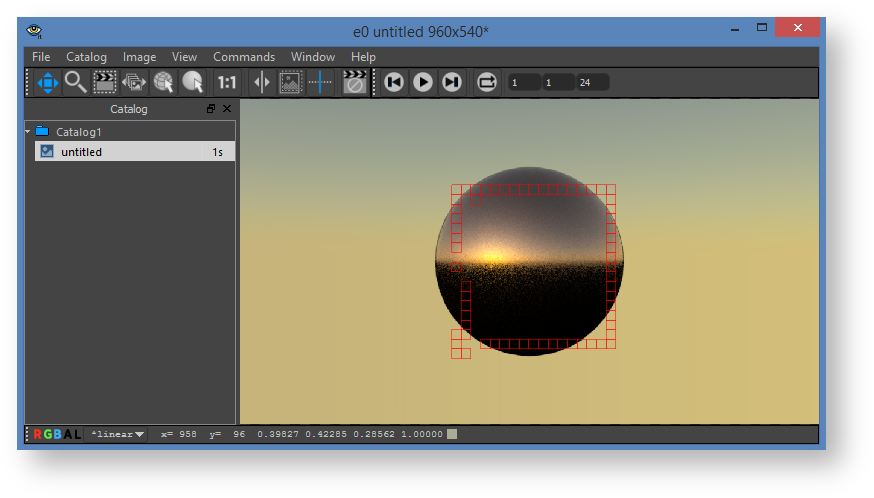
The Image Tool has a button which will cancel either preview or IPR renders.

You can also use the "escape" hot-key to easily cancel renders from the Image Tool window.
If you prefer to use Maya's Render View, visit the RenderMan Preferences.
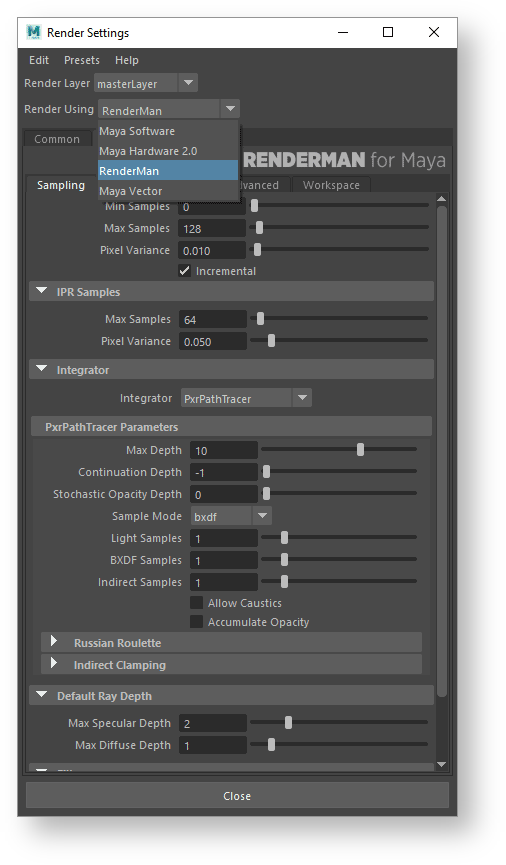
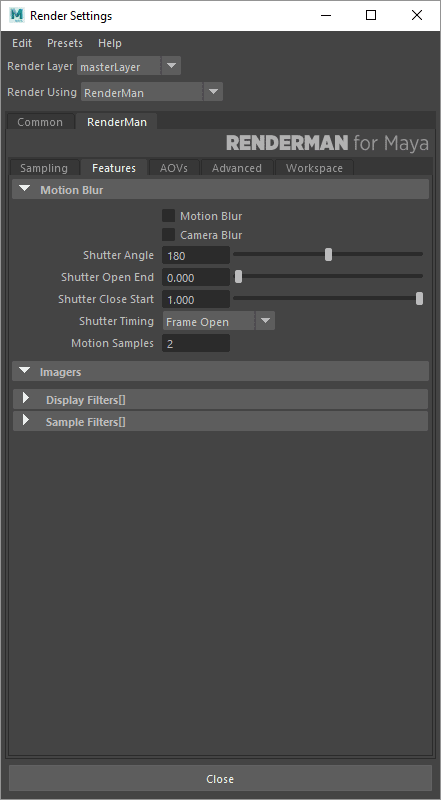
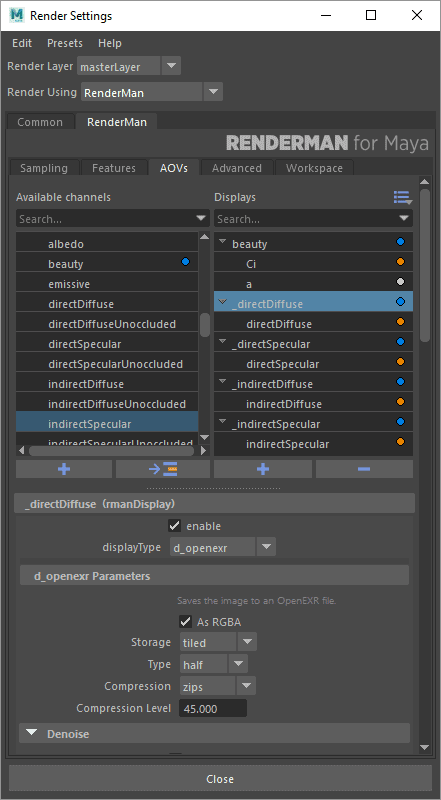
Render Settings
You'll get a reasonable render out of box without adjusting Render Settings. However, let's take a look a few of the interesting things that can be accessed in there.
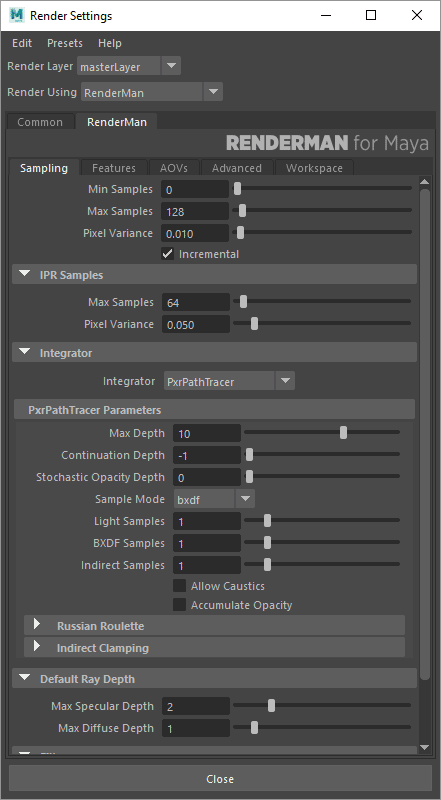
- The Path Tracer is the default integrator, but you can try out others, even while IPR is running.
- Enable features like motion blur and denoise.
- Add extra Outputs to the render. These get written out at the same time as the main render, and can be viewed in the Image Tool