
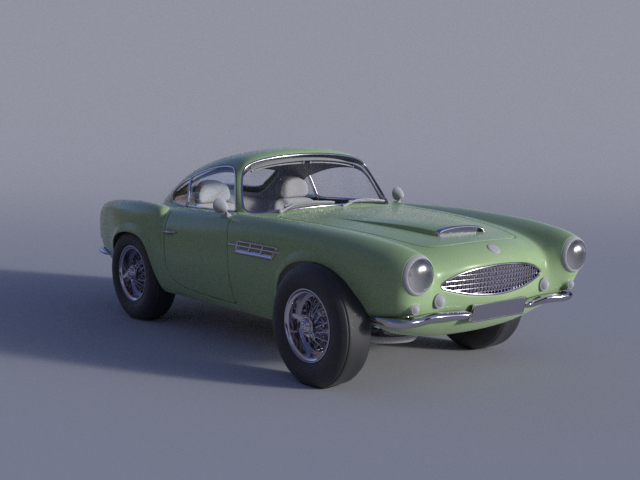
Suppose you have a model that's gotten complicated. When starting a render, the time it takes until you see the first pixels is getting long. This Or maybe you've completed your assets and now it's time to deliver them to lighting (in a package that should not be altered by the lighter). This is a job for the RenderManArchive node! LetRenderMan Archive node! This option pre-translates the scene parts to a RIB file. This saves time translating scene entities when you hit render and relieves Maya from keeping all these parts alive in memory. Let's take a look at how it works.
...
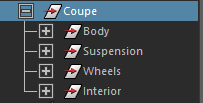
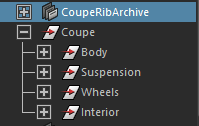
Select the top node of the model so collect all the parts.
And then hit the Archive button in the RenderMan shelf.
Then go to the RenderMan menu to export a RIB archive.
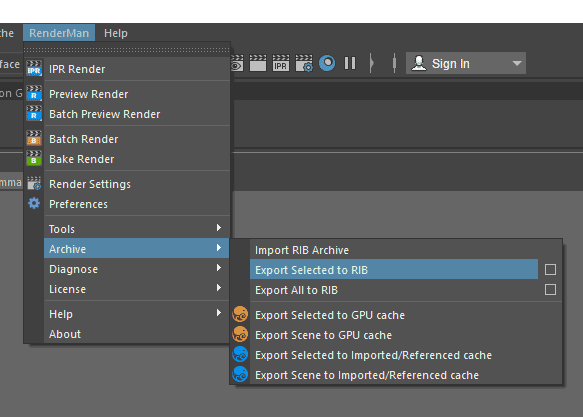

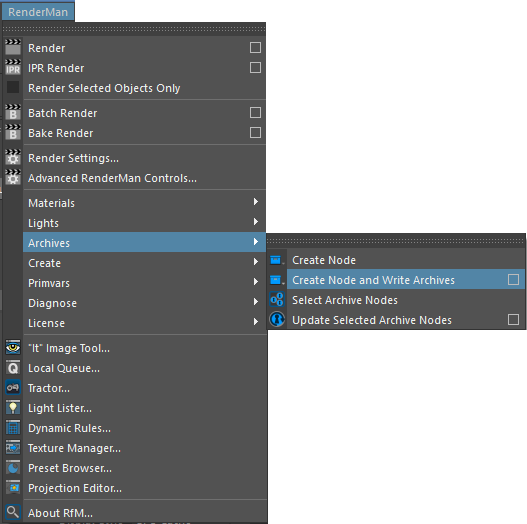
Or, to access the full set of options when creating an archive, look in the RenderMan->Archives menu for an option box.
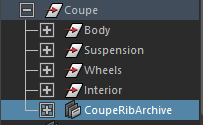
You'll notice a new node has been inserted below the top level node that you had selected:
select the options box. We will export a RIB file as well as a GPU cache for display in the viewport for convenience.
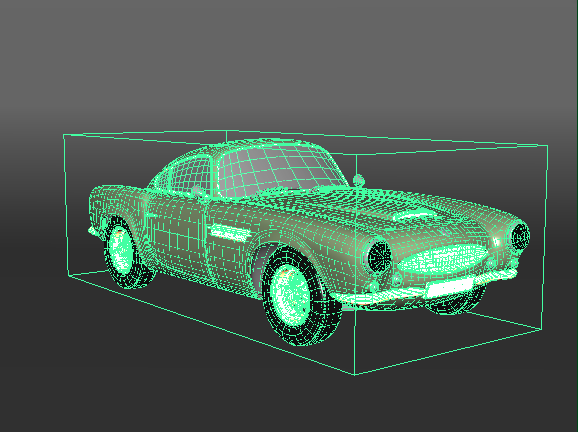
When loaded you'll see And in the viewport there's now a bounding box around the model, and a GPU cache of the original geometry. This example exported a single RIB archive for one frame. Let's assume this car is parked – permanently. Although you may export an animation as a sequence of RIB files, this is found in the options of the archive menu selection.
The node called CoupeRibArchive is your archive (from the original name). If you decide to remove the archive, simply delete that node and all traces of it will be gone from your scene.
By default the archive node sits below the top node of your original model. The transform of that top node does not go into the archive; this is useful because the positioning of the DAG does not get baked into the archive. If for some reason you do need that positioning to be baked in, simply create an extra group node above that top node, and select that when creating your archive.
When RenderMan for Maya encounters an archive node while translating a scene for rendering, it uses the archive and ignores the rest of the geometry in the hierarchy.
The archive node can also be used by itself. You can drag the archive node out of the original hierarchy, and then the original can be deleted from the scene.
Why not always delete the original geo when an archive is created? You can periodically update the contents of the archive, if you're still tweaking the model or its shading. In this case it needs to stay in the original hierarchy.
Update Geometry
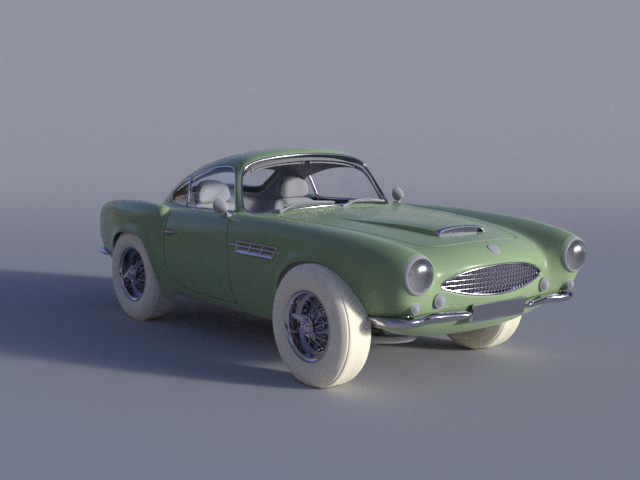
Say you decide the wheels of this car need to be bigger.
Go ahead and adjust the original geometry.
Then, select the CoupeRibArchiveShape. In the Attribute Editor, it looks like this:
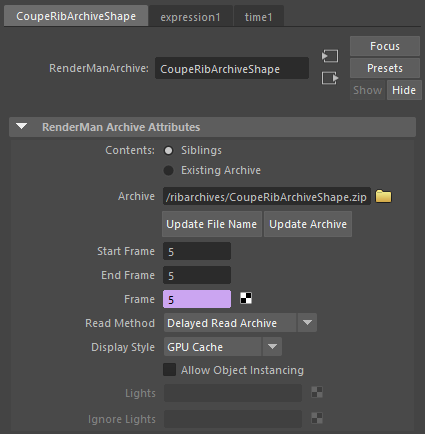
Below the name of the archive, there's an Update Archive button. Hit that button and a dialog comes up:
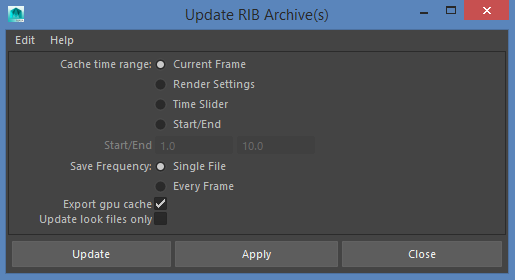
Click the Update button, and you should see the bounding box and GPU cache geometry adjust to match the original model. When you render again, you'll see bigger wheels.
Update Shading
Updating the geometry of an archive is essentially as slow as recreating the archive. For heavy geometry, that may be pretty slow. What if you just want to change the color of the tires? That doesn't require re-translating all the geometry.
This time, let's change the color of the tires, hit the Update button as before, but this time enable the option at the bottom called "Update look files only". Proceed with the update. Much faster!
Referencing Archives
Sometimes you simply want an archive node to reference an existing file. To create one of those, don't select anything in Maya, and hit the archive button from the shelf.
You'll get an archive node which doesn't yet reference an archive. In the Attribute Editor, simply browse to a file. RIB, alembic, and RIB-in-zip files are supported.

When RenderMan for Maya creates an archive, it actually writes out a separate RIB file for each piece of geometry, and refers to those in a master RIB file. All of these RIB files for the archive are packaged together in a zip file.
The default location on disk for newly created archives is <maya_project>/renderman/ribarchives/<archivename>.zip. In the car example above, that looks like:
renderman/ribarchives/CoupeRibArchiveShape.zipLet's create a couple new archive nodes and browse to that existing archive.
update this file by versioning from the original asset file and then pointing to the new file in the CoupeRibArchiveShape node. Notice that the node also contains an Alembic GPU procedural for the display in the viewport.
Update Shading
The RIB archives do not have the ability to alter the assigned shading. It is designed as a complete export with the original materials assigned on import. If you want a format for altering shading after the fact, use the Alembic workflow instead.
Instancing Archives
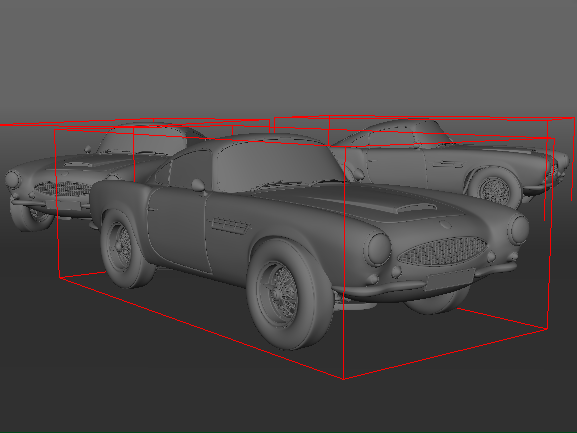
Here is how the viewport looks with three instanced RenderManArchive nodes, each referencing the same original archive. All the original geometry has been deleted from the scene, so we are seeing the GPU cache for the archives.
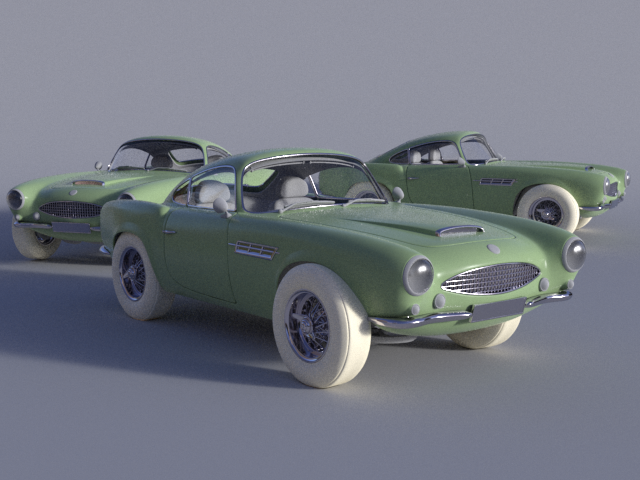
And the final render.
...
RenderManArchive nodes can be instanced in a few different ways in Maya.
- Maya Instances: Create an instance as you normally would in Maya. Select a RenderManArchive node and do Edit->Duplicate Special, choose the instancing option.
- Maya Particle Instancer: Select a RenderManArchive node followed by a maya particle shape, and do nParticles->Instancer.
- Create multiple RenderManArchive nodes and have each reference the same archive. This is slightly less efficient than the other two approaches .
...
- as it will load the same archive again rather than reuse the data (true instancing)