| Note |
|---|
This workflow may differ in the completed product |
| Info |
|---|
See Denoise Workflow for more information. |
...
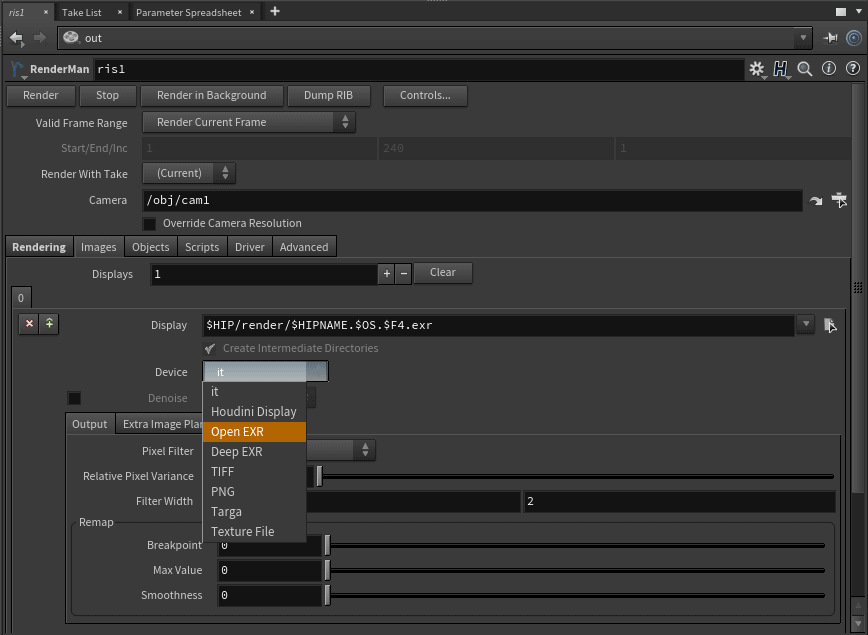
- ROP node > Displays > Display Device > OpenEXR
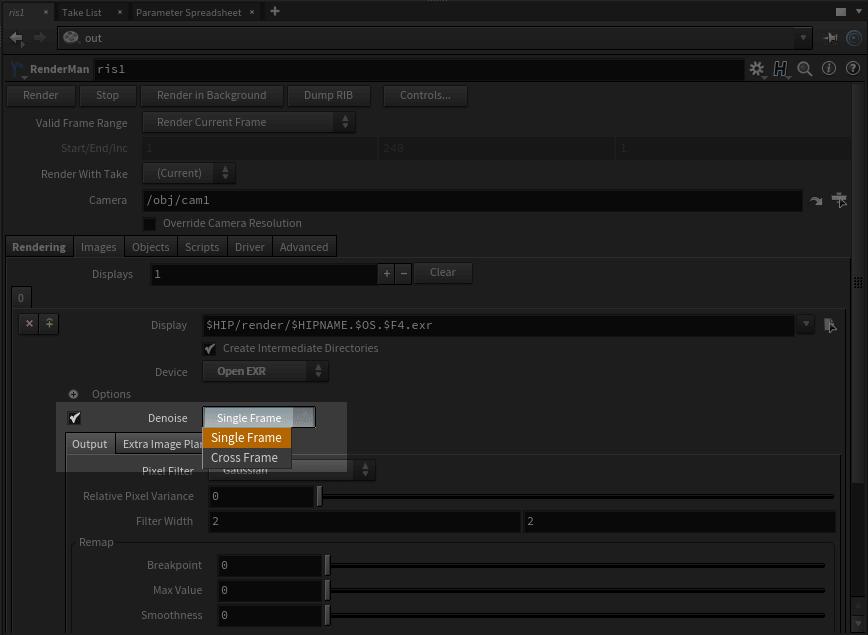
- Select Single Frame or Cross Frame in ROP's Display Tab at the bottom. This will auto-select the appropriate AOVs (only if you followed the step above)
| Warning |
|---|
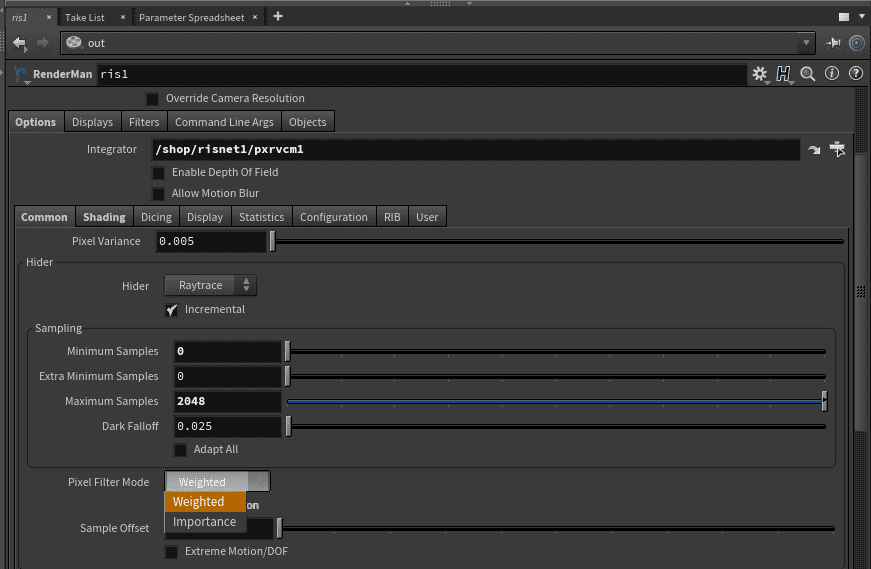
Additionally, you must set the RenderMan RIS ROP's Options > Common > Pixel Filter mode to Importance. If this is not set, it will introduce artifacts during the denoise process. This setting is also required to the use the Nvidia Denoise preview in "it" as we set the filter type to Importance |
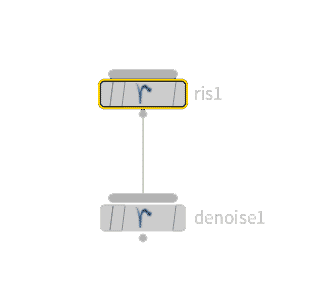
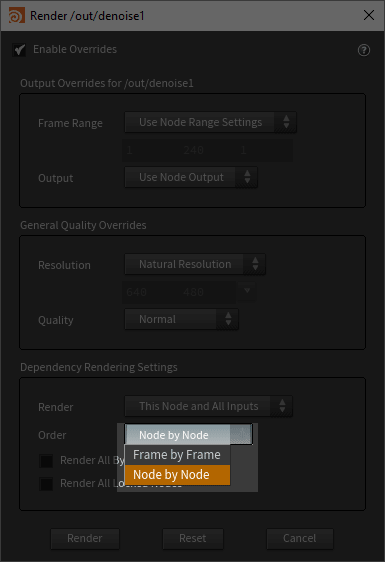
- Create a new Denoise ROP node
- Connect the original RIS ROP node from the above steps to the Denoise ROP
- Be sure the Controls... are set to Node by Node
You have two choices in the Denoise ROP node of importance:
- Denoise: This uses the Houdini process to render and denoise the EXR and will lock Houdini
- Denoise in Background: This creates a new process to render and denoise while leaving Houdini free
For users wanting to output AOVs for Denoising manually (for the purpose of rendering separate EXRs and not a multi-channel EXR), you can manually select the Denoise AOVs under Displays, be sure to use the Importance Sample Filter as described at the beginning of the document. Keep in mind the Denoise feature requires a multi-channel EXR to work.
| Carousel Image Slider | ||||||||||||||
|---|---|---|---|---|---|---|---|---|---|---|---|---|---|---|
|
| Carousel Image Slider | ||||||||||||||
|---|---|---|---|---|---|---|---|---|---|---|---|---|---|---|
|
...