...
Step 1: To begin you should assign a PxrLayerSurface material to your object. This tells RenderMan which materials will be rendered for the assigned object. Leave it at default unless you prefer a different specular model. This must be changed in the assigned PxrLayerSurface. GGX is chosen as the specular model for this example. In Maya we automatically create a base and upper layer.
...
Below are the layers seen separately.
Step 2: Use the PxrLayerMixer and be sure it's connected to the Input Material of the PxrLayerSurface. Technically: PxrLayerMixer.pxrMaterialOut -> PxrLayerSurface.inputMaterial A simple middle mouse button drag in Maya works if doing this manually.
...
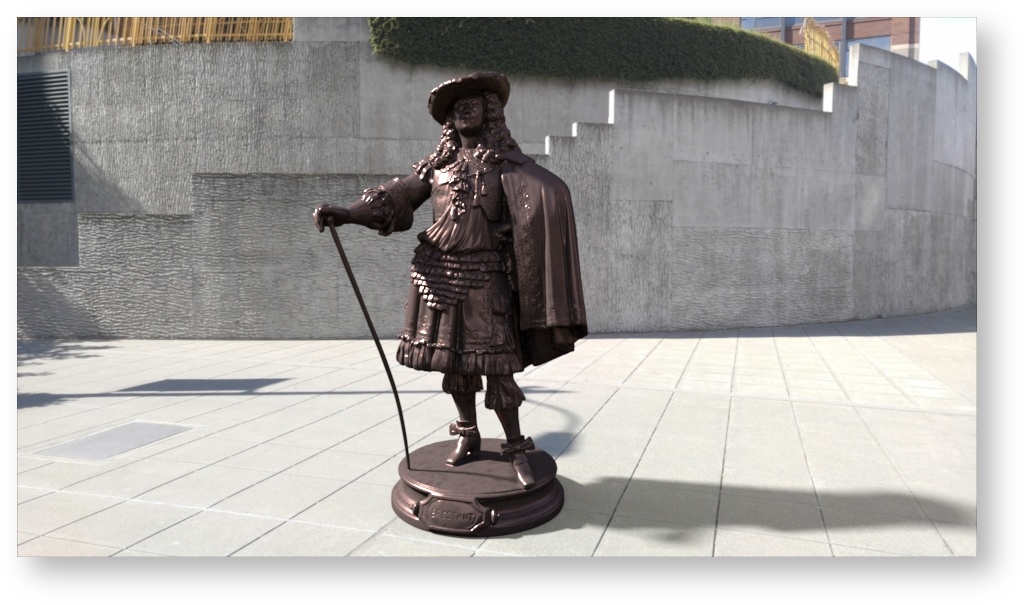
Step 3: The Copper/Bronze is accomplished by using the PxrLayer connected to the PxrLayerMixer as the Base. You can begin adjusting this for your base look. To make copper we are overriding the specular and diffuse properties. It's also useful to add a bump here so the copper has a nice texture to it.
...
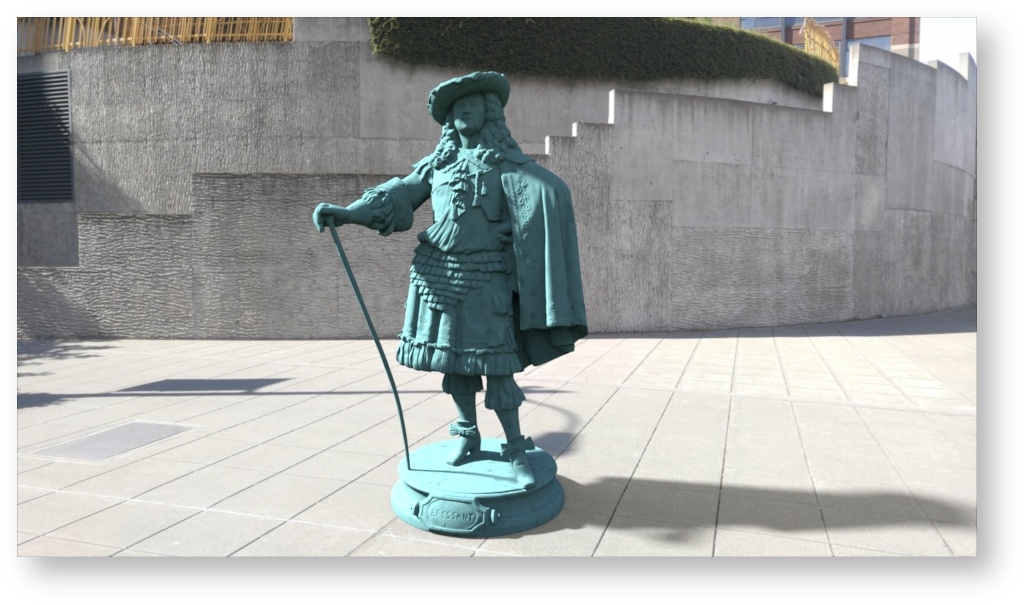
Step 6: We can accomplish this very easily using textures, but we may also make use of the PxrDirt node to control where the patina and metal are seen. At the beginning you see the weathering pattern produced by the PxrDirt node and a noise pattern. The Bias Normal for the PxrDirt node is 50.0 in Y to stretch out the result vertically as if rain and weathering has run down the statue. Below is the resulting mask rendered alone from a tweaked PxrDirt. The unoccluded color is driven by a PxrFractal and PxrGamma to break up the result some and control the strength respectively.
...