...
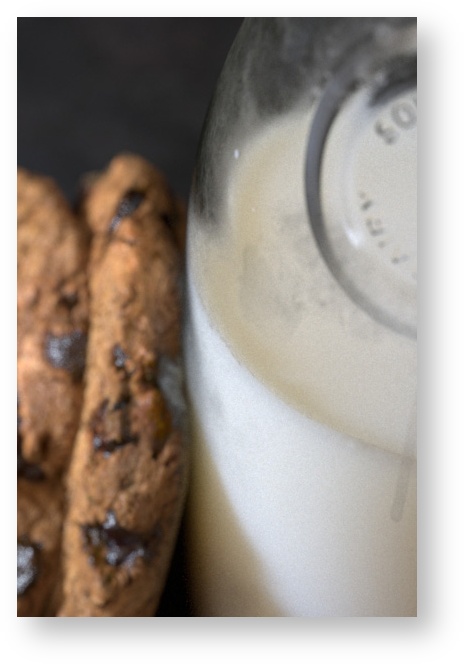
The scene recreates studio lighting as well as organic objects and adds depth of field for better realism. We'll dissect each object and its shading first.
Modeling
When creating assets, it's important to understand which objects fall into certain categories and model their detail accordingly:
- Hero assets - Things like main characters and the focus of a shot or story
- Set assets - These may have varying levels of detail based on where they are in a scene. Close-up items may need more details
- Props - These are often kept as simple as possible, you'd be amazed at how good texturing can take a low-detail asset and make it look quite nice!
RenderMan is designed to render subdivision surfaces when possible for animated characters and hero objects. This reduces possible tearing and improves the look of characters and organic objects seen up close. This is also a good choice when using displacement. Polygons like to come apart when displaced, so convert to a Subdivision Surface.
When modeling for Subdivision Surfaces, keep these things in mind to get the shape you want but not destroy performance:
- When converting to a Subdivision Mesh using the default Catmull-Clark scheme, to avoid over-dicing, use quads only. This means all your faces have 4 sides. Avoid triangles and N-sided faces.
- Only model the bare minimum detail you need in the base mesh so that the resulting surface is the correct shape when subdivided and not more.
- Keep creased edges to a minimum, they can be expensive.
- Make use of higher micropolygonlength settings. This provides automatic level-of-detail, and higher numbers are more coarse but can still be enough to look good. Try settings anywhere from 1.5 to 3 for reasonable production quality. (Note that if this is too coarse you will get shading artifacts especially along edges, reduce the value slowly. Anything less than 1 is very high quality.)
Polygons are also quite useful for anything with hard normals (faceted faces for many inorganic things like buildings, props, set pieces, etc.) You may soften these normals for closer rendering or add more modeling details to make it look nice but be aware that silhouette artifacts may appear during shading if that's insufficient. But despite these caveats, polygons for background and prop objects will render just fine and perform quite well. These objects are typically not deforming and plentiful in your scene. Making these subdivision surfaces can balloon your memory usage for little visual impact. Make use of bump mapping instead of displacement on polygons or convert them to subdivsion surfaces for displacement.
When laying out your UVs, avoid overlapping UVs and keep an eye on UV shells with flipped edges as this can cause artifacts when displacing or warnings during the render.
| Info |
|---|
Our texture caching mechanism can handle filling the scene with high quality textural details and looks, but we need the whole scene geometry to trace against to live in memory. By being careful with your modeling choices you can fit quite a lot into your scene and render many many gigabytes of textures at once. |
Understanding the basic design of PxrSurface.
...
The milk surface is actually simple to create. The PxrSurface pages provide a useful table of data used to create common items using Subsurface Scattering. Populate the parameters under the Subsurface rollout with the correct color values.
After this there are 2 simple ways to control the result you require:
...