...
Next, you can adjust the light direction under the PxrEnvDayLightShape tab of the attribute editor either using the Month/Day/Year/Hour (the default method in RfM) or using the Direction control by selecting Month > Use Direction. To replicate the scene used in this tutorial, use the direction controls and set the direction to 0.8, 1.0, 0.6. You should also change the Ground Mode from "Legacy" to "Horizon Clamping".
...
The other defaults provide a good starting point so you can leave them unchanged for now. This is also where you will adjust your MSApprox settings (under Multi-Scatter Approx)Scattering Approximation settings. It can be quite hard to predict how MSApprox MS Approx will affect the render, so you should wait to adjust these settings until after the render is set up completely.
Render Settings
The last thing we you need to change to tweak before we see our cloud the rendered is clouds are the Render Settings. So, open the Render Settings and select the RenderMan tab. The first thing you should change is under the "Aggregate Volumes" tab. For "Volume Aggregate Name", enter "globalVolumeAggregate" (this is the volume aggregate we added our cloud to before).
...
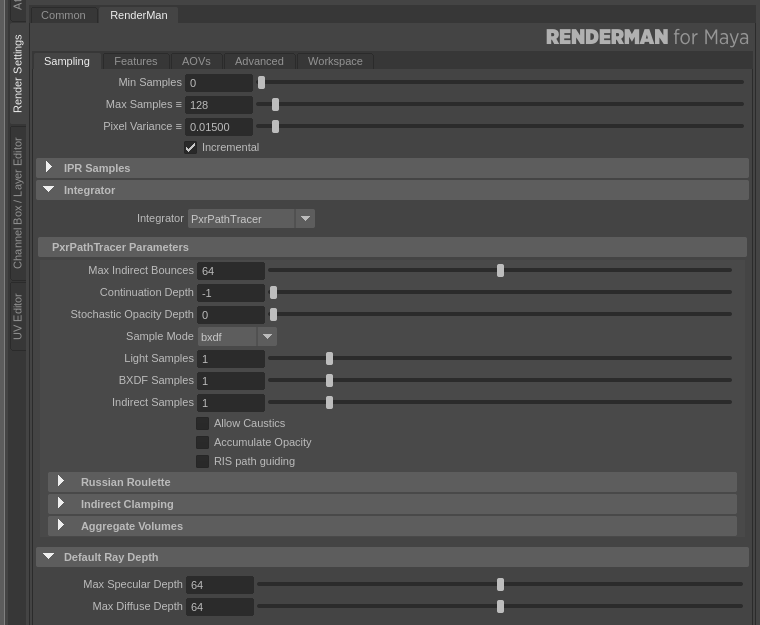
Once you set the volume aggregate name, you should see the cloud if you start a render (either in the viewport or externally in "it"), but it still won't look quite right. To give the cloud the correct appearance, we you need to adjust the number of bounces. First, under "Default Ray Depth", adjust both the "Max Specular Depth" and "Max Diffuse Depth" to much higher values (e.g. no less than 32as described above), and under "PxrPathTracer Parameters", set "Max Indirect Bounces" to that same number.
Multi-
...
Scattering Approx
To begin withadjust the Multi-Scattering Approximation settings, go to the settings on our PxrEnvDayLight and enable MSApprox Multi-Scattering Approximation by setting "Multi-Scatter Scattering Approx" to 1. Now, you can adjust the bleed and contribution as described above.
...
Now that everything is set, you can kick off a render and see the final imagecloud, which should look something like this:
...