...
The main material used for making objects, props, and characters in RenderMan is the PxrSurface material. This is a single (and therefore "monolithic") material used for all kinds of shading jobs. Each section of the material represents a particular "lobe" of the material.
...
- Textures should be named appropriately based on their destined effect and object assignment. For example: <object>_<effect>.jpg or possibly tableTop_specular.jpg
- Do not use spaces and special characters in names like: theCar&boat.jpg or "the Car and Boat.jpg"
- Do not use spaces and special characters in file paths either. These textures may fail to load.
- Texture sequences should have a clear naming convention for frame number. mySequence.0001.jpg is correct rather than mySequence0001.jpg or mySequence.jpg.0001
- Most formats can be used such as .png, exr, .tif, and .jpg, but to be rendered they must be converted to the .tex format. In Maya this happens when you begin a render and cached on disk to be reused until changed or updated in the scene. Scenes with many textures may take awhile to convert the first time to render.
- Occasionally interchangeable naming pairs occur, consistency is important to your pipeline and artist's ability to work accurately.
- Diffuse and Albedo
- Roughness and Glossiness (please take note that RenderMan uses the standard "Roughness" convention where 0 = mirrored and 1 = rough or nearly diffuse) Roughness also applies to a Diffuse parameter so occasionally artists substitute Glossiness as the name.
- Textures can be color (RGB) and scalar (greyscale) and color channels can be connected to matching parameters to drive them. For example, the Red channel of an image can use used to drive a scalar (float slider) if it's useful.
- Normal maps are typically preferred over bump maps (scalar or grayscale) for their detail.
- Linear color workflow is highly recommended and textures where their color is visible in the final render should be linearized (the typical sRGB gamma curve should be removed for rendering). Textures used as data like bump, masks, and displacement, should not be linearized.
- Displacement maps and other data textures should be the highest precision possible to avoid artifacts from texture quantizing. Usually these are exported from modeling applications as floating point EXR or Tiff. See workflows for normal and scalar displacement.
| Note |
|---|
There is no particular reason not to use the Maya File Node for texturing if it has the features you require or you enjoy the simplicity of using the Maya workflow for things like texture sequences. Both the Maya file node and the PxrTexture node will display textures in the viewport. However, only the Maya file node will display UDIM/tiled textures in the viewport and apply a corrected gamma to the viewport. |
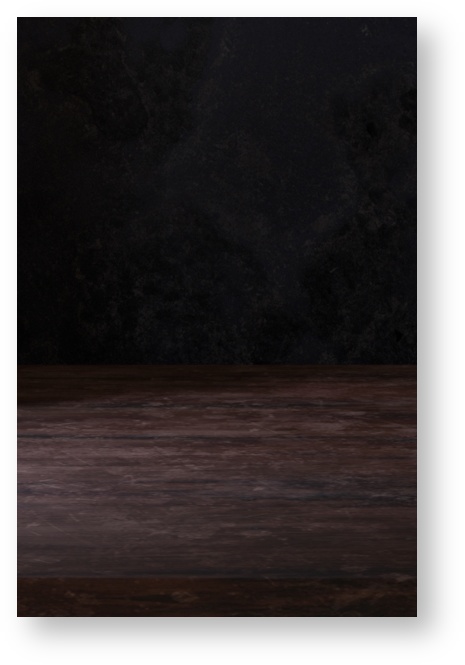
Wood Table
The table makes use of a few different texture maps. One is for the diffuse (sometimes called albedo) color, this controls the actual color variation and result for the wood. This is the most basic form of color mapping for objects and is independent of reflection color and other material effects.
...
An added normal map improves the details by "faking" surface shape and details. The final rendered result is below.
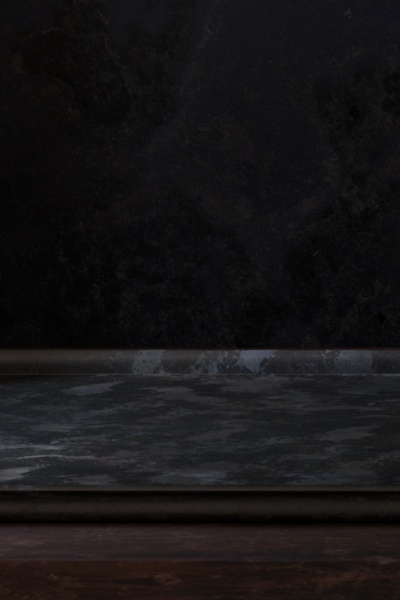
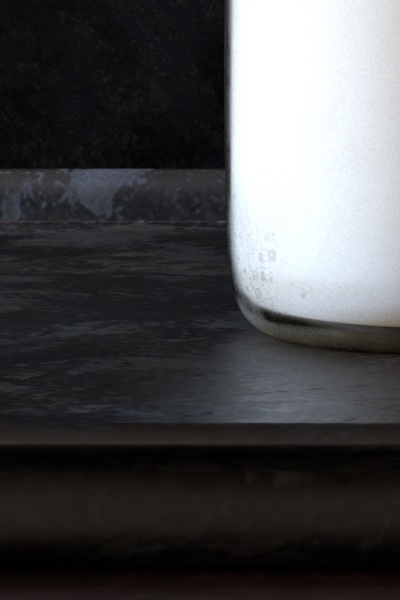
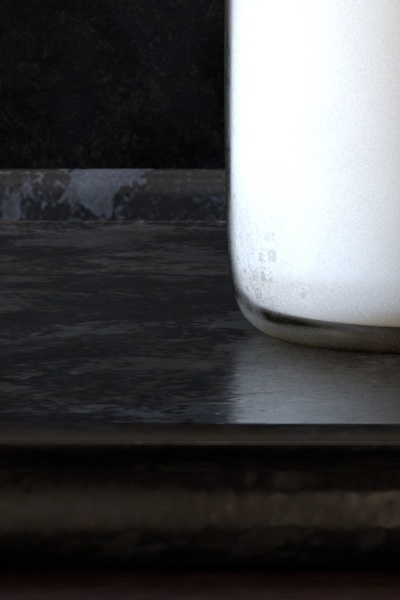
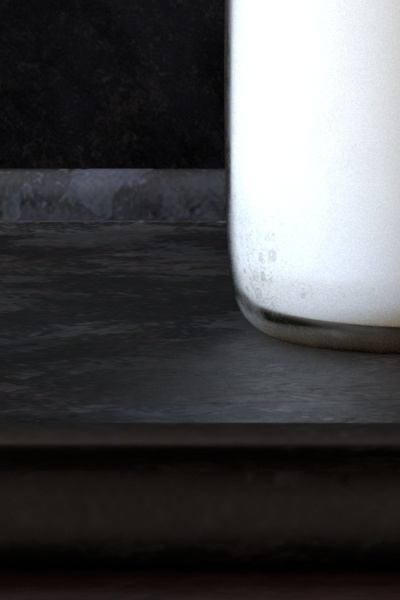
The Tray
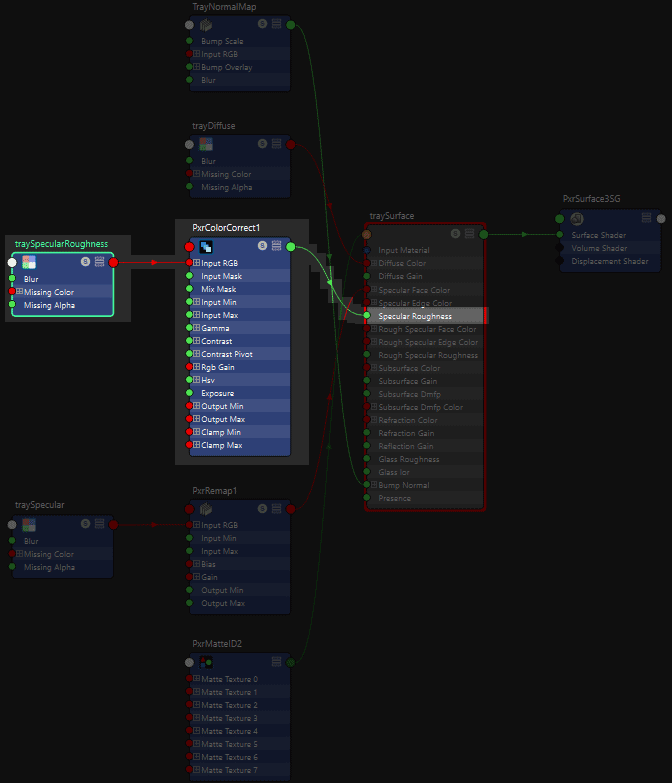
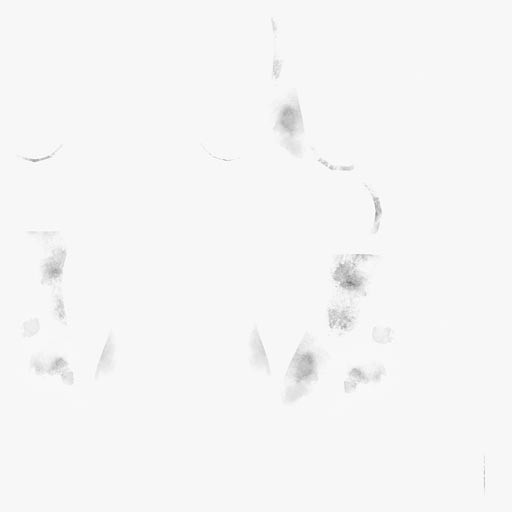
The tray that the main objects rest on has a similar treatment to the wooden table. To the left you can see it here without the objects on top. And another image where the milk has been added and a close-up to better see the surface texturing and variation for specular and specular roughness.
Below are the actual textures used to create the effects on the tray. These are square textures (1:1) and that ratio is preferred for texturing work when possible. Note images displayed here are more compressed than their actual project counterparts to improve page loading. In order left-to-right are Diffuse, Specular, and lastly Specular Roughness.
...
A final normal map is added to create the illusion of surface details and shape without resorting to using displacement to actually change the shape of the tray.
Passing maps through utilities to aid in look development.
...
Using the IPR mode in Maya, you can pass your textures through some utility nodes and make some value adjustments directly in the render.
| Info |
|---|
The pattern networks can be evaluated during the render every time it processes the texture or you can bake the result and improve overall efficiency for complex assets. (You might want to avoid baking things until you have final approval from the client to avoid endless trips to the render farm.) Some patterns are more expensive to evaluate than others and can begin to impact your scene render times. Baking can improve this since it's simply evaluated once as a texture and cached. You can find out more on the topic of efficiency by looking at the article on Improving Performance. |
| Note |
|---|
While Ptex can save time preparing assets for texturing, the performance is not as good as using standard textures on objects with UV's defined. This cost and benefit balance should be weighed when planning a project. If you have many objects to texture, Ptex may save your artists time overall. Otherwise you may find better rendering efficiency and simplification with texture maps and typical UDIM (or "tiled") UV layout. |
...
Below, the Specular Roughness texture is changed using a PxrColorCorrect node and adjusted in Maya's IPR. Different Gamma values are used in the Color Correct section of the pattern. Since the texture is a grayscale (scalar) map, the RGB channels all have identical values. Only the Red Channel is manipulated and then connected to the Primary Specular Roughness parameter. Alternatively you could connect the Color Correct pattern to a conversion node like the PxrToFloat pattern, but this adds another evaluation to the node graph that's not necessary in this example.
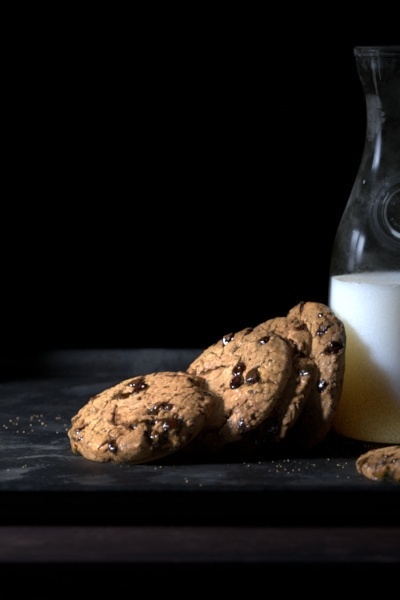
Milk Bottle
Now we can take a look at the Milk and Bottle.
...
Layering this affect more easily has two options we'll talk about and a third concern about trace depth covered in another document:
- Using PxrLayerSurface to separate and then combine the shading of the glass and the dirt.
- Correct UV layout to prevent texture repetition on the inside and outside.
- Controlling ray depth appropriately to get the right physical result for glass.
...
| Note |
|---|
It's best to model objects volumetrically. They should have actual thickness and the space between the glass surfaces works just the way it does in the real-world and should behave as you would expect. Avoid two-dimensional models unless it makes sense to do so for things like leaves or paper. |
| Info |
|---|
When rendering most glass containers with liquids, it's helpful to understand intersection priority to avoid artifacts and "air gaps". This is technically known as the dielectric interface or nested dielectrics. |
![]()
First we'll look at the glass layer by removing the upper dirt/milk layers.
...
The refraction color is what tints or attenuates the transmission of light through the glass. In this case, to imply more imperfections, a map has been connected to this color input. The white areas signal that the glass in these areas are clear and colorless.
The roughness is similar to the diffuse map but the color has been removed and the blackpoint has been altered. This means there should not be any area on the texture that's perfectly black or 0 0 0. Instead it's slightly lifted to 2% to give even the clearest areas a slight roughness which is realistic for this image.
Above this glass layer is a simple dried milk smudge map applied as an upper layer in the PxrLayerSurface. A simple mask is applied to a white diffuse color. Below is that that diffuse color and mask rendered on the bottle.
...
For materials not listed in the table you can start with something in the table that best matches your target look and then alter the color and gain appropriately. The recommendation for Mean Free Path Distance remains the same however.
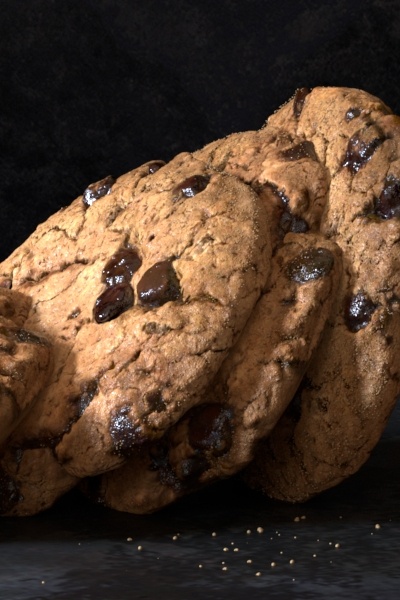
The Cookies
The cookies are mainly a diffuse object with just a hint of scatter. The chocolate chips are shiny and almost molten in appearance. This is achieved using similar methods to the objects above and adding in the scatter as an effect you learned about in the milk above.
There's also a displacement to add modeling details and some small particles to add crumbs to the surface and table. You'll notice that close-up the crumbs may be floating but this is an exaggeration so that it's easier to notice from a distance.
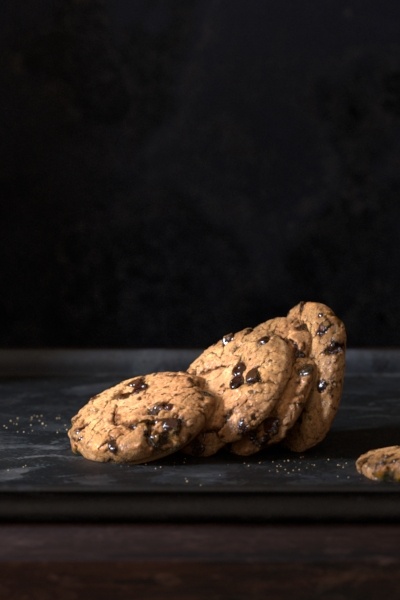
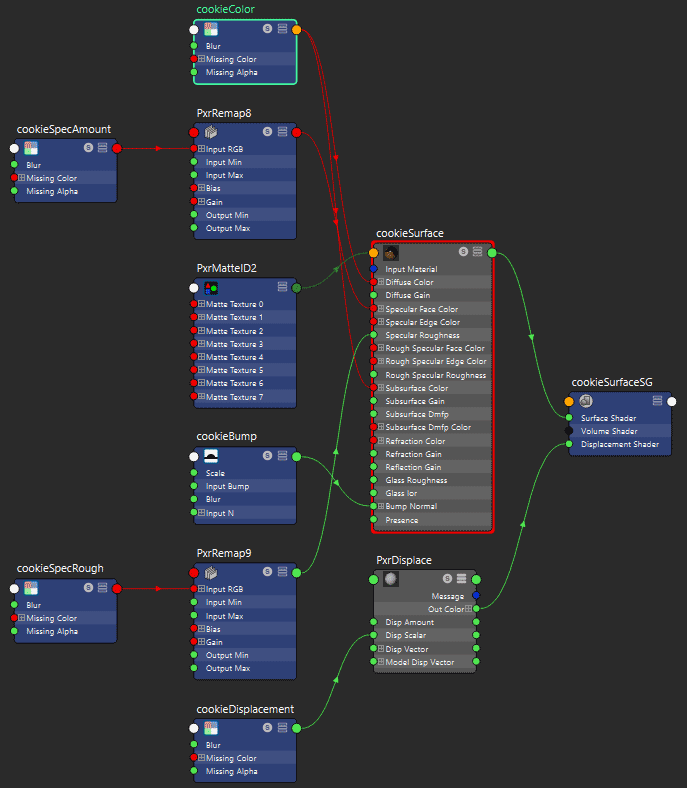
Below is the shader network for the cookies. Each on is repeated and rotated. This creates the illusion they are all a bit different and it works well in this scene.
The remap nodes are used to adjust the cookie specular properties in the render as mentioned in the Tray section.
The Crumbs
A particle system is used to create the crumbs of the cookies. The material is simple, a matching brown color and a very slight specular color on the edge.
...
This scene makes use of a common three-point lighting scene. There is a fill light that makes use of the PxrDomeLight, a rim and key light that use a PxrRectLight.
With the exception of the Fill Light, the other lights use the emission focus to create a softer edge and a subtle spotlight effect.
...
Here it's placed off screen to feel as though it's a natural window light. The specular amount is again reduced on the right to soften highlights and produce the final image when combined with the other two light sources.

The Softbox
The scene is modeled with a set of walls used as a softbox. Softboxes are used to bounce and diffuse light in a scene. Since RenderMan makes use of global illumination, this photography trick works like it does in the real world. You can change the amount of diffusion from the softbox by changing the diffuse gain and color.