Contents
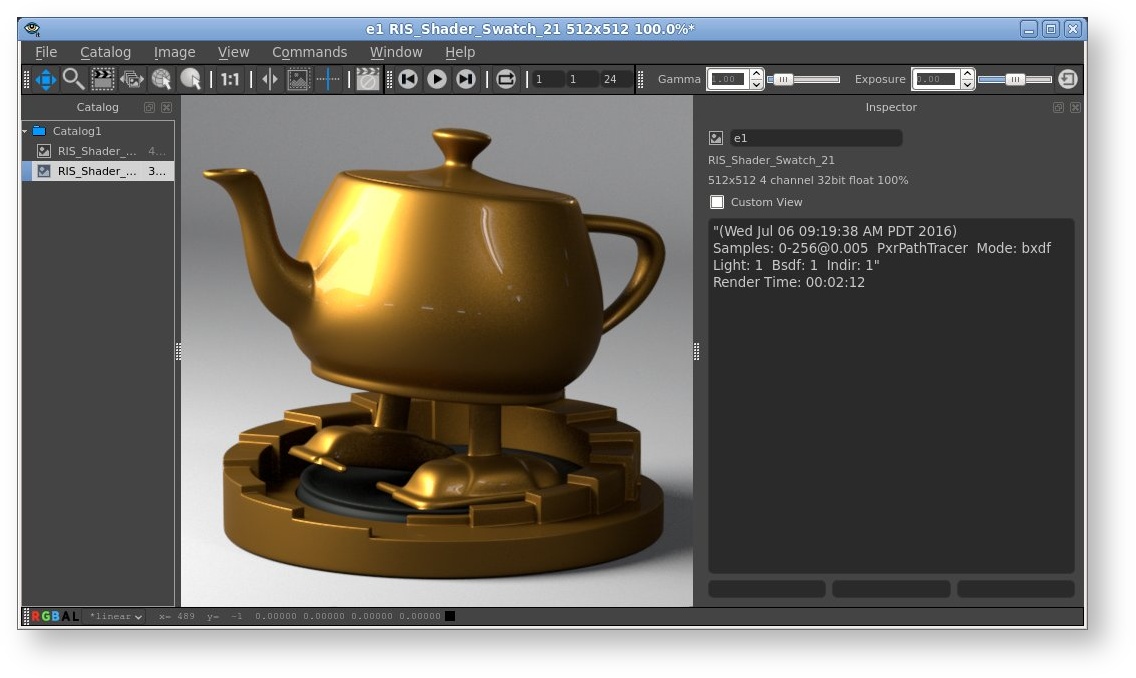
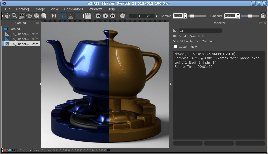
Image Tool ("it") is a robust framebuffer/render view window, offering complete floating point support and a powerful and flexible catalog, as well as a fast and powerful imaging tool that is capable of production-quality image manipulation and compositing usually found only in high-end standalone products.
User Interface
The "it" window can be customized by selecting options in the first two sections on the "Window" menu These optional windows and toolbars can be shown or hidden from the menu, or toggled on or off with their associated hot key as displayed in the menu. They can also be docked into the main window or left as floating windows. Double-clicking on the title bar of one of these sub-windows will toggle it from docked to undocked. Toolbars, such as the "Pixel Readout" toolbar, don't have a title area since they are so small and instead have a grab handle at the end or top that is used to place them. The grab handle can also be double-clicked to toggle the docking.
For screens with a high DPI you may find the text is hard to read. You can change this manually. Look for the file here:
$RMANTREE/lib/Resources/stylesheets/it.qss
This acts like a Cascading Style Sheet for "it". You can alter the text size using this section:
QLabel#PixelReadout {
    font-family: Courier;
    font-size:   20px;
    margin-left: 10;
}
Since we don't recommend altering shipped files, you may put a copy of your new .qss file in your custom directory defined by the environment variable: RMS_SCRIPT_PATHS
Catalog
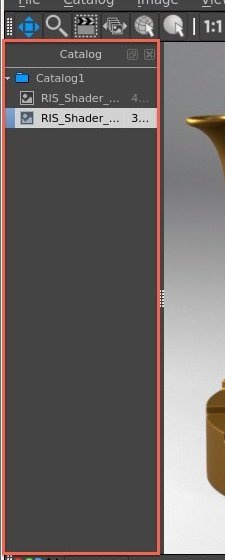
This window shows all the images and renders that are stored in the current "it" session. Multiple catalogs can be used, each storing their own images. To create a new catalog, go to File->New Catalog.
Image Window
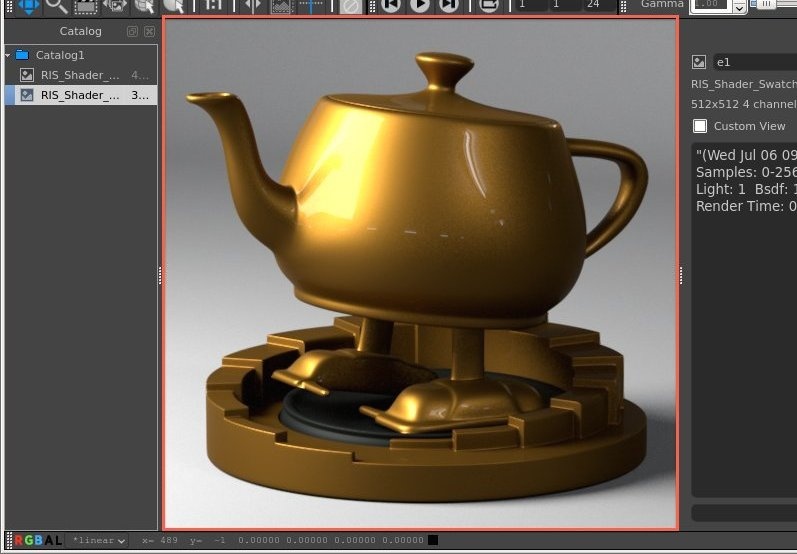
This window shows the current image or render selected from the catalog.
Inspector
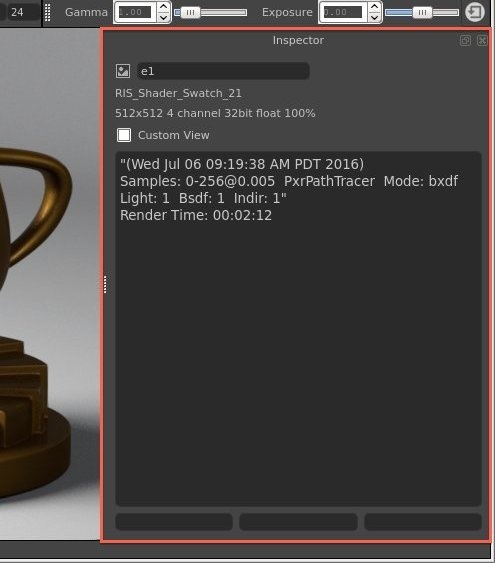
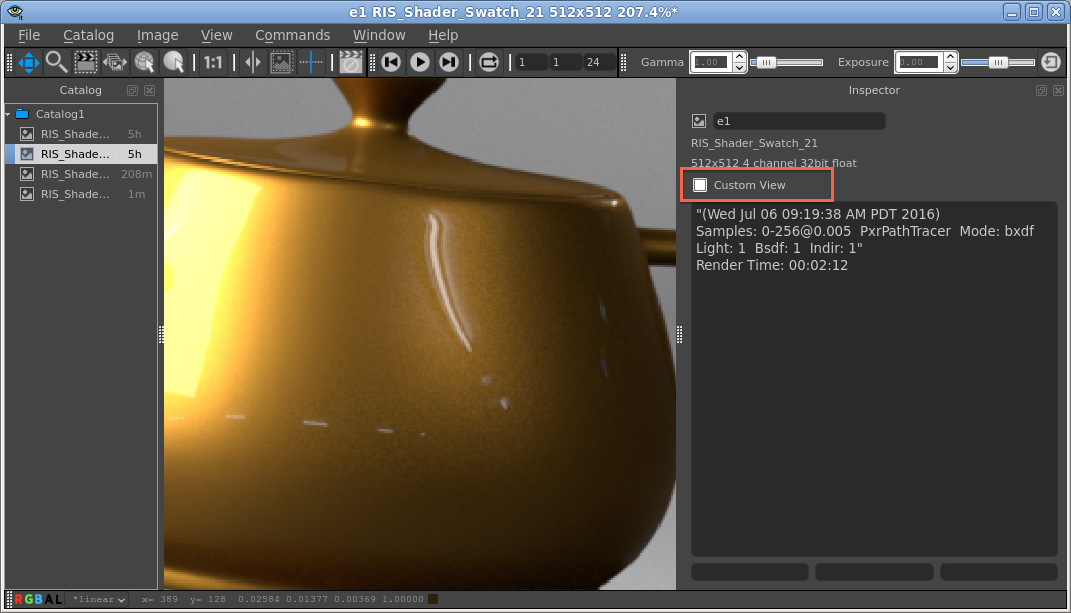
This window shows information related to the selected image or render. The large text area is the Notes field. This allows you to add any meta data to the image. The Custom View option is explained later in the Views section, under Special "it" Features section.
Tools
The tools section gives you access to the most commonly used tools in "it". From left-to-right, they are:
Pan Tool
Click and holding down the left mouse button on the image window will allow you to pan around the image. (Default hotkey: 1)
Zoom Tool
Click and holding down the left mouse button on the image window will allow you to zoom in and out of the image. (Default hotkey: 2)
Crop Tool
Allows you to draw a crop window over your image. This allow you to re-render a portion of your image. To remove the crop window, left click within the crop window and click on the X in the top right corner. (Default hotkey: 3)
Scrub Tool
Allows you to quickly scrub through all your images in your catalog. Click and holding down the left mouse button while moving the mouse to the left will scrub backwards in the catalog; moving right will scrub forward. (Default hotkey: 5)
Select Object Tool
Will select the object in your content creation application (may not work in all bridge products). (Default hotkey: 6)
Select Surface Tool
Will select the shader for the object in your content creation application (may not work in all bridge products). Note that the render must include a Float id AOV to work correctly. Some IPR renders output this from the DCC application. (Default hotkey: 7)
Reset Zoom
Resets any zoom applied while using the Zoom Tool. (Default hotkey: X)
Wipe Tool
Allows you to wipe between two images in your catalog. (Default hotkey: 4)
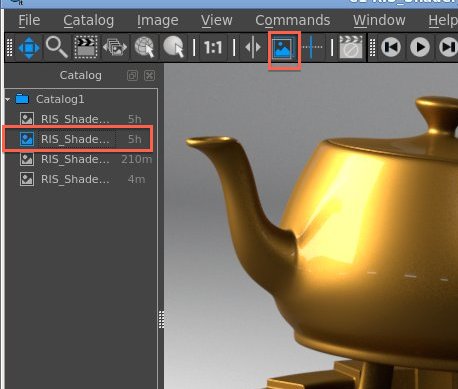
To use, select the first image in the catalog, then go to Image->Toggle Background.Then, select the second image in the catalog, and with the Wipe Tool turned on, left mouse button click and drag in the image window.
Background
Toggles the current image as a background. See Background.
Wipe Direction
Changes the direction of the wipe tool (vertical or horizontal)
Cancel Render
Cancels the current incoming render
Sequence Controls
The sequence controls sections gives you access to controls on image sequence playback. From the left-to-right, they are:
Step Back Frame
Step back one frame in the sequence. (Default hotkey: Left)
Play Sequence
Play/pause playback of the sequence. (Default hotkey: Space)
Step Forward Frame
Step forward one frame in the sequence. (Default hotkey: Right)
Loop Mode
Toggle on or off playback looping of the sequence.
For further explanation of Sequences, see Sequences under the Special "it" Features section.
Monitor Controls
The monitor controls gives you access to settings such as Gamma and Exposure. The right-most button resets the Gamma and Exposure controls to their defaults. There are also some useful monitor control hotkeys, including:
Exposure Up 1 F-Stop
(Default hotkey: Ctrl/Cmd + ] )
Exposure Down 1 F-Stop
(Default hotkey: Ctrl/Cmd + [ )
Gamma Up 0.1
(Default hotkey: Ctrl/Cmd + } )
Gamma Down 0.1
(Default hotkey: Ctrl/Cmd + { )
Pixel Readout
The Pixel Readout window gives you control of the channels view, pixel remapping, as well as information regarding the current pixel that is under the mouse cursor, including pixel coordinates and pixel values. You can lock the current pixel readout by going to View->Lock Pixel Readout (Default hotkey: M). The remap menu allows some post-processing to be performed on the image (re-mapping) before it is displayed. This does not alter the pixel values in your images. See Remapping for more information.
The channel view shows which of the image channels are currently visible and the options are RGB (normal color) Red, Green, Blue, Alpha (if present) and "Luminance".
Other
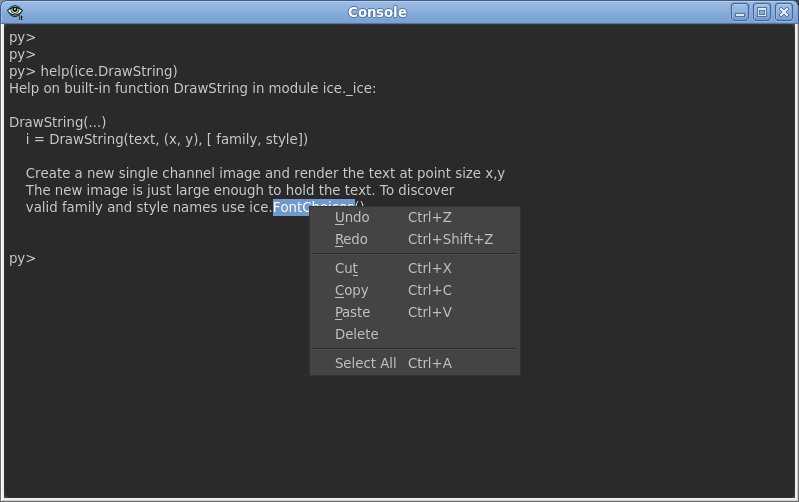
Right-clicking in the image area of the window also provides access to the menus. Other windows that are accessible on the "Window" menu such as the "Console", which provides python scripting access to "it" are not dockable and appear as top level windows.
Preferences Window
General
Save Sessions
Controls whether "it" session data should be considered valuable. If turned on, a save dialog will be presented when image catalogs are closed.
Image Cache Size
The number of images "it" should hold in memory. When exceeded, "it' will move the oldest image to a temporary file in the Scratch Image Location.
Scratch Image Location
Location where images are saved, if the total number of images in all catalogs has exceeded the Image Cache Size preference.
Maximum Zoom
Limits how much "it" will zoom in and out.
Short Window Titles
When toggled on, only the image filename will be displayed in the window's title bar.
Burn Mapping On Save
If toggled on, new catalogs will default to having the Burn Mapping On Save option turned on (Catalog->Burn Mapping On Save). With the Catalog->Burn Mapping on Save option turned on, images saved via File->Export will have their current view mapping burnt into the pixel values before writing to disk. This is useful if you want to share your renders from "it", especially in 8bit oriented file formats like png and jpeg.
Appearance
New bucket indicator
This allows you to edit the color of the recent bucket marker. See Recent Bucket Markers.
Events
Focus Incoming Render
If toggled on, the image window will automatically display the current incoming render.
Display Mapping
Sets which view mapping to use when Automatic view mapping is selected from the remap menu, for different bit depths (8-bit, 16-bit, Float) and whether the image is from an incoming render or from disk.
Shortcuts
Allows you to edit any of the hotkeys mapped to specific commands in "it".
Special "it" Features
AI Denoise
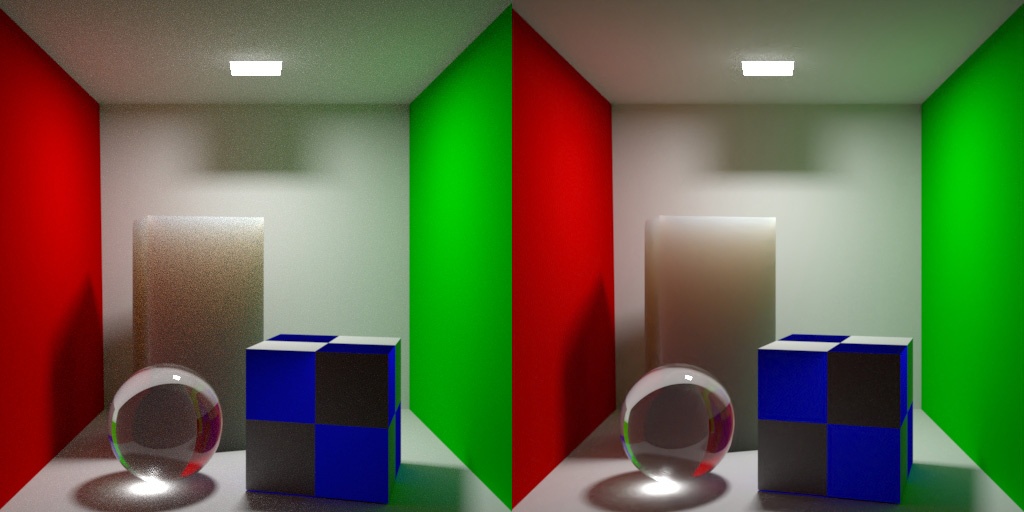
'it" can interactively denoise beauty renders for preview purposes using Nvidia's AI Denoising solution. You can choose this in the View menu or press N on the keyboard to toggle this on and off. This requires the latest Nvidia drivers (391.89 as of this writing) and an Nvidia GPU on the system that is reasonably modern (Minimum is Kepler, newer cards will perform significantly better). Images that are more converged (has more samples) will achieve better quality. Insufficient convergence will resemble a watercolor or "painterly" style image.
This feature is meant for interactive preview rendering only, it it not designed for final renders or animation. AI Denoise only operates correctly on the beauty (Ci) and not on AOVs. To correctly view AOVs, toggle the denoiser off or you will see artifacts. The final EXR output is unaffected by the denoiser. Use the Snapshot feature of "it" to save the denoised Beauty instead (see below this entry).
Snapshot
From the Commands window you can choose to Snapshot an image. This makes a quick copy of either a completed render or an (in-progress) interactive session. There is also an option for No AOVs should you just need to capture the beauty render. This is useful for interactive sessions where you want to save how a current scene looks before you make a change and then compare them. This places the snapshot next in the Catalog list. To save an image that is using the Nvidia AI Denoiser, you must use Snapshot as an export will only save the underlying raw image. You must also have Catalog Menu > Burn In Mapping On Save selected.
Views
Views in "it" are a combination of zooms, pans, pixel aspect ratio and view mappings. By default all images in a catalog share a view. This is convenient when you want to step through a shot that you've rendered to "it" (hot key PageUp/PageDown). When you zoom in and step to the next frame in the shot the zoom and pan remain the same. However, sometimes you'd like to be zoomed way in on one image to look at some feature and then flip between that and a zoomed out image. "it" accommodates this with Custom View. When you turn on Custom View for an image, that image then has its own zoom and pan, independent of the other images in a Catalog. Custom Views are saved if/when the Session (or Catalog) is saved.
Pixel aspect ratio is useful when working on projects that generate non-square imagery. One example of this is the film format Cinemascope. In some pipelines you might decide to keep your digital files in a format where a pixel is half the size in the horizontal direction than the vertical. 'it' allows you to specify this in the view so that on your monitor images look normal. This menu is fully configurable from your it.ini file including the names on the menu and the aspect ratio of the pixels. You may also attach short cut keys to different aspect ratios even if you customize this menu.
Recent Bucket Markers
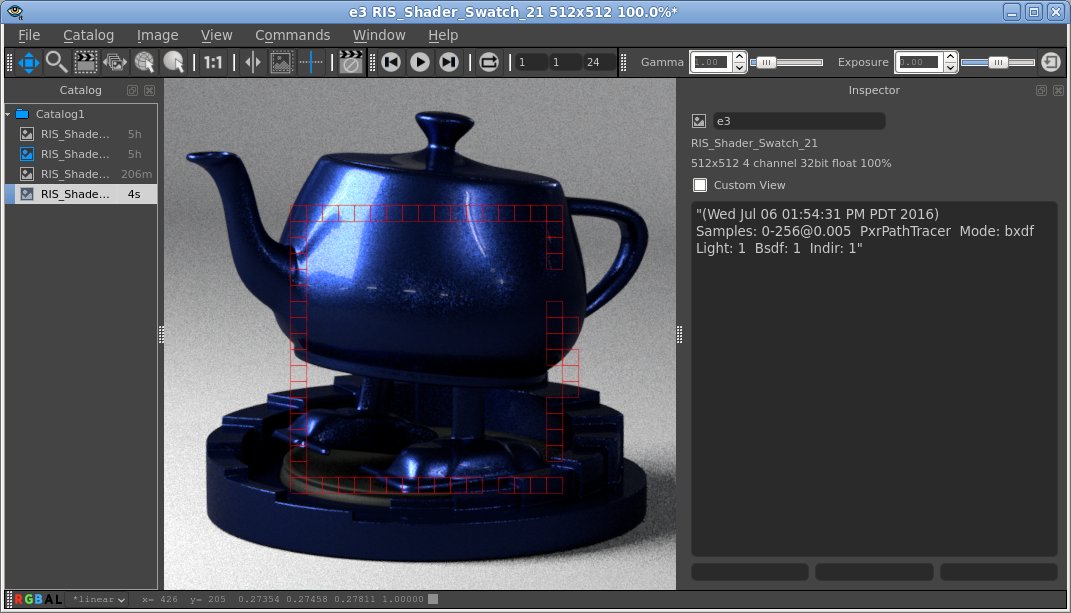
When 'it' is being used as the destination for a render it will display a rectangle around each bucket as it arrives. The indicator will fade over a few seconds. This is useful when an image in being refined as it is sometimes difficult to see what part of the image the renderer is working on. This feature can be toggled on and off and the color of the rectangle can be altered in the preference dialog.
Background
Any one image in a Catalog can be set to be the Background image. When you then select other entries in that Catalog, the displayed image is the result of compositing the selected image over the nominated background. To toggle the current image to be a background image, use Image->Toggle Background. The icon next to the image in the Catalog will then light up. See Working With Background Images.
Remapping
The remap menu shows the color space that your image is in. Typically this would be linear for rendered images and sRGB for 8 bit image files. By default "it" chooses the image space of the image and when it does this the image space is preceded by a *. You can use the menu to override "it"'s choice (the * indicator will go away)
"it" supports view mapping output images to accommodate your workflow of choice using the OpenColorIO system. Your view mapping defaults can be set for images rendered to "it" as your framebuffer (regardless of bit depth) or for imported images (with different mapping for different types, if necessary).
There are several important things to remember about remapping:
Remapping is applied only for viewing files. It is not burned in. See Burn Mapping On Save preference.
Images rendered via RenderMan are, by default, in linear space, unless an exposure is applied to the output (which can be done in RfM via the Output Settings tab of the RenderMan controls).
If you do apply an exposure to your output, be sure to make the proper adjustment to the default image mapping for rendered images.
The OpenColorIO setup can be changed via your it.ini, though, as always, we strongly recommend making the changes in a site-specific surrogate ini file, referenced via RMS_SCRIPT_PATHS. "it" will also use the environment variable OCIO if it is set to find the OpenColorIO config file.
A special entry on the remap menu is the Shadow Map option, which is useful for viewing shadow map files. These files can have huge ranges that are well beyond zero to one, so the traditional way to display these has been to rescale the min and max values to zero and about 0.9, and then invert them with (1 - val).
Sequences
Sequences are for when you've rendered a shot or perhaps a wedge of parameters to a shader and now you would like to see them all played as a sequence. The Sequence toobar has the controls for starting and stopping playback and the frame range controls. "it" will either play the whole catelog or you can open a set of images on disks as one element (called a "sequence"). There is also a "scrub" mouse tool which when activated lets you move through a sequence by dragging with the left mouse button in a horizontal direction.
An image sequence can be created by opening multiple files on disk in a directory, use File->Open Sequence instead of File->Open Image. "it" will discern which files belong to the sequence; and the frame range will appear in the Sequence toolbar.
Sequences are low tech in that they don't provide a way to save or load movies, and the entire "movie" is held in RAM. "it" places a cap on the number of images it will hold in RAM so for smooth playback you will need to set that cap (Image Cache Size) to at least the number of frames in your sequence.
Color chart generator
The photo and film industry has been using color rendition charts for decades ensure high quality results. You can learn more by reading one of many articles on the topic.
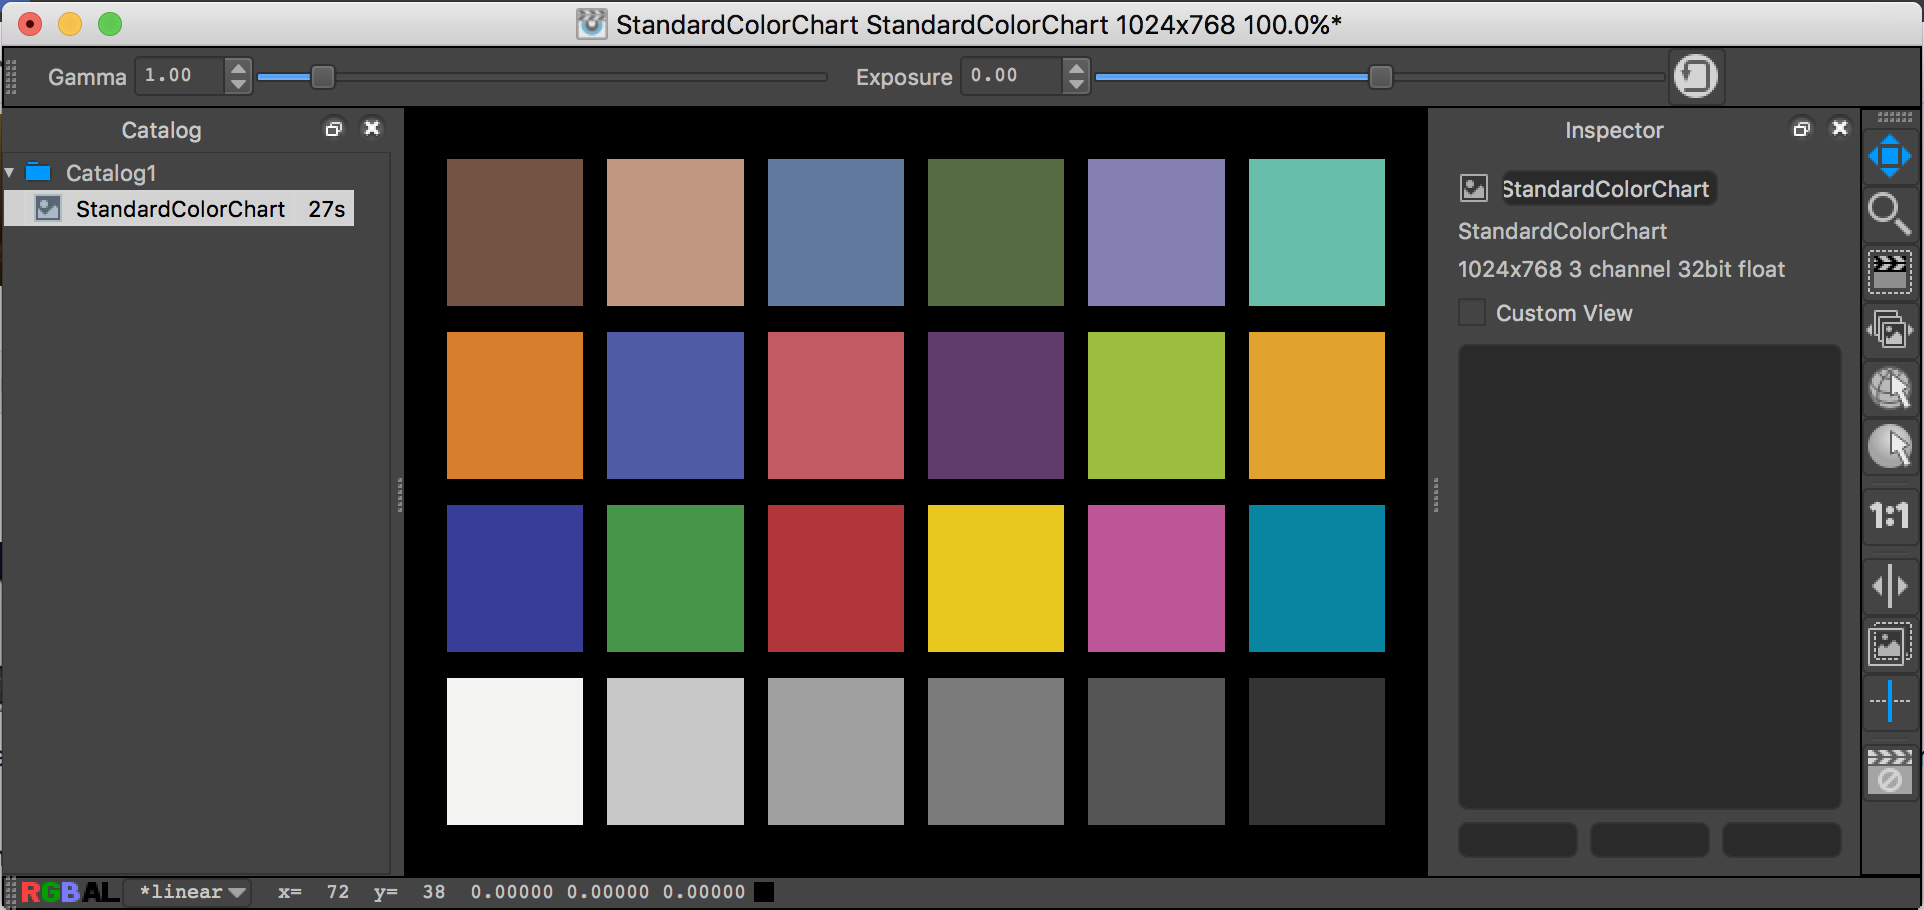
It offers a standard color chart generator (using published sRGB values) that can be used in your look-dev renders as an stable color reference.
- The color chart is generated at 1024x768
- The image should be saved as a 8-bits image (tiff, png) with Burn Mapping enabled.
- Reference it in PxrTexture and enable Linearize.
Analysis Tools
Diff
This command will compute the difference between 2 images from the catalog. Typically, you might want to generate a heat map from the diff image (see below).
Find Variance
This command computes the variance of an image compared to a reference image.
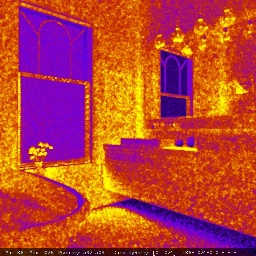
Heat Map
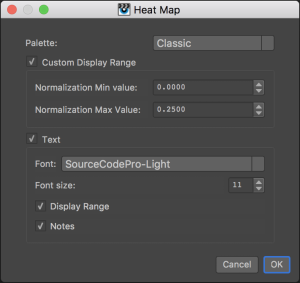
Often, it is useful to create a heat-map from a data image to visualise its content. This function offers a few controls to generate heat maps from single-channel images or the luminance of a color image. You can select more than one image to process at once.
Palette
There are 3 different palettes you can choose from: Classic, Fire and Hue
Custom Display Range
When this is un-checked, the heat map is displayed using the pixels' min-max values, otherwise it uses fixed values of your choice. It is useful to use a fixed range when comparing different images, like the sampleCount AOV for different renders.
- Normalization Min Value: the lowest value visualised.
- Normalization Max Value: the highest value visualised.
Text
You can add some text at the bottom of the image with the minimum, maximum and average values, plus a couple of optional fields:
- Font: choose a font you like
- Font size: adjust the font size, bearing in mind that everything must fit on a single line.
- Display Range: display the custom display range values.
- Notes: display any notes the source image might hold.
Isolate Values
This simple command replaces with black any values that don't pass your test. You can compare the pixel value or luminance to a fixed value, using <, <=, ==, >= and >.
This is useful to find specific values in an image.
Dump Metadata to message log
Retrieve an image's metadata and display it in the message log window. Note that only loaded images have metadata.

