Contents
We do not support Camera Facing Curves in Xgen in RfM
To use the IGS/Interactive Xgen surface UVs for color/texture, you can reference this in the PxrManifold2D of your color placement as scalpS and scalpT Primvars.
To use texturing in Yeti from the surface, you can reference this in the PxrManifold2D of your color placement as surf_s and surf_t Primvars.
Do you need help rendering Xgen hair? Try this example file for Maya.
XgenExample.zipYou can find an easier way to shade and control hair using a pattern included with RenderMan: PxrHairColor

© Disney/Pixar
PxrMarschner is a material designed to render realistic hair, fur, and fibers.
This is the same material and design used in many of Pixar's animated features provided to users rendering their own scenes. The controls are minimal and artist friendly. The material is also physically plausible so that artists can begin with a realistic result and refine their options based on art direction.
If you would like to dive into the technical details of the material you can see the Pixar Technical Memo 15-02 "A Data-Driven Light Scattering Model for Hair" by Leonid Pekelis, Christophe Hery, Ryusuke Villemin, Junyi Ling for more information. This document will describe the parameters with examples so that artists can begin creating immediately!
The examples below will illustrate how changing parameters affects the look of the hair.
Diffuse Parameters
There are two choices of diffuse models: Zinke and Kajiya. By default, it is set to Zinke diffuse model which is for bidirectional scattering. See Importance Sampling for Physically-Based Hair Fiber Models.
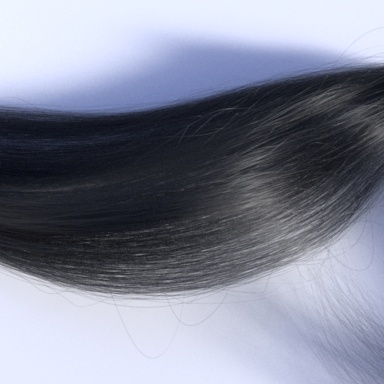
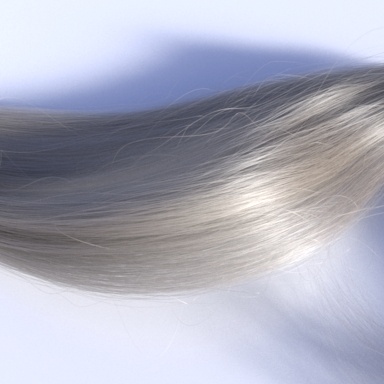
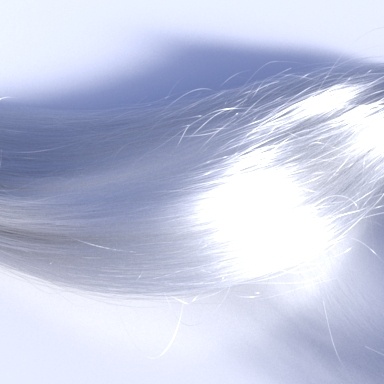
Diffuse Gain
This parameter is a multiplier to the Diffuse Color. 0.0 means no diffuse color while 1.0 is the full affect. The default is 0.0 which provides a very realistic dark to medium hair but with potentially higher rendering cost. You may need to use higher amounts for lighter hair like platinum blond or grey hair.
Diffuse Color
This is the diffuse color of the hair itself. Even for blond hair this is a darker shade than other color parameters for most realistic hair. For the best realism we recommend this be the same color as your Secondary Specular Color and adjust the gain alone. The default is middle grey.
Specular Parameters
The bulk of your controls can be found under the Specular Parameters. Each of these relates in some way to the description below.

The Marschner specular model consists of three specular lobes using multiple specular transport paths shown above as directional arrows:
- Primary Specular: R is for "reflect" where light hits the surface of the hair and reflects. This is the strong primary colorless specular.
- Secondary Specular: TRT is for "transmit", "reflect", and "transmit" where light transmits through the hair surface, then it reflects from inside the hair and exits the front of the hair. This is the secondary colored specular.
- Transmit Specular: TT is for "transmit" and "transmit" where light transmits into the hair surface and then exits through the other side. This is the colored transmission that responds to rim lighting.
The Specular Gain controls allow the artist to break energy conservation for artistic purposes. If the values entered add to greater than 1.0 then the hair is not energy conserving. This is only important if you are unsatisfied with the look (it's too "hot") or are interested in starting with physically realistic shading.
The default gain is now 1.0, previous versions may have been set to 0.33.
Primary Specular Gain
Gain for the R lobe of Marschner specular. This is like a clearcoat where the specular is fairly sharp and glossy and normally not colored. This specular is a direct reflection which is not tinted by any volume attenuation. Modifications of the R lobe help to make a hair look "wet" as well.
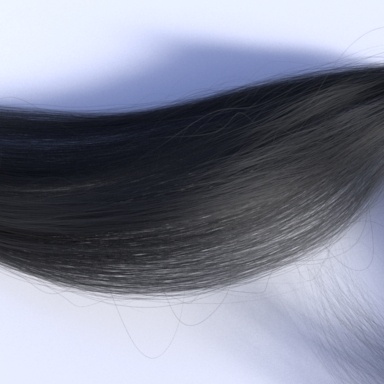
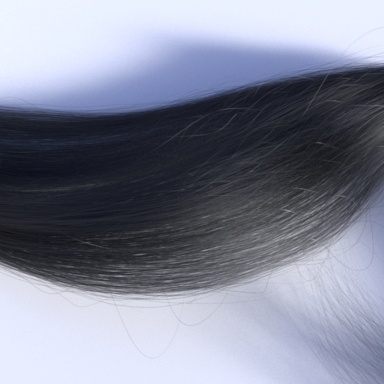
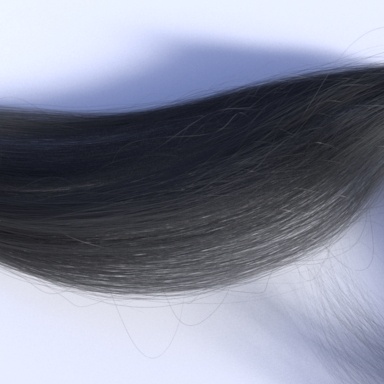
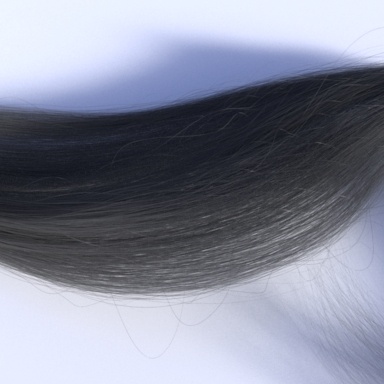
Secondary Specular Gain
Gain for the TRT lobe of Marschner specular. This is a rougher and colored specular. This goes through the hair fiber volume twice.
Transmit Specular Gain
Gain for the TT lobe of Marschner specular. This is a transmission-type (refraction) specular with some volume attenuation. It goes through the fiber volume once. High values may increase noise.
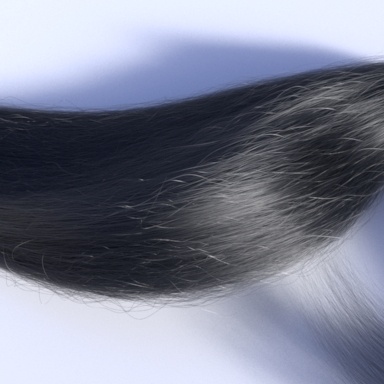
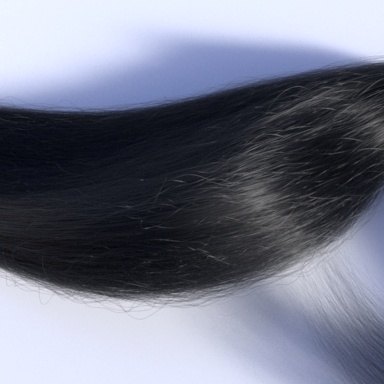
Glint Gain
Gain for glints. This is a multiplier for the effect of Glints and operates like the other gain controls.
Primary Specular Color
Specular color for tinting the Primary Specular (the R lobe). For natural hair and fur, this should always be white.
Secondary Specular Color
Specular color for the TRT and glints lobes.
Because it represents two paths inside the hair fiber, it should be darker and more saturated than the Transmit Specular Color which technically is the square root of the Secondary Specular Color. For more realistic hair this should match with the Diffuse Color.
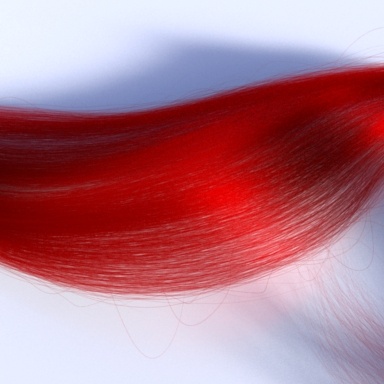
Transmit Specular Color
Specular color for the TT lobe. The below examples are set to Transmit Specular Gain of 1.0 with all other gain at 0.0
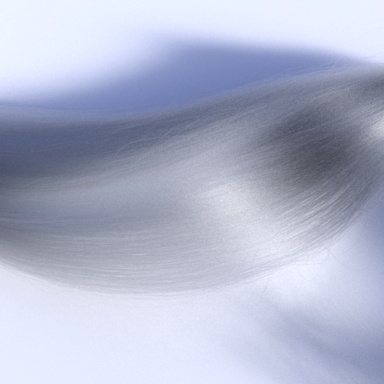
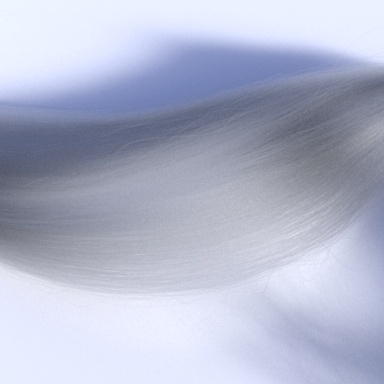
Primary Cone Angle
Cone angle (theta) for the R lobe in degrees. The broader the angle, the softer and broader the highlight.
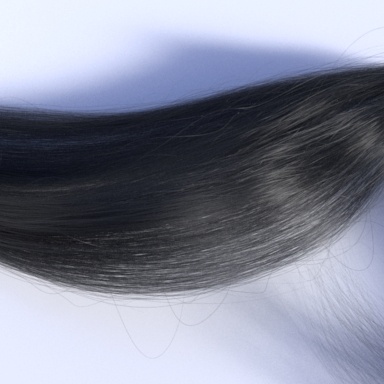
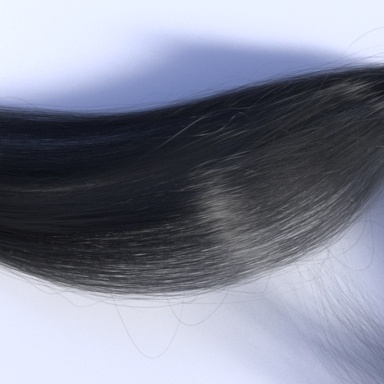
Secondary Cone Angle
Cone angle (theta) for the TRT lobe in degrees. The broader the angle, the softer and broader the highlight.
Transmit Cone Angle
Cone angle (theta) for the TT lobe in degrees. The broader the angle, the softer and broader the highlight. Note that high gain for this parameter makes for soft and light colored hair but generates quite a bit of noise. This may increase render times at higher angles.
Specular Offset
Cone offset in degrees, this can be used to shift the specular result along the hair.
Refractive Index
The refractive index (ior) of the hair. Higher numbers increase the specularity similar to how this would work on opaque surfaces. This can make for an almost metallic looking hair fiber.
Fresnel Mix
This control is to balance the fresnel energy attenuation along the hair.
Glint Width
This parameter smooths the Secondary Specular (TRT) and Glints distribution. This value should typically remain between 10 and 25 for realistic hair.
Eccentricity
This is the cross-section aspect ratio of the hair and is usually between 0.85 and 1.0 for realistic hair. This is most often used when rendering curly hair. (Note this depends on the hair normals, you should supply user normals through a PrimVar other than specifying N.)
Glow
Glow can be used to create hair fibers that appear to emit light or "glow" in the scene.
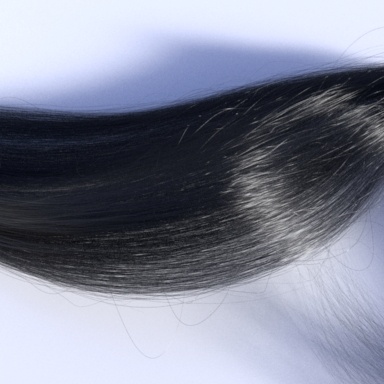
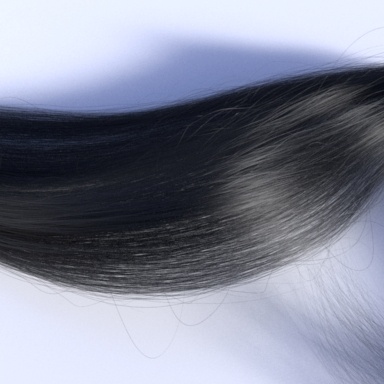
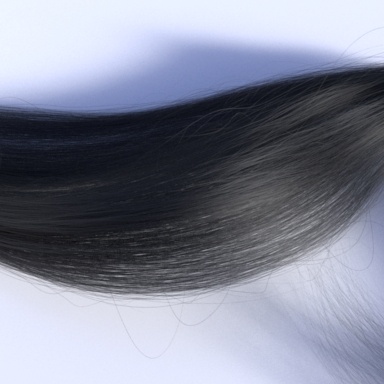
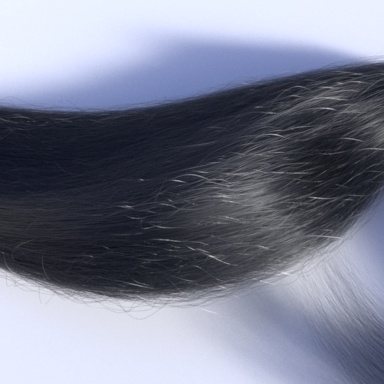
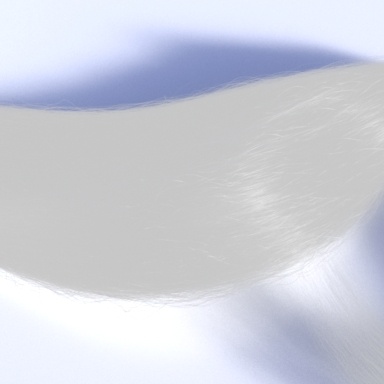
Gain
Glow gain or weight. Below we go from the typical black hair and increase the gain (using white color) to 0.5 and then 1.0.
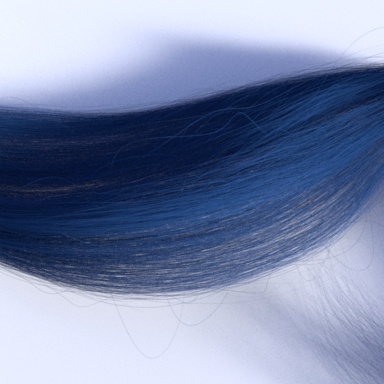
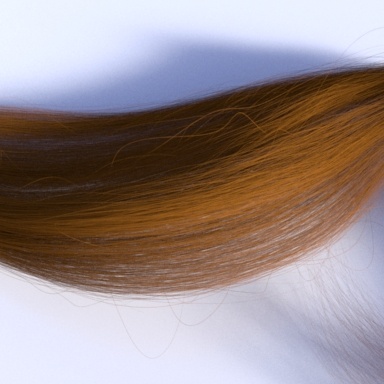
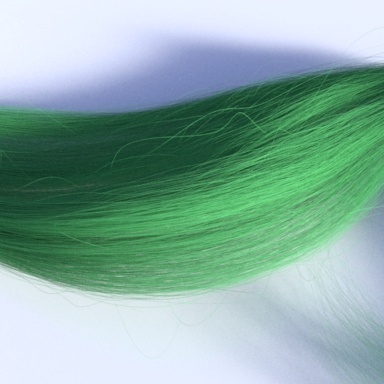
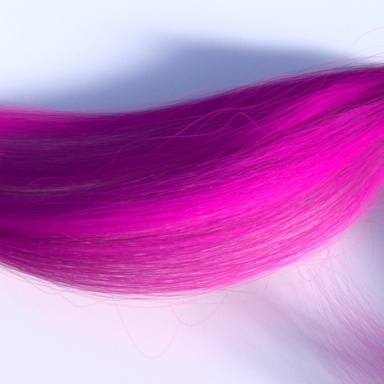
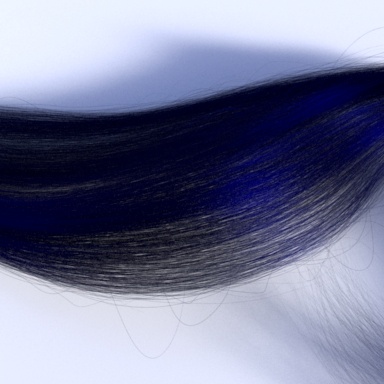
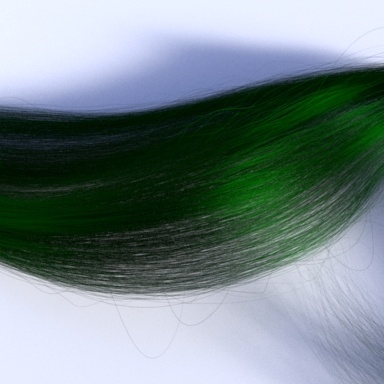
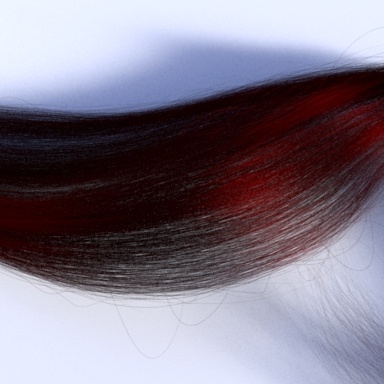
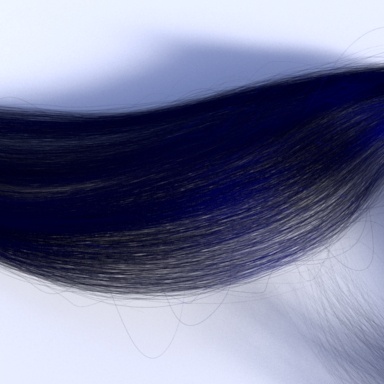
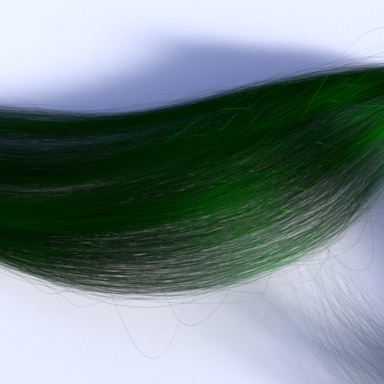
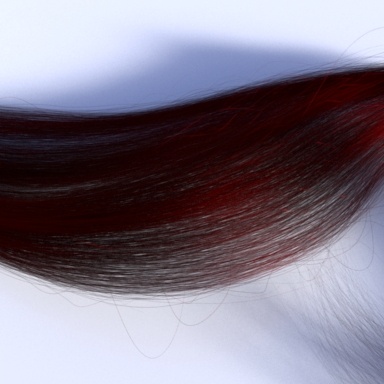
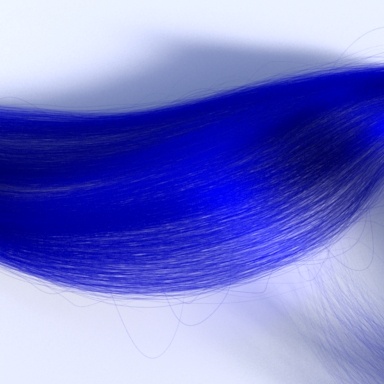
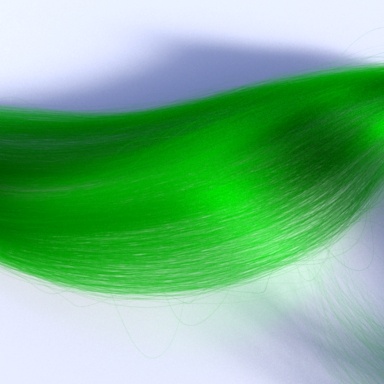
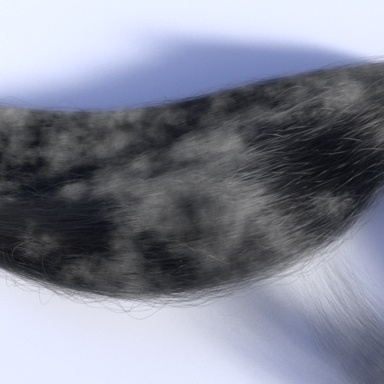
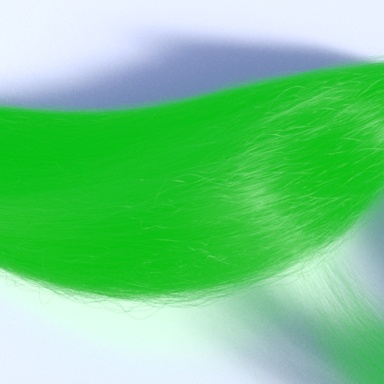
Color
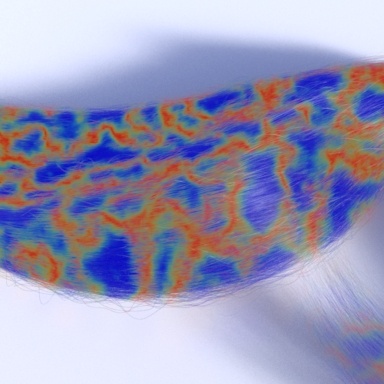
Controls the incandescence color, or glow, of the material. Below are various examples of textured inputs to the Color parameter.
Globals
This section provides global controls for the entire material. Presence is also a global parameter that will mask out or "cutout" all the lobes as-if the object isn't present where the mask has a value of 0.0
Specular Energy Compensation
This control allows the darkening of the diffuse result as energy is taken by the specular response with leftover energy used to light the diffuse lobe. Setting this to 1.0 corresponds to the physical effect. The default is off (artistic control) and does not conserve energy.
Presence
Connect a mask here to apply a cutout pattern to your object. Presence is defined as a binary (0 or 1) function that can take on continuous values to anti-alias the shape. Useful for cutouts like creating leaves and other thin, complex shapes.
This value should be either 0 or 1. A value between 0 and 1 will produce unwanted noise!
Eccentricity Direction
This parameter can be used to override the geometric normals for controlling the Eccentricity parameter.
Shadow Color
Specify shadow color. This parameter is useful for faking a shadow color for art direction purposes. Note that this creates "transparent shadows" and will increase render time as more rays are traced between hairs. It may also influence global illumination between the objects.