Contents
Render Settings for RenderMan for Maya (RfM) are controlled through the Maya Render Settings dialog. This is accessed through multiple locations:
- Primarily in the Maya Shelf there is an icon for Render Settings:

- Through the Menu: Windows -> Rendering Editors -> Render Settings
- Through the RenderMan menu: RenderMan -> Render Settings
- When Maya is in Rendering mode, through the menu: Render -> Render Settings
If you've not created a light in your scene, RfM will create a default directional light for you at render time. This is to support the standard Maya Default Light workflow. You must turn this off under the Common Tab if you require a scene with no lights (for example, your scene is lit with emissive objects alone).
All these options bring up the same dialog which feels familiar to anyone who has used the native Render Settings in Maya.
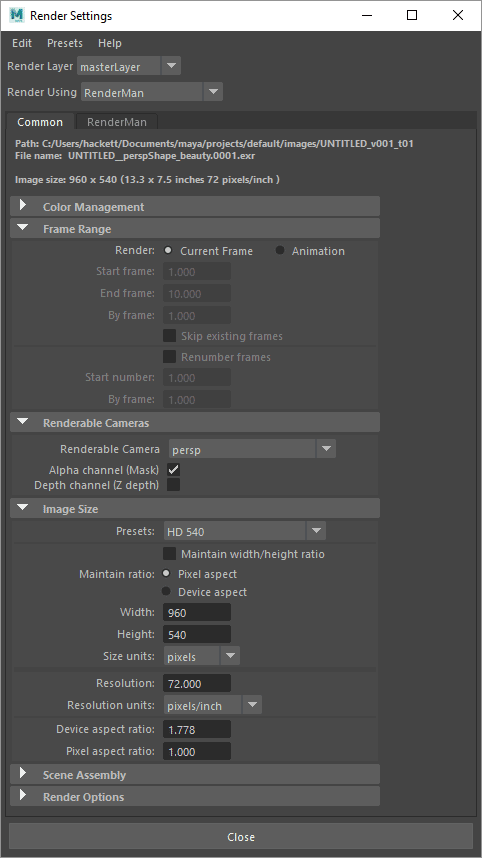
When RenderMan is selected as the Maya renderer, the above dialog is shown. There are 6 tabs at the top for controlling different parts of the renderer.
- The Common Settings tab for controlling the image format and frame range, along with other options.
- The Sampling tab for accessing sampling controls with RenderMan which affect render time and quality.
- Features tab which allows you to turn on denoising, motion blur and other render features.
- The Advanced Settings Tab, where an artist can edit more advanced options, such as cache sizes or bucket order.
- And finally, Workspace Settings which displays job settings for output locations, and texture locations that are controlled through the RMSWorkspace.ini