Contents
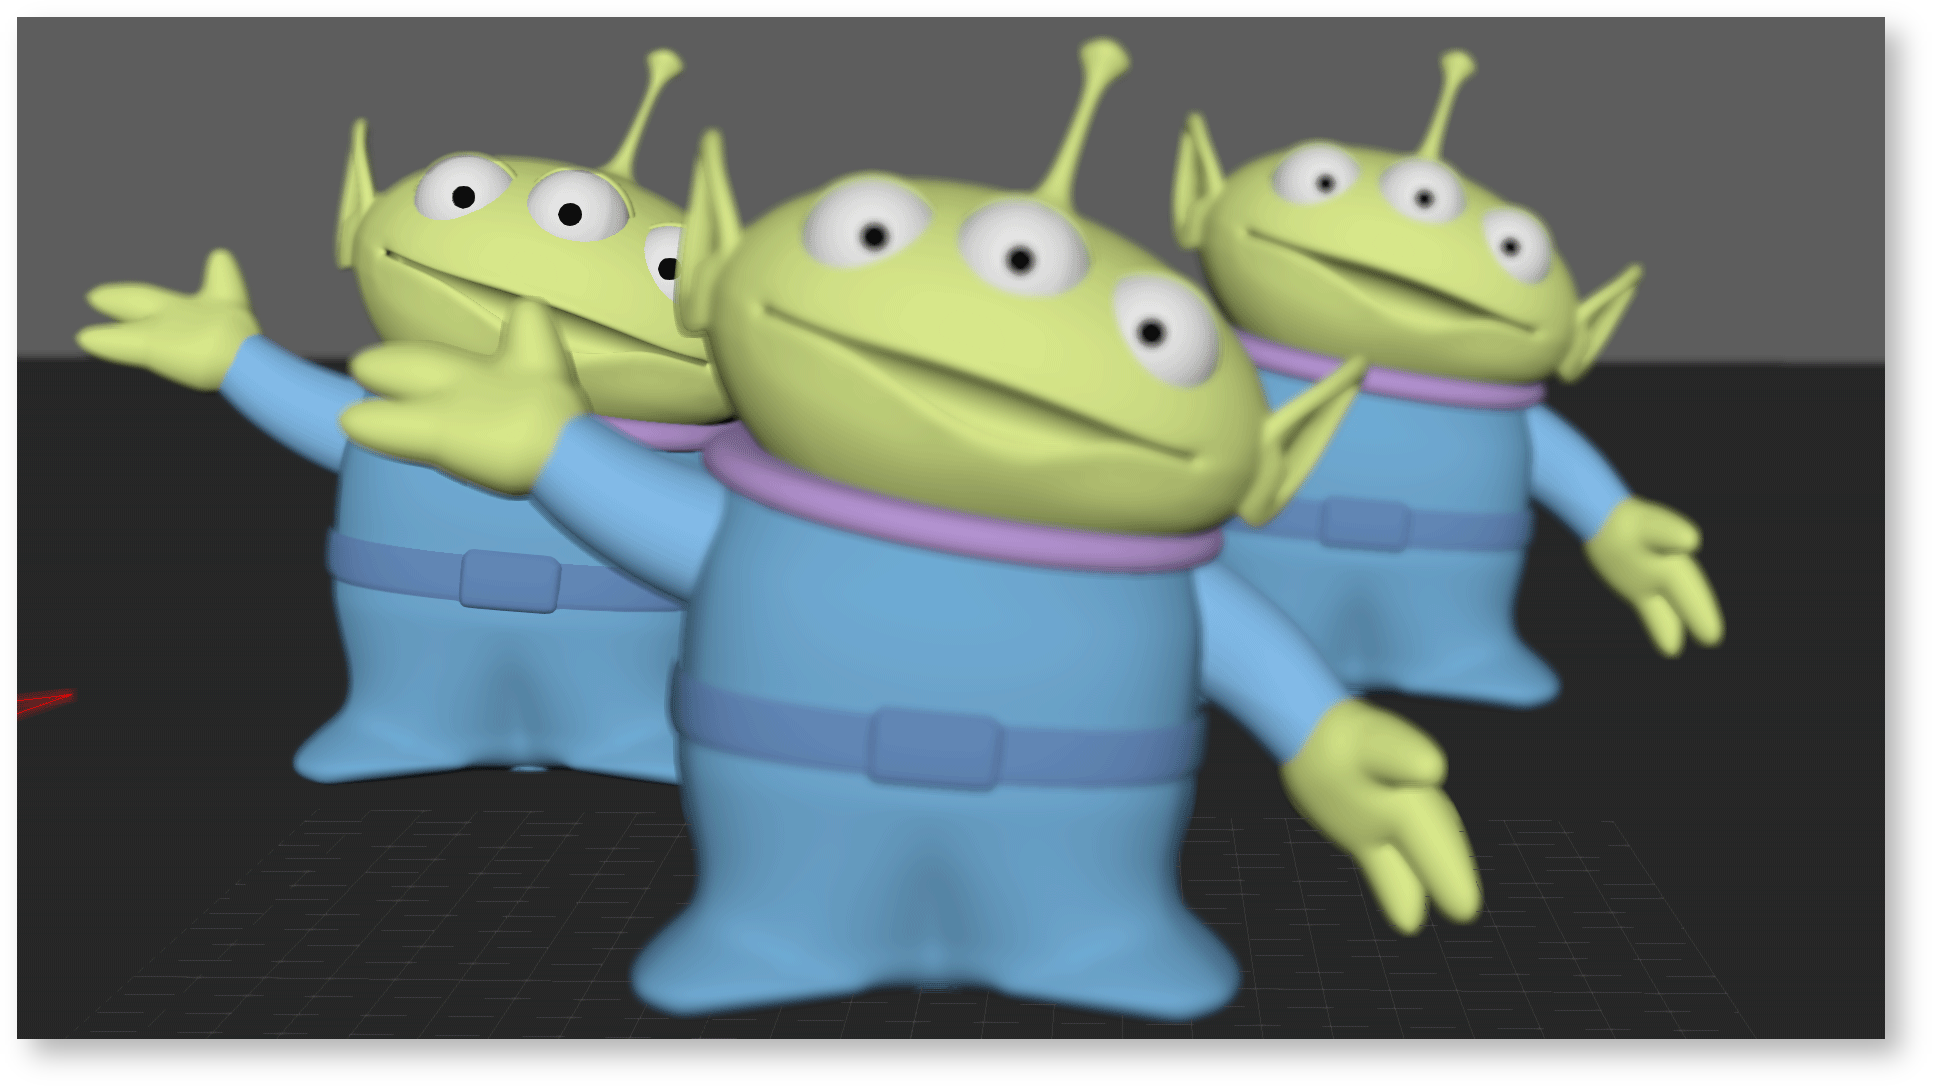
Depth of Field (DOF) is a photographic technique used to convey scale (size) and areas of interest in a composition.
Clever usage can lead a viewer to certain parts of your image and increase photorealism by correctly mimicking a real-world lens.


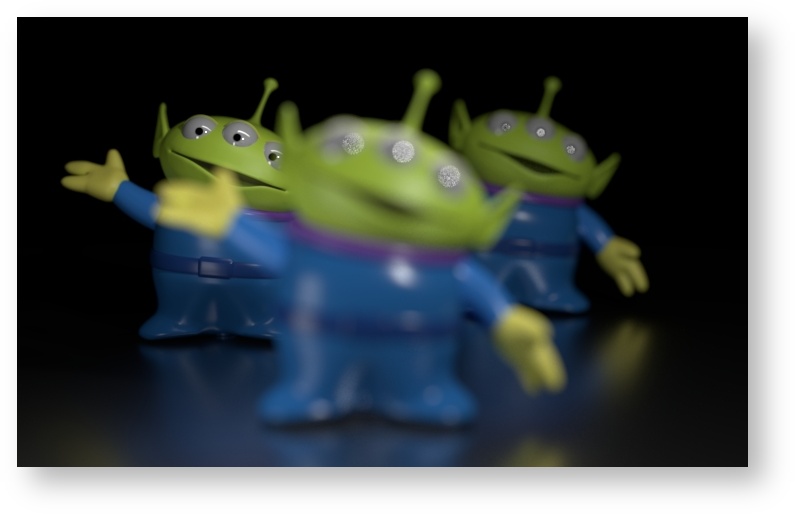
RenderMan provides controls for realistic and compelling images with depth of field. There are also options that are non-physical but great for creating art-directed imagery.
To begin using DOF in Maya you are required to enable it in the camera attributes. Since this is per-camera you should be careful you have it enabled on the render camera.

- Depth of Field: On or Off
- Focus Distance: The distance to the object or location you want in-focus (sharp) measured in scene grid units. This is referred to as the Focal Plane.
- F-Stop: Like a real camera lens, this setting controls the strength of the effect. Lower values increase blur while higher values decrease blur.
- Focus Region Scale: This non-physical control allows the user to increase or decrease the size around the location defined in Focus Distance. This is helpful to create incredibly thin slices of focus artificially.
Setting up your focal plane in Maya
Using Maya you have a few options to drive your focal plane, or the area you want to be in focus.
The simplest is to use the Object Details selection in Maya to display the selected object's distance from the camera. This can be found under the following menu: Display > Heads Up Display > Object Details


Above you can see that the selected geometry is 63.974 units from the camera. Using this value as the Focus Distance will assure this location is in focus and sharp. Maya's Viewport 2.0 will also provide you with a reasonable preview of your choice seen below.
While the above method is simple and useful, many times you find that your shot has an animated or tracked camera. This means as it changes location your desired focal plane can move off your target location.
A somewhat more common solution in Maya is to use the Distance Tool as a Focus Puller for the camera. One end of the tool becomes a child of the camera while the other can be animated or constrained to another animated object. Your resulting distance result is then connected to the render camera Focus Distance attribute to drive your dynamic focal plane. You can now freely move your camera around without worry it will lose your desired focal point!


Congratulations! You're now ready to render in RenderMan! Let's go over some extra features and performance settings used in RenderMan to get you exactly what you want!
The next sections will cover controls like Bokeh in Maya shapes and advanced features like Tilt-Shift in Maya effects.