Contents
"it" scripting is based on the Python scripting language (see http://python.org). Python is an easy to use language for typing one line commands as well as being a popular programming language for scripts and larger programs. It also comes with a large library of modules. Familiarity with Python is assumed throughout this document.
"it" Console
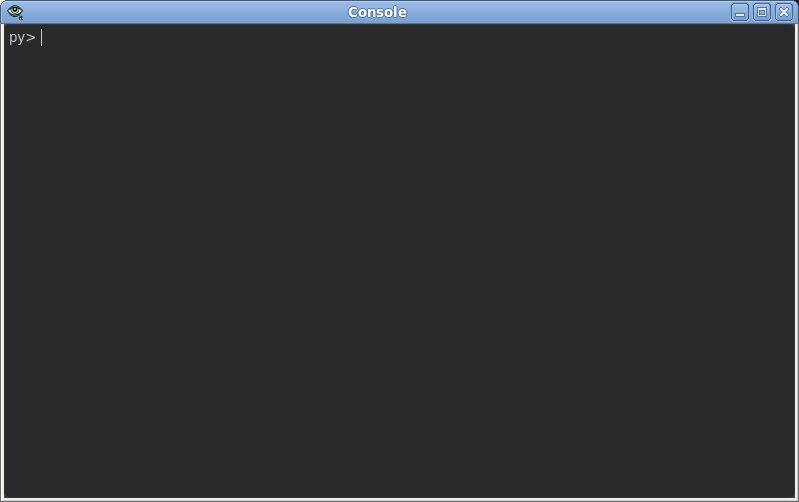
The best place to start learning "it" scripting is through the Console window. To start the Console window, go to Window->Console; this should bring up a window similar to the image below:
"it" and the IceMan Image Computing Environment
There are two main parts to the scripting environment; the IceMan imaging commands and the "it" application objects. These parts are separated into two python modules (it and ice) and preloaded into the python interpreter.
IceMan
Please refer to the "it" - IceMan documentation page.
"it" Application
Access to the "it" application functions is through the it python module. This gives the script writer access to the Catalog and Image Element objects (covered in detail later) that organize the images presented in the UI. This means, for example, that operations such as typing in notes into the Inspector panel for an image that a user can perform in the UI can also be performed from a script calling a method on the appropriate ImageElement object.
Secondly inside the it module the objects that make up the Qt framework (see http://qt-project.org) are available. Principally the QApplication object appears as it.app an so users can write extensions to "it" that interact directly with the event loop, widgets, menus etc of Qt. Qt is a very large, sophisticated framework but as we'll see later very little effort is needed to add simple command dialogs to "it".
The last category of things in the it module are functions that perform common operations with both images and "it". For instance some useful operations for creating and manipulating images can be found in the sub-module it.util. These can be thought of as macros that just perform a sequence of common steps which are convenient both when interactively type commands to "it" and while writing new extensions. For example it.util.Ramp is a method for generating ramp images providing a easy-to-use wrapper to the ice.RampIceMan operator. It is encouraged to both use the python builtin help() function, by typing help(it.util.Ramp) in the Console window for general use, and also reading the source code of the factory supplied extensions (in $RMSTREE/lib/.../it/util.py) if you want to learn how to add your own extensions.
Extensions to "it" can come in a few different forms. Python extensions can be just be functions called from the interactive Console window as with a normal interactive python interpreter. Extensions may also register themselves with the "it" application to be included on the Commands menu and interact with the user by constructing UI's using all of Qt4's powerful widget set and interacting with both existing "it" UI and its application scripting API. There are also special "event" handlers that are executed when the renderer opens and closes images.
Simple Examples
Loading an Image
In the Console window, to navigate to a directory full of images type:
it.os.chdir('/path/to/images')
Open the image by typing the following command in the Console window:
it.AddImage( ice.Load('image.tif') )
it.AddImage() returns an It3ImageElement instance, which can be saved to a variable for later use.
If you look at the "it" window title or Inspector window, the image will appear with an e0 label. You can specify a label by passing in a second parameter to it.AddImage after the file name, e.g.
it.AddImage( ice.Load('image.tif'), label='_it1' )
Playing with Images
Let's say you have two images and you want to find the differences between them.
First, load two images, and assign the ice.Image instances to variables img1 and img2:
img1 = ice.Load('image1.tif')
img2 = ice.Load('image2.tif')
Unlike the previous example we don't call it.AddImage so while the images are loaded into "it" they aren't displayed. Go ahead and call it.AddImage with the images if you want to view them. To compute the difference, from the console type:
diff = img2.Subtract(img1)
Subtract() returns an ice.Image instance. You can then call it.AddImage() to add the resultant image to the catalog:
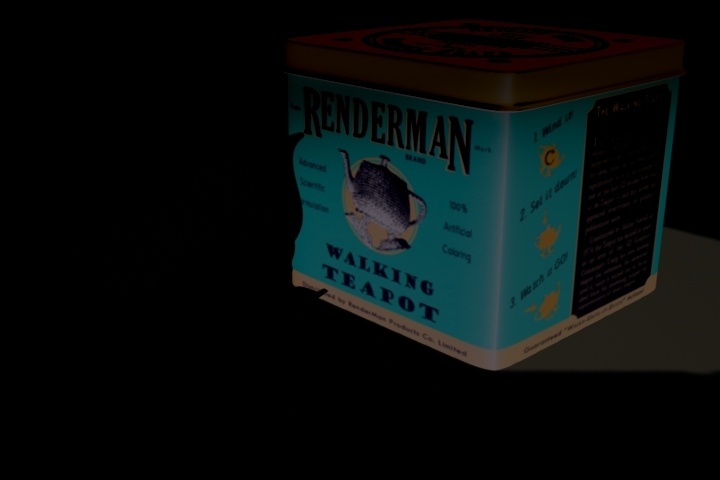
diff = img2.Subtract(img1)
it.AddImage(diff)
You should see something similar to the image below:
Let's say that the differences were really small, and you can't quite see them, so you want to multiply them by some factor. This is where using the "up" arrow becomes useful. Press that precious little button and then edit the previous command to read:
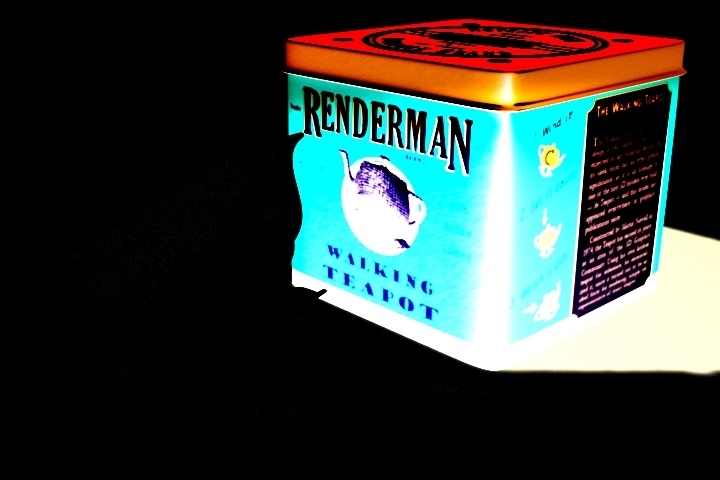
diff = img2.Subtract(img1).Multiply(ice.Card(ice.constants.FLOAT, [10]))
Again, call it.AddImage() to add the new diff image to the catalog and view it, and you should see something similar to:
You might be wondering what ice.Card(...) did above. The short answer is it made a special kind of ice.Image called a Card which is conceptually infinite in size and has the same value at every pixel. In this case the value of the pixels in the created card is 10.0. This is necessary as the Multiply method requires an ice.Image instance as input.
Advanced Example
Once you've run through the basics, you're ready to delve a little deeper into scripting "it". In this section we'll go over the steps to make a script that will create a Web page out of a catalog, including making thumbnails and images notes. This will demonstrate the two major objects available in the scripting environment; the Catalog and the Image. For this tutorial, we'll need a directory full of images to play with.
Loading an Extension
First, let's set up a new extension script file. This is a file that will get sourced into "it"'s brain each time "it" starts.
"it" uses initialization files (.ini) that can be customized by the user. We strongly recommend that you do not edit the .ini files in the installation; instead, create supplemental .ini files and place them in a directory that you can point at with the $RMS_SCRIPT_PATHS environment variable. In this case, if you don't already have one, create an it.ini file and add the following line:
LoadExtension python Web.py
Previous versions of "it" would require a full pathname to the file Web.py which you can still specify. However LoadExtension will look for the file Web.py relative to the it.ini file being processed so it is much simpler just to put that file in the same directory.
Next, let's verify that the extension is getting loaded properly. Create the aforementioned Web.py file and put the following in it:
it.app.Notice("Web Page Extension")
Make sure you have saved both files (the .ini and .py) and then launch "it". Once "it" is open, go to the Message Log window ( Window > Message Log...). Change the Message Filter to its most verbose setting, which is "Debug". You will see all the files that were loaded as "it" started, ending with our new one: Web.py. You can also see that Web.py produced something of its own: the message "Web Page Extension".
Getting Your Script On
Now lets make our script actually make a small Web page. The important tasks this script is performing are:
- Getting the current catalog
- Getting a list of all the images in that catalog
- For every image we find out its name
Here's what our simple Web page script looks like:
import it
import ice

def makeWebPage(filename):
    f = open(filename, 'w')

    f.write('<html>\n')
    f.write('<ul>\n')

    cat = it.app.GetCurrentCatalog()

    for i in range (0, cat.GetChildCount()):
        child = cat.GetChild(i)
        name = it.os.path.basename( child.GetFilename() )
        f.write('<li>%s</li>\n' % (name) )

    f.write('</ul>\n')
    f.write('</html>\n')

    f.close()
To run this, first load a few images in "it". Open the "it" console and run the script with the following command:
it.extensions.makeWebPage('/tmp/index.html')
You can use the Save Session... and Restore Session... functions here to help you get a catalog set up quickly.
Web Bling
What say we trick out our little Web page? Let's make a dazzling four column table with thumbnail images of the contents. This will demonstrate how to perform some basic image processing, including resizing the images in our catalog and saving the thumbnails to disk.
To create the thumbnail images we use the handy Reformat operator. Reformat can change and/or resize an image in many different ways, depending on how you want to crop or squeeze your images into the new shape. For the Web page we want to create uniform-sized images that are letterboxed if they are not the right shape. In Reformat terminology that means "preserve aspect ratio and don't crop".
As it happens, "it" images can be annotated. Go to Window > Inspector and to the right of the image window, you should a large text box for you to add notes. When you save a session the notes get saved along with it. Before you run the example, add notes to a few of the images in your catalog to see how that will come out.
When you run the script this time you'll see that a directory called thumbs is created alongside the html file, and in the small jpeg versions of the images are saved therein. You'll also see in the "it" Catalog window that the Catalog now has a new image for each thumbnail that was made. You can delete them if you like.
Here's the updated script:
import it
import ice

it.app.Info('Defining Web Page Extension')

def makeWebPage2 (filename):
    f = open(filename, 'w')

    topDir = it.os.path.dirname(filename)
    thumbDir = topDir + '/thumbs'

    if it.os.path.lexists(thumbDir) is False:
        it.os.mkdir(thumbDir)

    f.write('<html>\n')
    f.write('<table cellspacing="10" align="center>\n')

    cat = it.app.GetCurrentCatalog()

    col = 0

    for i in range(0, cat.GetChildCount()):
        child = cat.GetChild(i)

        if col == 0:
            f.write('<tr>\n')

        f.write('<td valign="top">\n')

        name = it.os.path.basename( child.GetFilename() )
        h = it.os.path.basename( child.GetLabel() )
        thumbFile = thumbDir + '/' + h + '.jpg'

        thumbIceImage = child.GetImage()
        reformat = thumbIceImage.Reformat([0,200,0,200], True, False)
        reformat.Save( thumbFile, ice.constants.FMT_JPEG)

        f.write('<img src="thumbs/%s.jpg" alt="%s">\n' % (h, name))
        f.write('<br><b>%s</b>' % (name))

        notes = child.GetNotes()
        if notes != '':
            f.write('<small><pre>\n%s</pre></small>\n' % (notes))

        f.write('</td>\n')

        col = col + 1
        if col >= 4:
            f.write('</tr>\n')
            col = 0

    if col != 0:
        f.write('</tr>\n')

    f.write('</table>\n')
    f.write('</html>\n')

    f.close()
Replace the original script with the script above, save the file, and execute as you did before. This time you'll get a slightly nicer looking page with thumbnails, notes, and labels.
Here is some more information about developing scripts