Defining group memberships allows RenderMan to associate different objects and lights for special effects. For example, you can group a light with objects to prevent them from casting shadows from that specific light or even avoid reflecting something for artistic purposes. You can achieve some of these effects in post compositing using Light Path Expressions (LPE), but you can achieve some of these effects globally and during the render. In doing so, your LPE will conform to these choices globally.
Trace sets are valuable for tweaking images artistically. Many images you see have been altered for the public. Blemishes get removed, distracting patterns get painted out, and even bad highlights and composition gets "fixed" based on art direction. When rendering these same rules apply. You may have had an art director tell you to remove a distracting shadow from off screen or erase a reflection from something too bright or obscuring. In some cases this is simple, but other times you need to remove the offending effect from just a single object or maybe a collection. Trace Sets are where you go to make this happen!
To open the trace sets editor in Blender, go to the scene properties ![]() and click the Trace Sets Editor button.
and click the Trace Sets Editor button.

You can also open it from the object context menu in the viewport.

When you first open the editor, it should be empty like this:

To add a new trace set, click the + button on the right. A default name for the trace set will be automatically used. Clicking on the - button will remove the selected trace set.
Next, select the objects you want to add to the current trace set from drop down menu. You can also do a filter search, by clicking on the filter funnel button on the left.
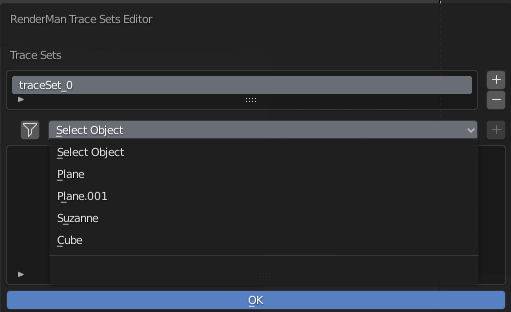
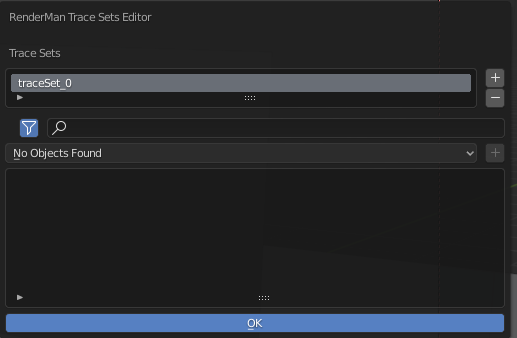
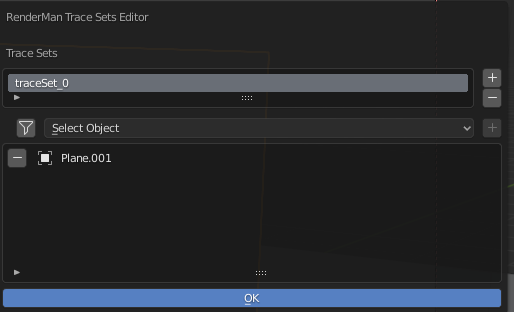
The added object will be placed in the list on the bottom. Clicking on the - button next to the name of the object will remove the object from the current selected trace set.
To demonstrate the use of the trace sets editor, here's a render from a simple scene.
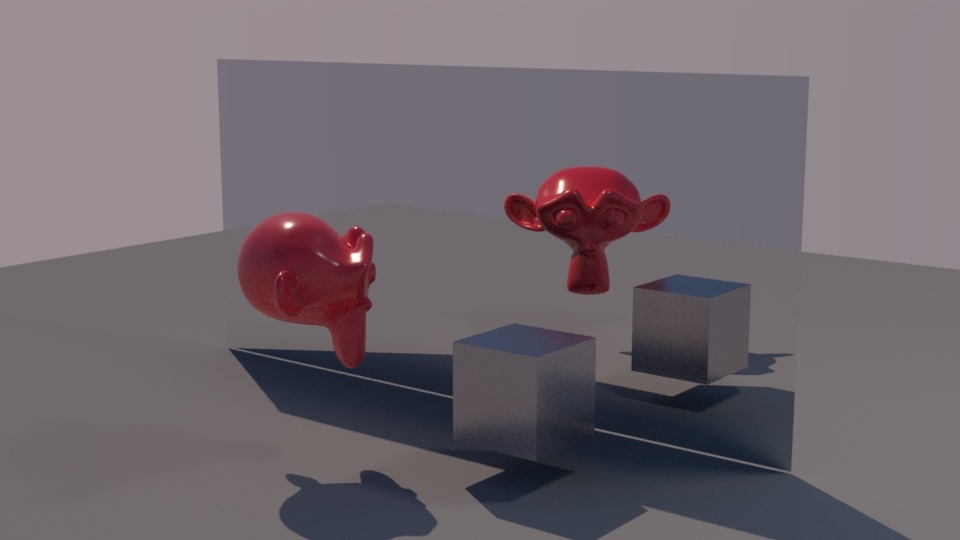
For this scene, let's add the monkey head to a trace set called "vampire", and the cube to a set called "no_shadow".
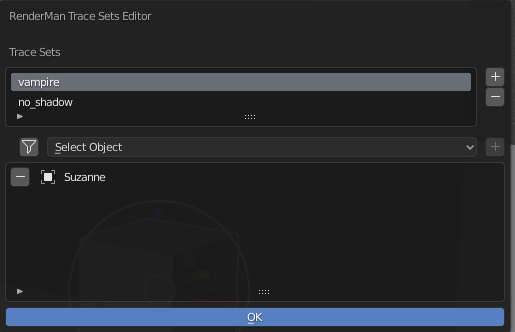
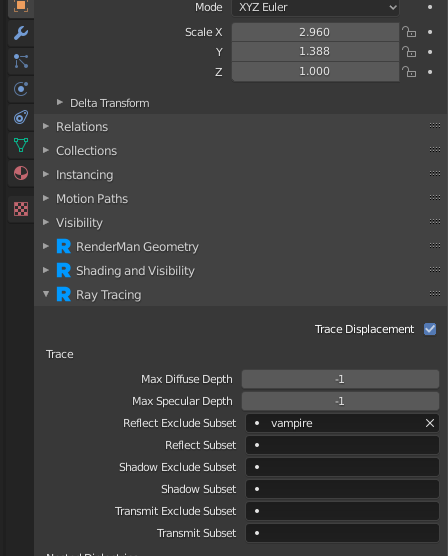
Now, on the mirror object, go to the object properties ![]() , and look under the Ray Tracing panel. Add the "vampire" trace set to the Reflect Exclude Subset.
, and look under the Ray Tracing panel. Add the "vampire" trace set to the Reflect Exclude Subset.
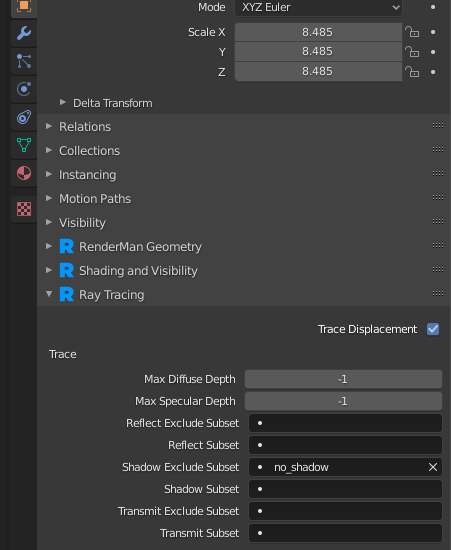
On the ground plane, add the "no_shadow" subset to the Shadow Exclude Subset.
If we now render the scene, this should be the result:
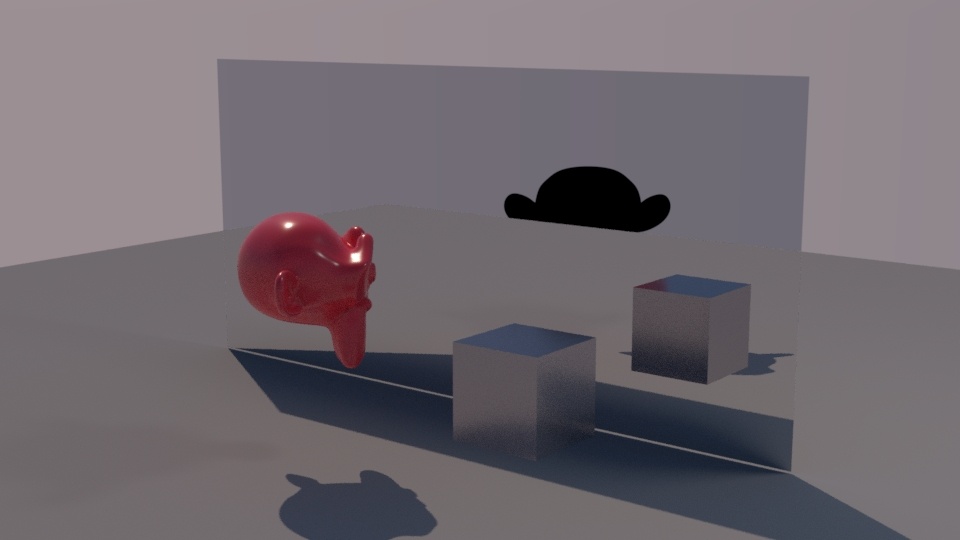
Things to notice: