Contents
The PxrOSL Pattern node is a useful way to create and prototype OSL patterns from inside Maya. It's excellent for playing around with options and controls.
We only support OSL patterns (textures for shading) and not closures (materials).
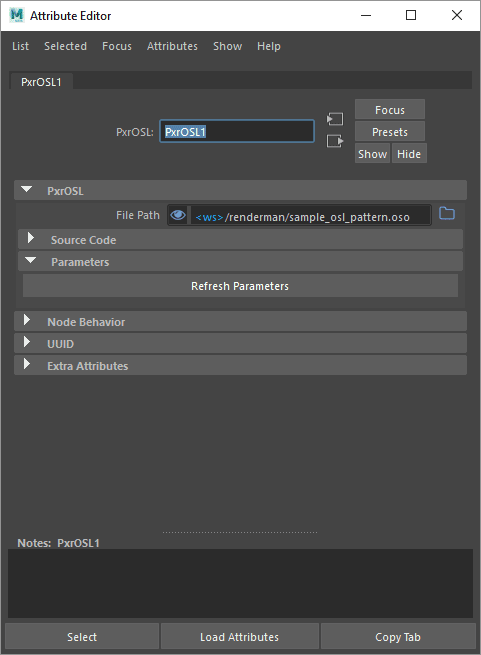
When you first open the node you'll see the representation above. If you expand the Source Code rollout you'll find a handy example built-in to the node.
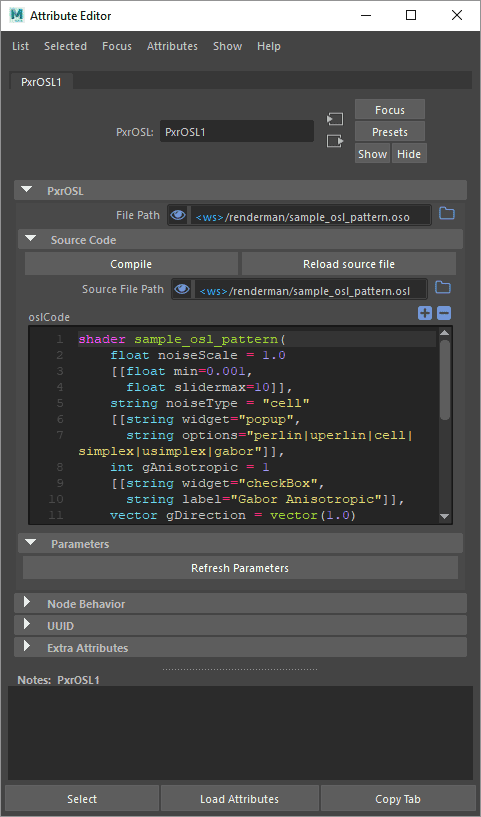
You can see the source path under Compile and Reload buttons.
The naming here is very important.
shader sample_osl_patternis defined in the OSL Code.- The name defined in the OSL Code must match the name of the .osl Source File Path
- The file path must be populated manually and must also match the name of the OSL Code with the compiled .oso extension
If you fail to have the correct names you will get a warning and bad behavior.
Compile - Compile the current code to a .oso file for rendering
- When you select this option it will ask if you want to overwrite your file or save as an edit copy, the edit copy has an appended .edit in the name
- The .oso compiled file is required for rendering
Reload Source File - External edits to the file can be loaded from the saved/updated .osl file
The plus and minus icons are to expand and shrink the editor area.
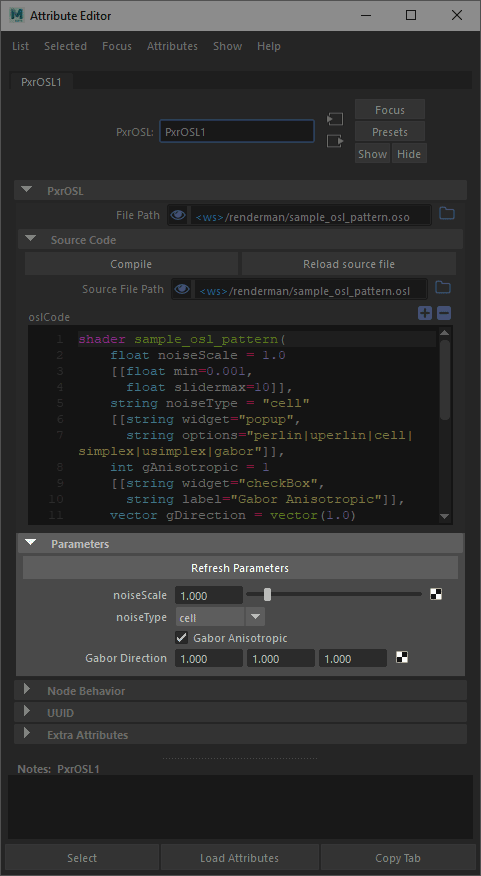
The Parameters rollout will populate given a correct .oso file.
Using Custom OSL Patterns
To begin, take a look at the page on Installing Custom Nodes.
Define the RFM_SHOW_PATH environment variable to point to your own custom configuration directory.
Create a config directory in that new location and save a custom rfm.json file (you can copy the original one to make changes). Here's a simple version:
{
    "$schema": "./rfmSchema.json",
    "resources": {
        "user": {
            "nodes": {
                "search_paths": ["/Users/Artist/Shading/OSL_pkg/shader/myshow"]
            }
        }
    }
}
You should have the following structure:
RFM_SHOW_PATH
   |_ config
      |_ rfm.json
Now add some metadata to your OSL shaders (below we use a simple example):
//
// AddFloat_1
//
shader AddFloat_1
[[
    string category = "math",
    string help = "Adds two float inputs",
    int rfm_nodeid = 1553001,
    string rfm_classification = "rendernode/RenderMan/pattern/Studio/math"
]]
(
    float input_A = .0,
    float input_B = .0,
    output float resultF = .0 [[ string widget="null" ]],
)
{
    resultF = input_A + input_B;
}
Here are the parts of the Help data:
- category - we classify this as a "math" node category
- help - Useful data for the user, a description basically.
- rfm_nodeid - is a unique ID for the node, Autodesk typically assigns these in a block. This is required to prevent clashes.
- rfm_classification - is the classification for the UI/Viewport that 'shader' objects must use under 'rendernode/RenderMan/pattern/' to be handled