Contents
Fur and hair rendering/shading with RenderMan for Blender can be done in the usual way when rendering hair in Blender. The main RenderMan material used for hair is PxrMarschnerHair.
Creating a Hair System
To create a hair system, select the mesh object you want to add hair, and click on the particle properties![]() . Add a new particle system and select Hair.
. Add a new particle system and select Hair.

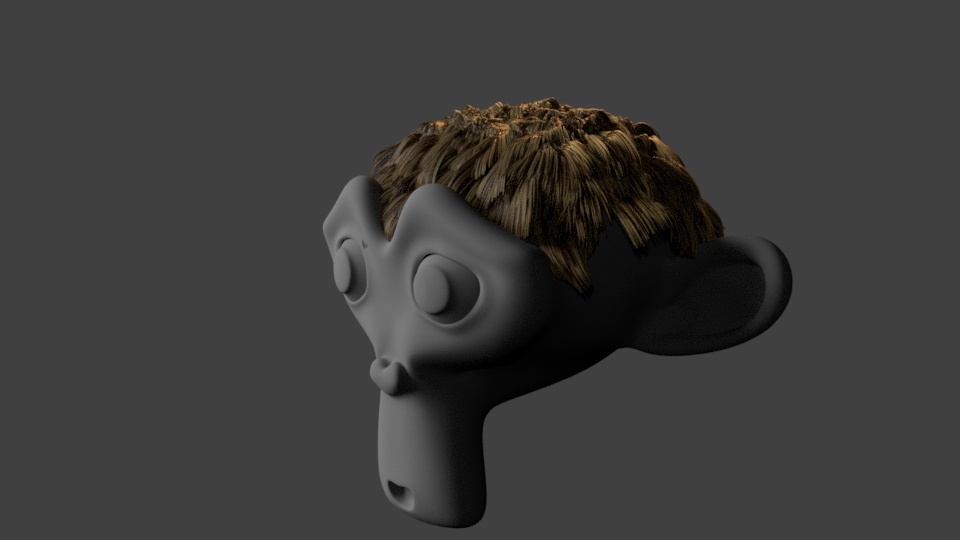
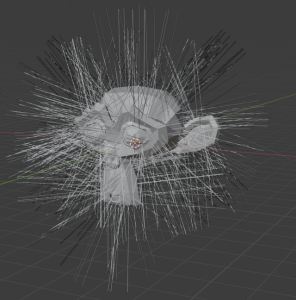
Your object should look something like this in the viewport.
Shading Hair
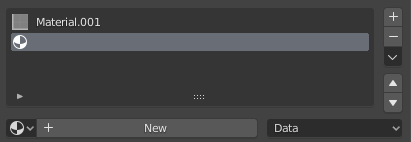
As mentioned earlier, we will use the PxrMarschnerHair material to shade our hair. To do that, click on the material properties for your mesh ![]() . In the material list, click the + button to add a new material slot, then click New.
. In the material list, click the + button to add a new material slot, then click New.
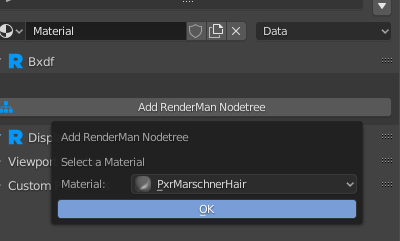
Click Add RenderMan Nodetree and then select PxrMarschnerHair from the dropdown menu.
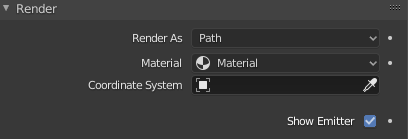
Back in the particle properties ![]() , go under the Render section and change Material to the new PxrMarschnerHair material we added.
, go under the Render section and change Material to the new PxrMarschnerHair material we added.
Artistic Control
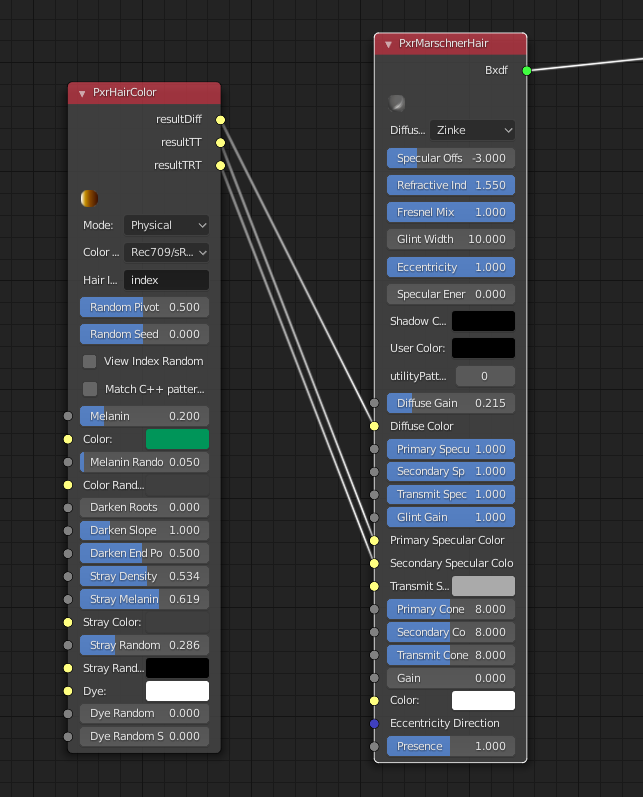
The PxrMarschnerHair material should enough to render realistic hair. However, the parameters can be a little too technical. For more artist friendly controls, the PxrHairColor pattern node can be used in addition to PxrMarschnerHair. There are three outputs from PxrHairColor that need to be connected to PxrMarschnerHair. It's best to use the Shader Editor ![]() to do the connections. The image below shows how they should be connected.
to do the connections. The image below shows how they should be connected.
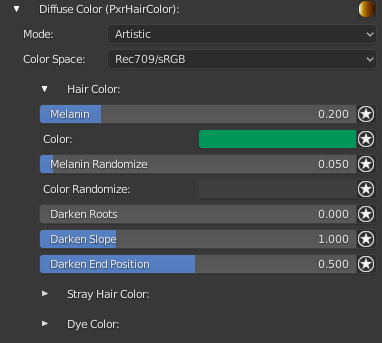
Changing Mode to Artistic will give you more artistic friendly control to help with hair shading.
Hair ID Primvar
PxrHairColor includes controls for adding randomness to the color. This is controlled by an ID primitive variable. In RenderMan for Blender, we add an "index" primitive variable for each strand of hair. This "index" primitive variable can be used as the source for the ID primvar.