Contents
RenderMan for Blender includes two different denoisers, one that is suitable for interactive work, and the other is meant for final renders.
Interactive Rendering
For interactive renders (viewport renders, IPR to "it"), RenderMan uses Nvidia's AI Denoising solution.
Nvidia's AI denoising is not available for macOS.
For more information about using the Nvidia denoiser in "it", refer to the "AI Denoise" section in Image Tool.
For viewport renders, you can turn on the denoiser by going to the viewport preferences and putting in a check next to Use Optix Denoiser.
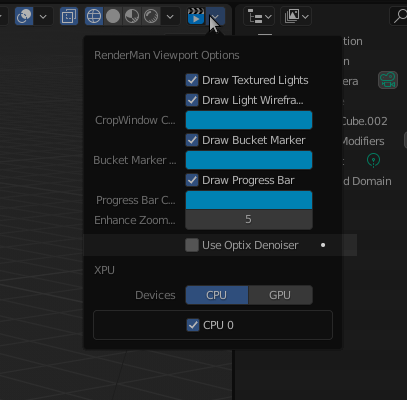
If you then start a viewport render, it should immediately start to denoise.
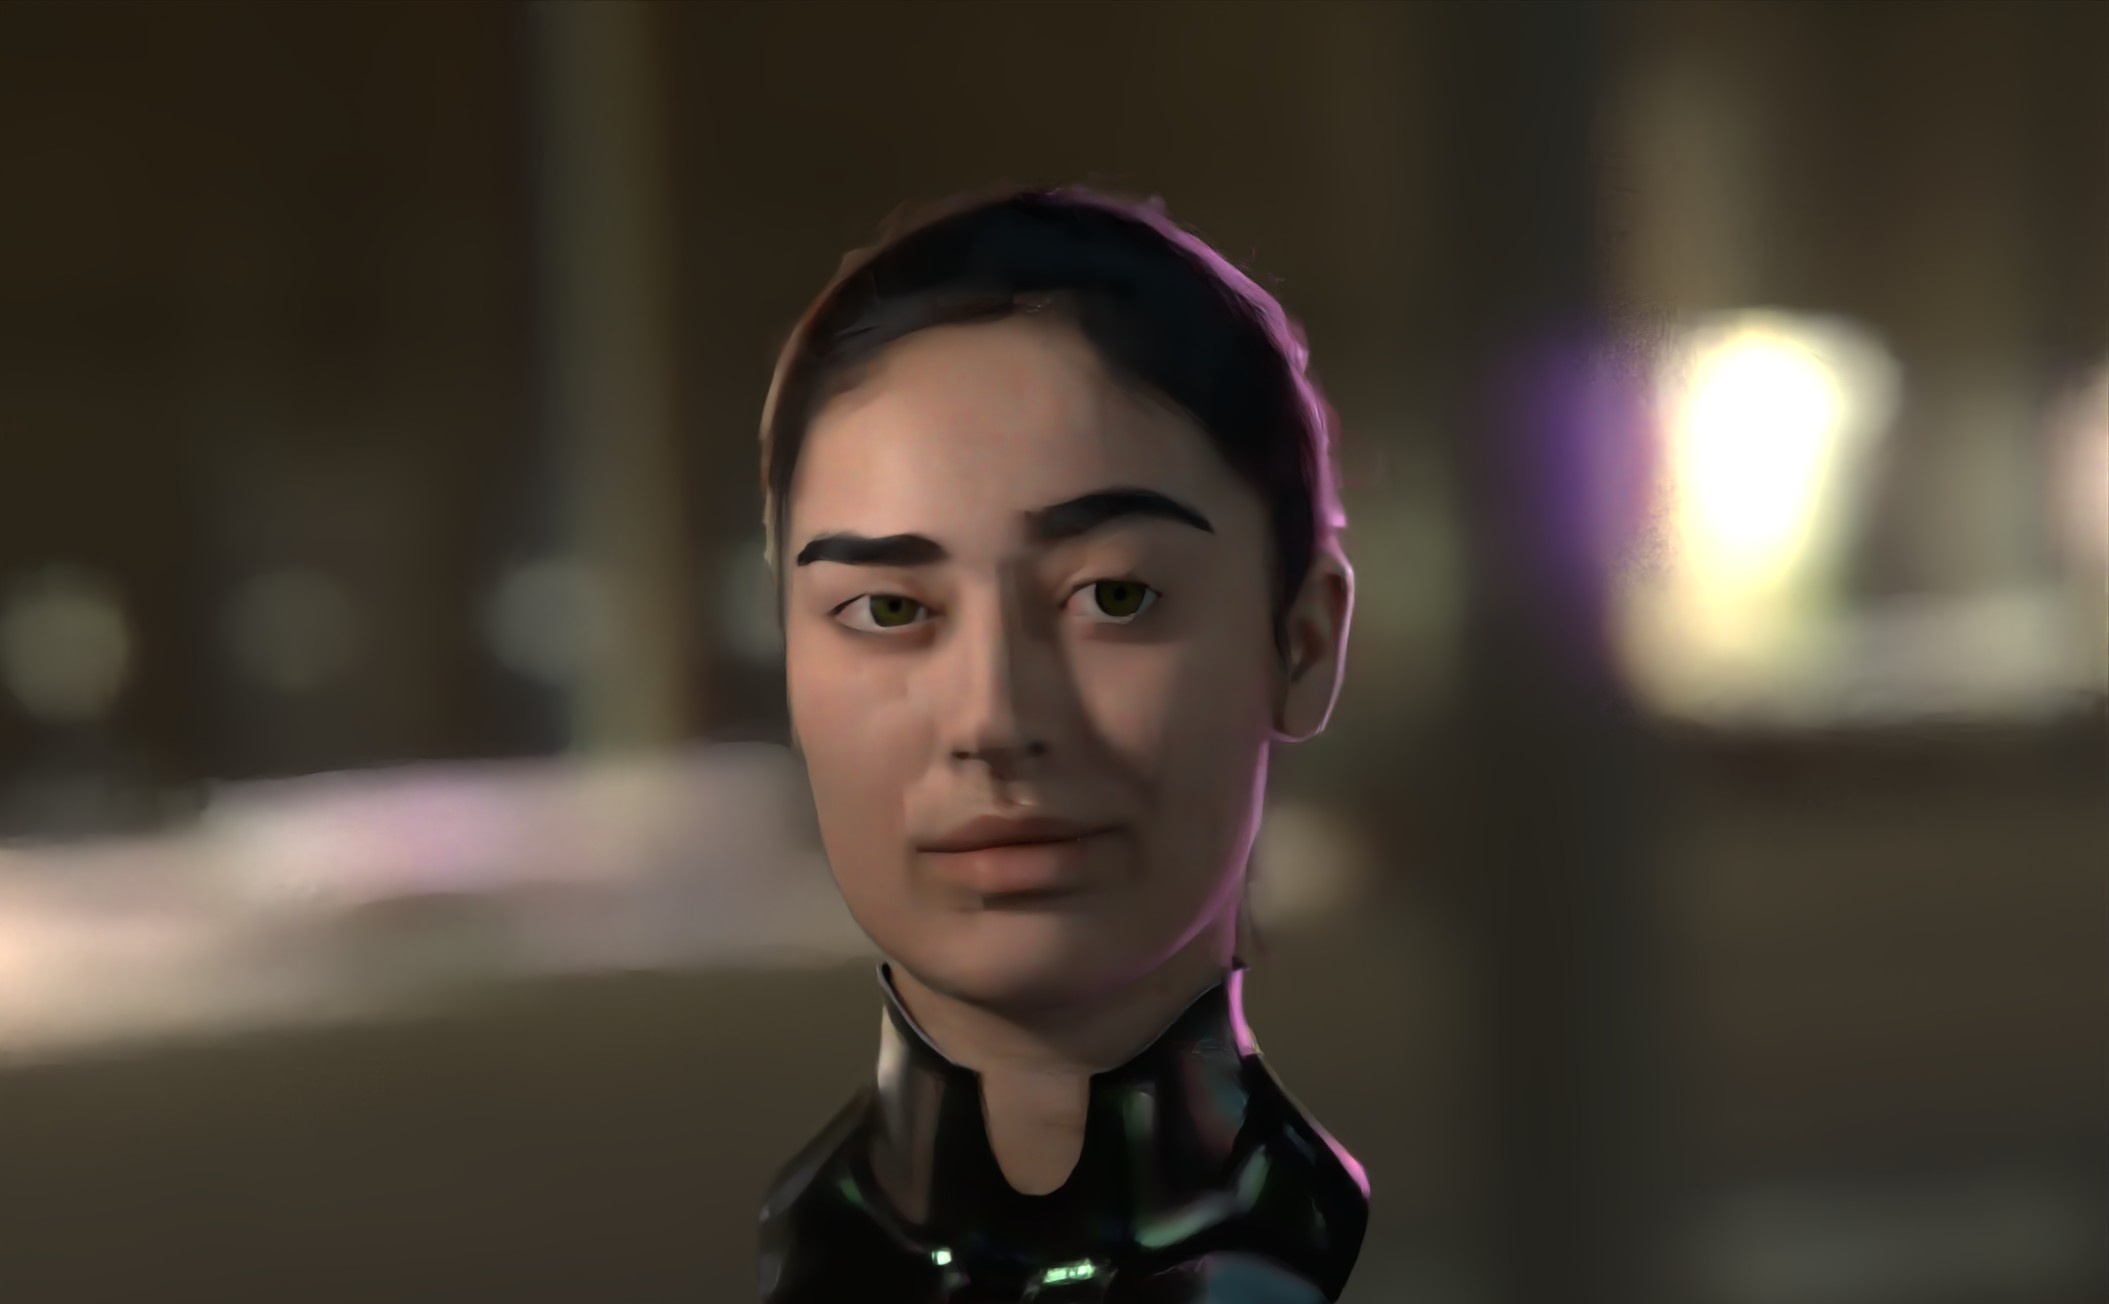
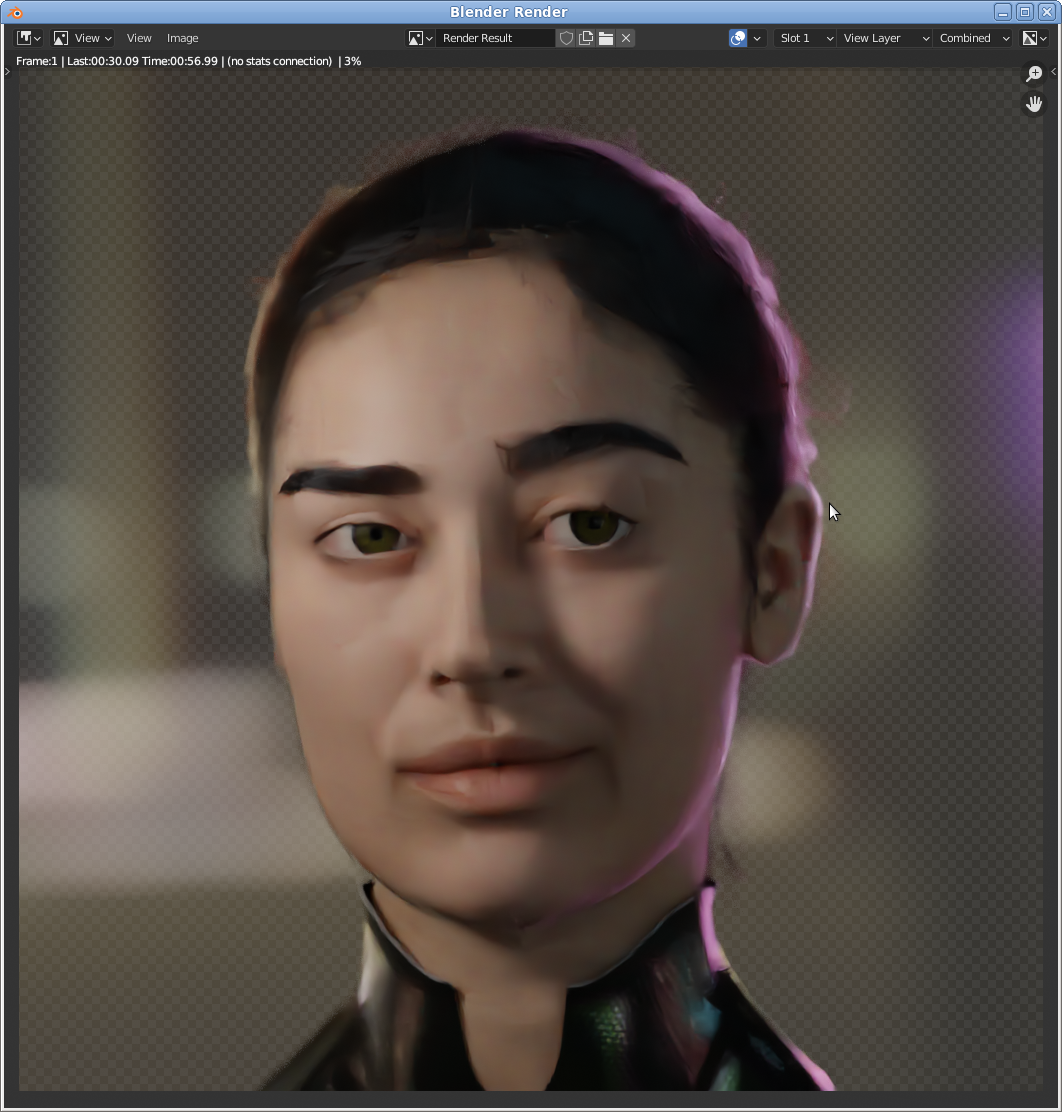
For preview renders (i.e.: hitting F12 or Render→Render Image), and you're rendering to the the Blender render window, you can also turn on the Nvidia denoiser by clicking on Use Optix Denoiser in the Render Properties tab.
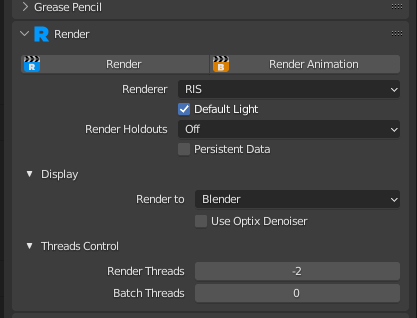
You should immediately see the denoised results in the render window.
Batch Rendering
For final renders, RenderMan uses the AI Denoiser from Disney Research (see Denoiser). To denoise your final renders in RenderMan for Blender, follow these simple steps, and for more detailed information on using AOVs in Blender, here is the link!
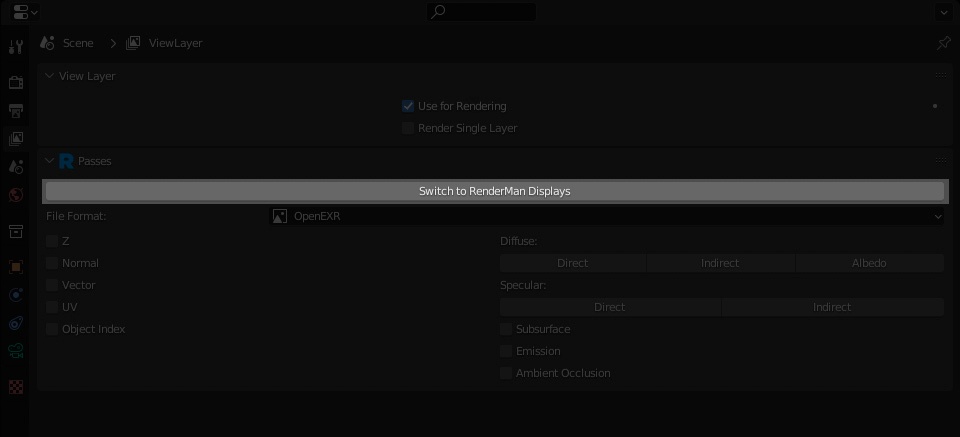
Go to the View Layer Properties and click Switch to RenderMan Displays
2. In the RenderMan Display, select your beauty AOV and turn on Denoise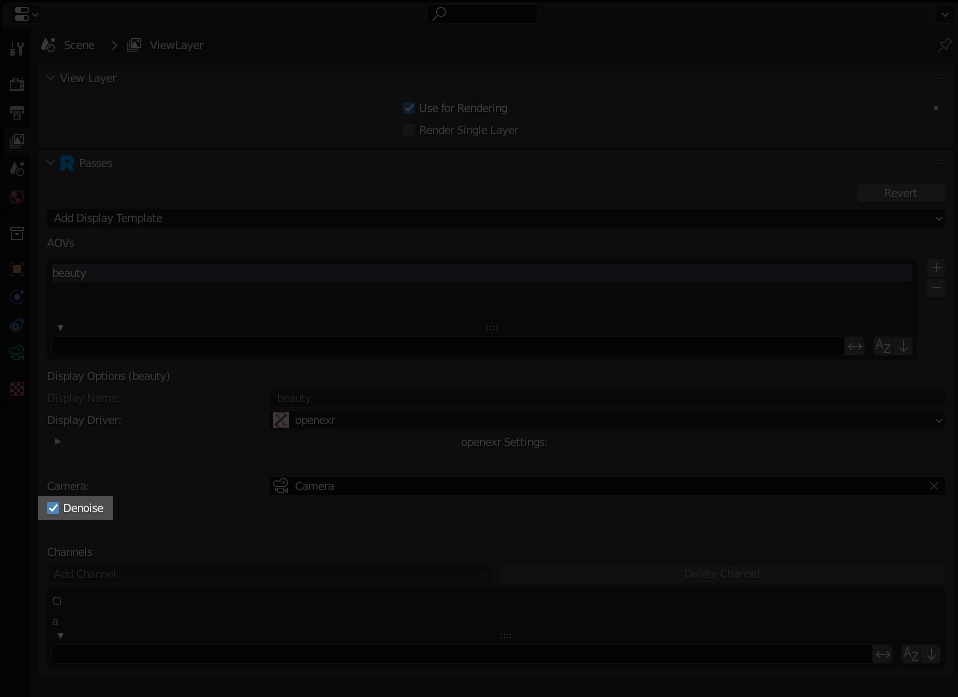
3. Set any denoiser parameters and you're all good to go!
Note : if you are rendering using Blender Batch, then you will need to turn off Use Blender Compositor.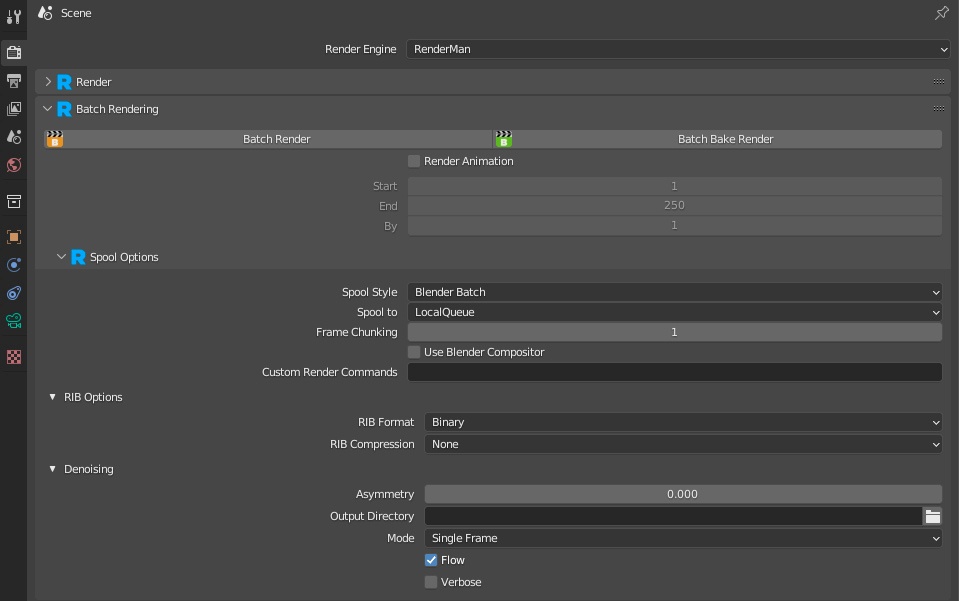

Pixel Variance = 0.26
Max Samples = 64