Contents
RenderMan for Maya provides its own shelf with shortcuts for many of the most basic and useful features of the plugin.

Rendering
| Button | Menu | Description |
|---|---|---|
| 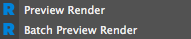 | Start a preview render. |
|
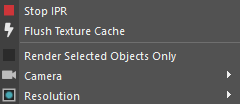
| Start interactive preview rendering. Choose the camera to render from. Also render only selected objects (this selection also applies to preview rendering) |
| Open the Image Tool, 'It' | |
| Open the Localqueue render manager |


Lighting
| Button | Menu | Description |
|---|---|---|
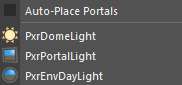
| 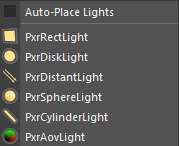 | Create a new light. Auto-place lights allows lights to be created at the selected object in the viewport instead of the origin. |
|
| |
| Make the selected geometry into a mesh light. | |
|
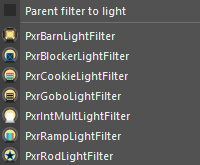
| Create a light filter and attach it to selected lights |


Shading
| Button | Menu | Description |
|---|---|---|
|
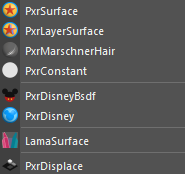
| Create a surface and attach it to the selected geometry |
| 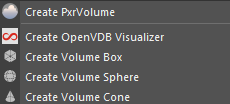 | Create a PxrVolume or an OpenVDB Visualizer. |
| 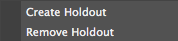 | Create a holdout from the selected geometry |
|
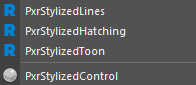
| Stylized Looks |


Archive / Texture / Statistics
| Button | Menu | Description |
|---|---|---|
|
| Create a RenderMan Archive |
| Open the Dynamic Shader Binding editor | |
| Open the Texture Manager | |
| Open the Preset Browser | |
| Live Statistics | |
| View statistics for the last render |


Plugin / Help
| Button | Menu | Description |
|---|---|---|
| Load the RenderMan for Maya plug-in | |
| Open the RenderMan documentation in a web browser |

