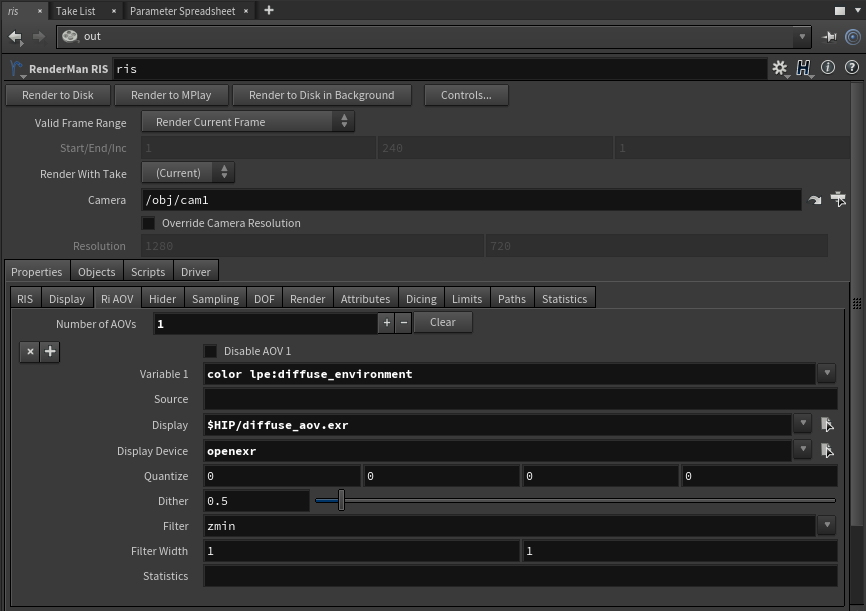
...
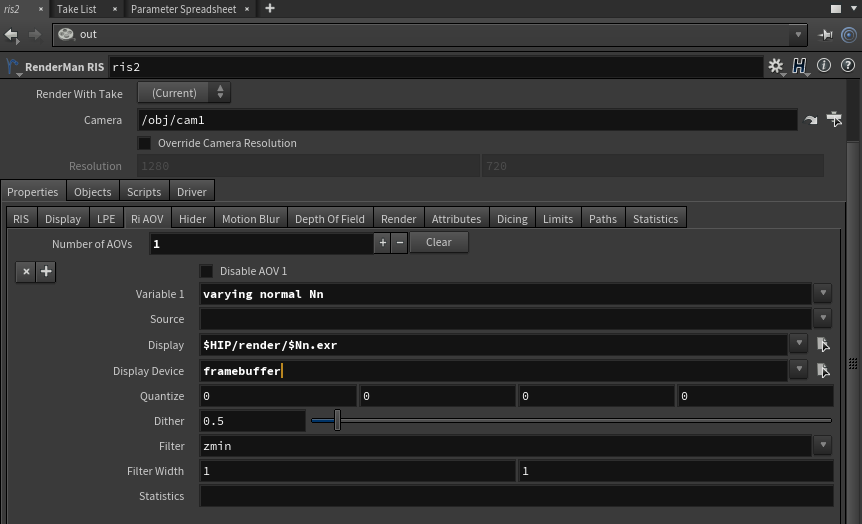
- Variable - Specify the name and type of the AOV, e.g. varying normal Nn.
- Source - Set the source string for the LPE. If using a built-in LPE (see below), you can leave this field empty; otherwise, you must provide the appropriate LPE expression, e.g. color lpe:C<RD>[<L.>O].
- Display - Set this to framebuffer or a specify a filename.
- Display Device - Specify the type of output. If you want to see your AOVs interactively, you would set it to houdini (for Render View) or framebuffer (for 'it').
- Quantize - Set the quantitze for your output file. For openexr, keep the default 0 0 0 0.
- Dither - This is unnecessary for floating point outputs such as an EXR.
- Filter - For color AOVs, the recommended filter is Gaussian. Data AOVs should be unfiltered.
- Filter Width - As above, when using color AOVs, a filter width of 2 2 using Gaussian matches the default render settings.
- Statistics - This field is only used if you are specifying AOVs manually for Denoising.
How to set up AOV
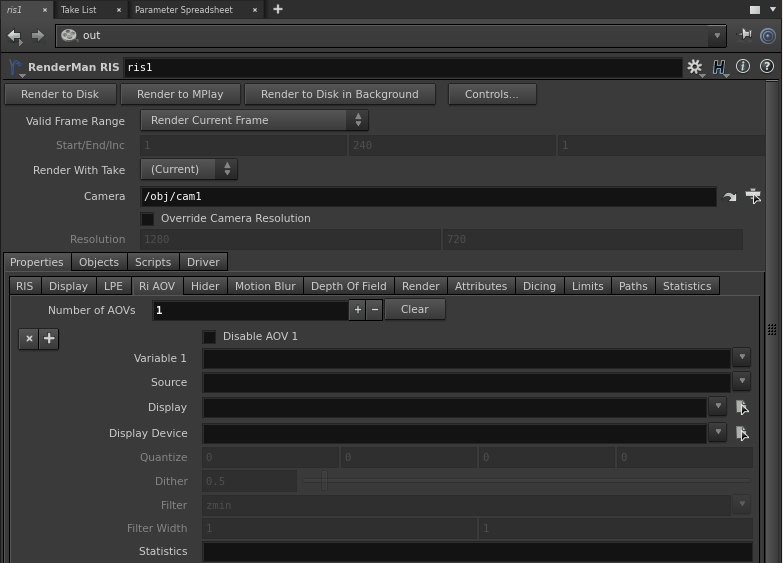
In the RenderMan RIS ROP, go to Properties | Ri AOV tab, "Number of AOVs" is a dynamic array of AOVs. Click on the + icon to create an AOV.
Built-in LPE
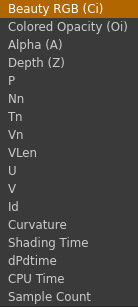
Instead of specifying a variable, you can click on the down arrow icon to the right of Variable to get a list of built-in LPEs. When you select an item from the list, it will automatically populate the Variable field, e.g. varying color Ci.
Built-in Source String
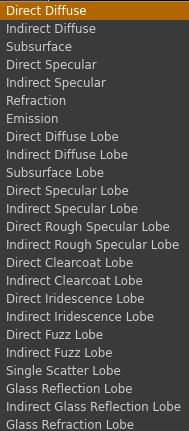
This built-in source string is a convenient list to work with user LPEs that is needed for outputting AOVs for PxrSurface's Per-Lobe LPEs.
select one of the following
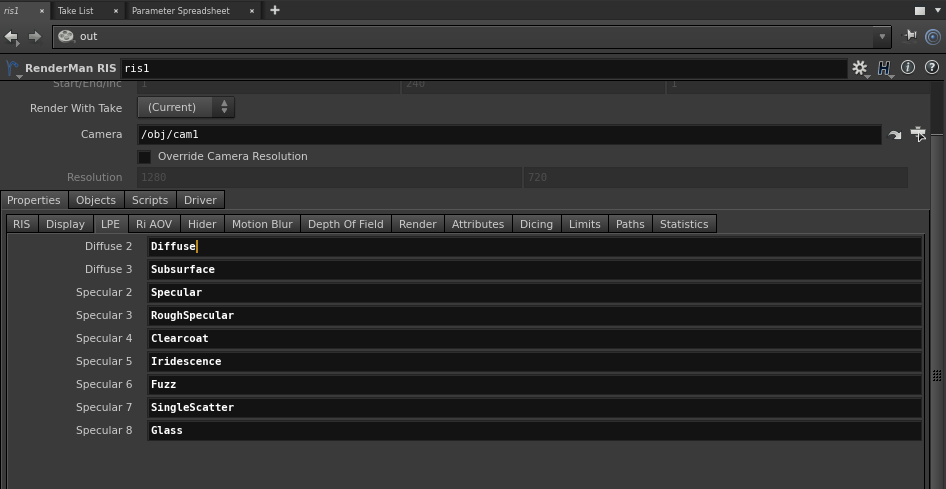
PxrSurface's AOV
Some Bxdfs such as PxrSurface require user LPE setup.
How to View AOV Interactively
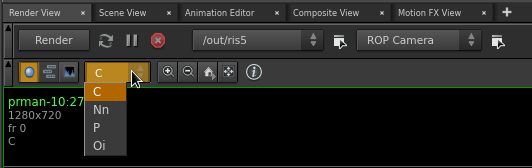
Using 'it'
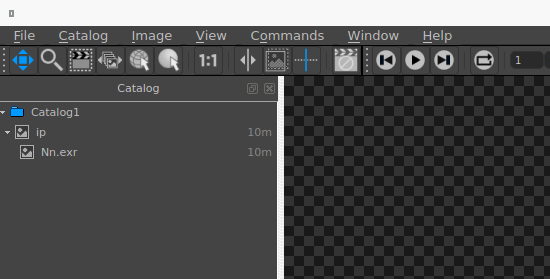
To view your AOVs interactively in 'it':
- Set your Display to either a file or framebuffer. If it is empty, 'it' won't display the AOVs.
- Then set Display Driver to framebuffer. Setting it to houdini won't work.
It 'it', expand the down arrow key to see a list of your AOVs. Simply click on the AOV (e.g. Nn.exr in this example) to view it.
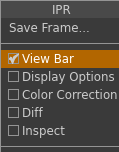
Using Render View
To view your AOVs interactively in Render View, set your Display Device to houdini:
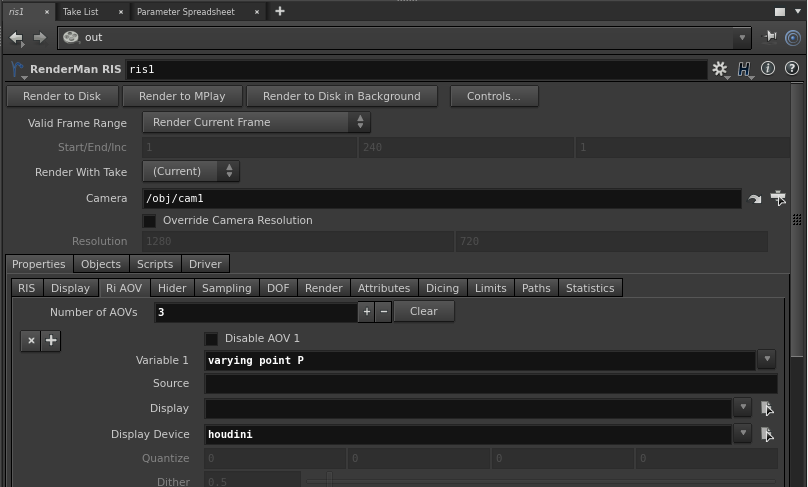
Turn on View Bar in your Render View.
You will see a list of your AOVs like the below example:
How to Write AOV to Disk
To output your AOVs to disk, specify the file path and set your Display Device to the file format you want to output to, e.g. openexr.
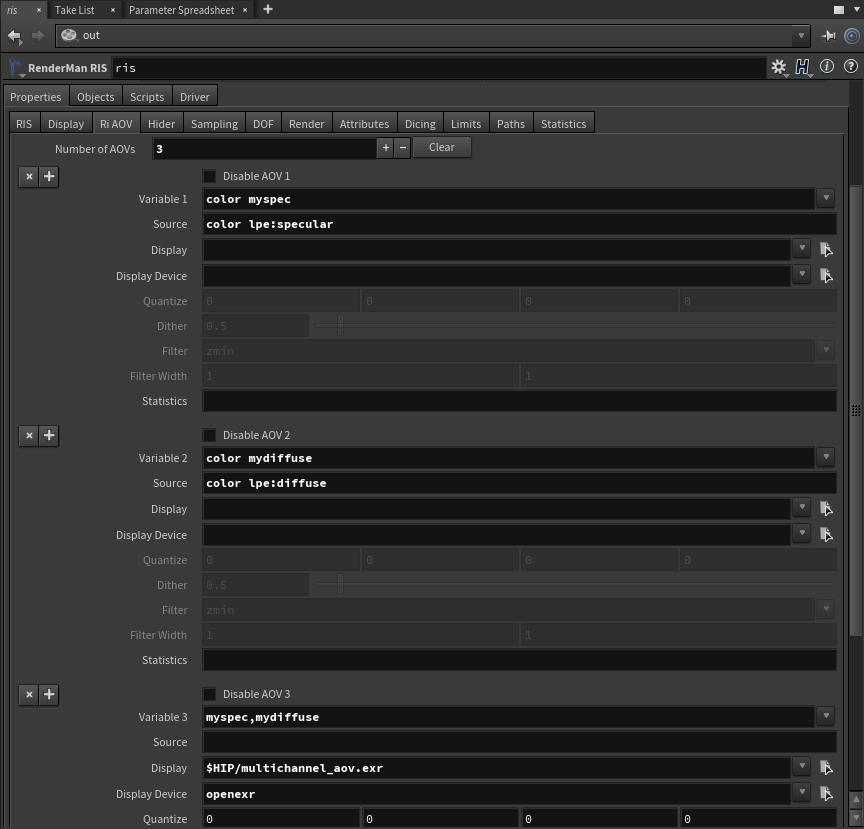
How to Write AOVs into A Multichannel EXR
To output your AOVs into a single EXR (multichannel EXR), you can reference the display channel names with comas. In the example below, we have two display channels: mydiffuse and myspecular. When you leave Display and Display Device blank, RfH will just emit the DisplayChannel. Then you can use those channels to output one multichannel EXR for the AOVs.