Contents
PRMan has the ability to resume interrupted renders. How this works depends on the mode that it's running in. Non-incremental renders to TIFF and OpenEXR images can always be recovered. Incremental renders to OpenEXR images can also be recovered, but only if the checkpointing option was used.
Checkpointing can be found in the rendermanrendersettings node under Rendering → Render → Checkpoint Render
Checkpoint Exit at
This method works by placing a limit on the total render time (specified with the same notation as for periodic checkpoints). The render will proceed as normal unless it reaches the time limit, at which point it will finish its current increment, write the checkpoint image and then stop rendering the frame. If there are multiple frames to render then it will simply go on to the next at this point; each frame can have its own time limit.
You can use this parameter to set a time in hour / minutes / seconds for the renderer to exit.
Below is an example of the format required
- 60s - this is 60 seconds
- 60m - this is 60 minutes
- 60h - this is 60 hours
- 60d - this is 60 days
The image grid below demonstrates checkpointing at 1m, 2m, 5m, 10m
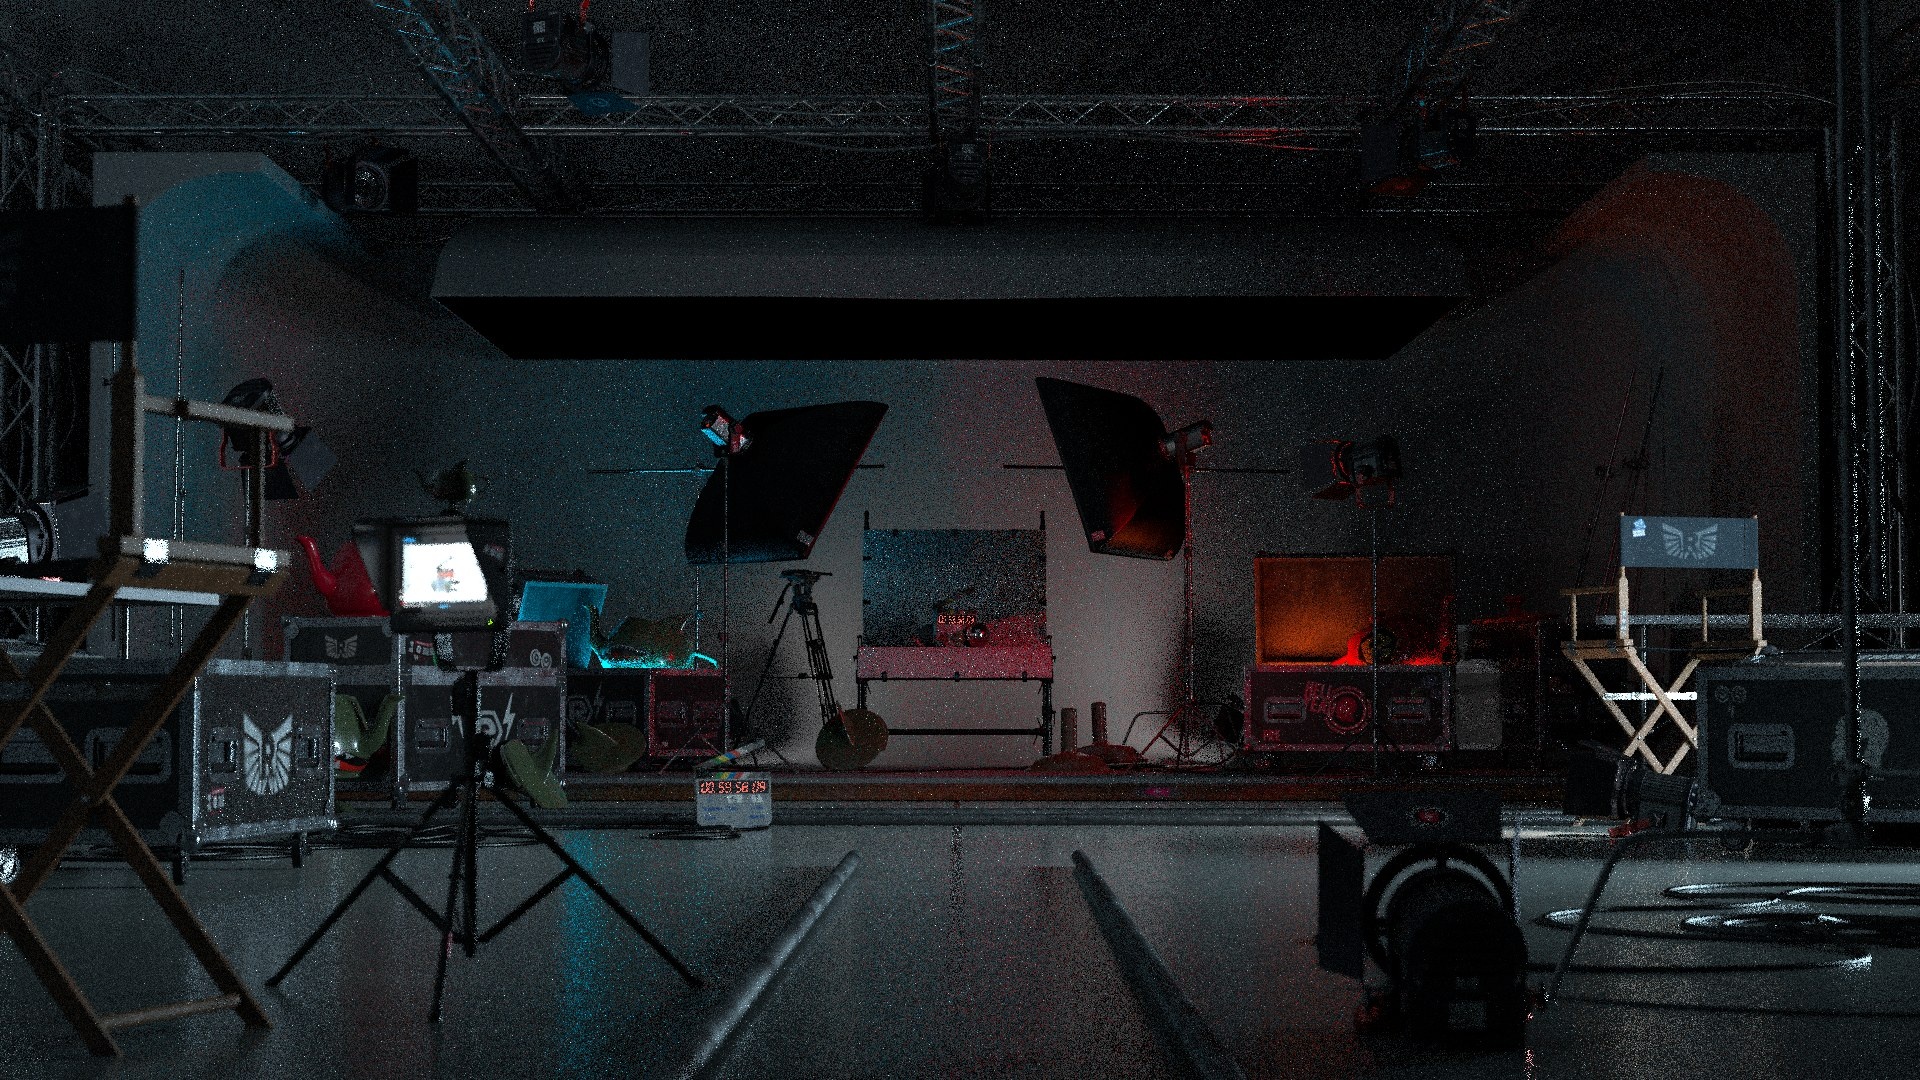
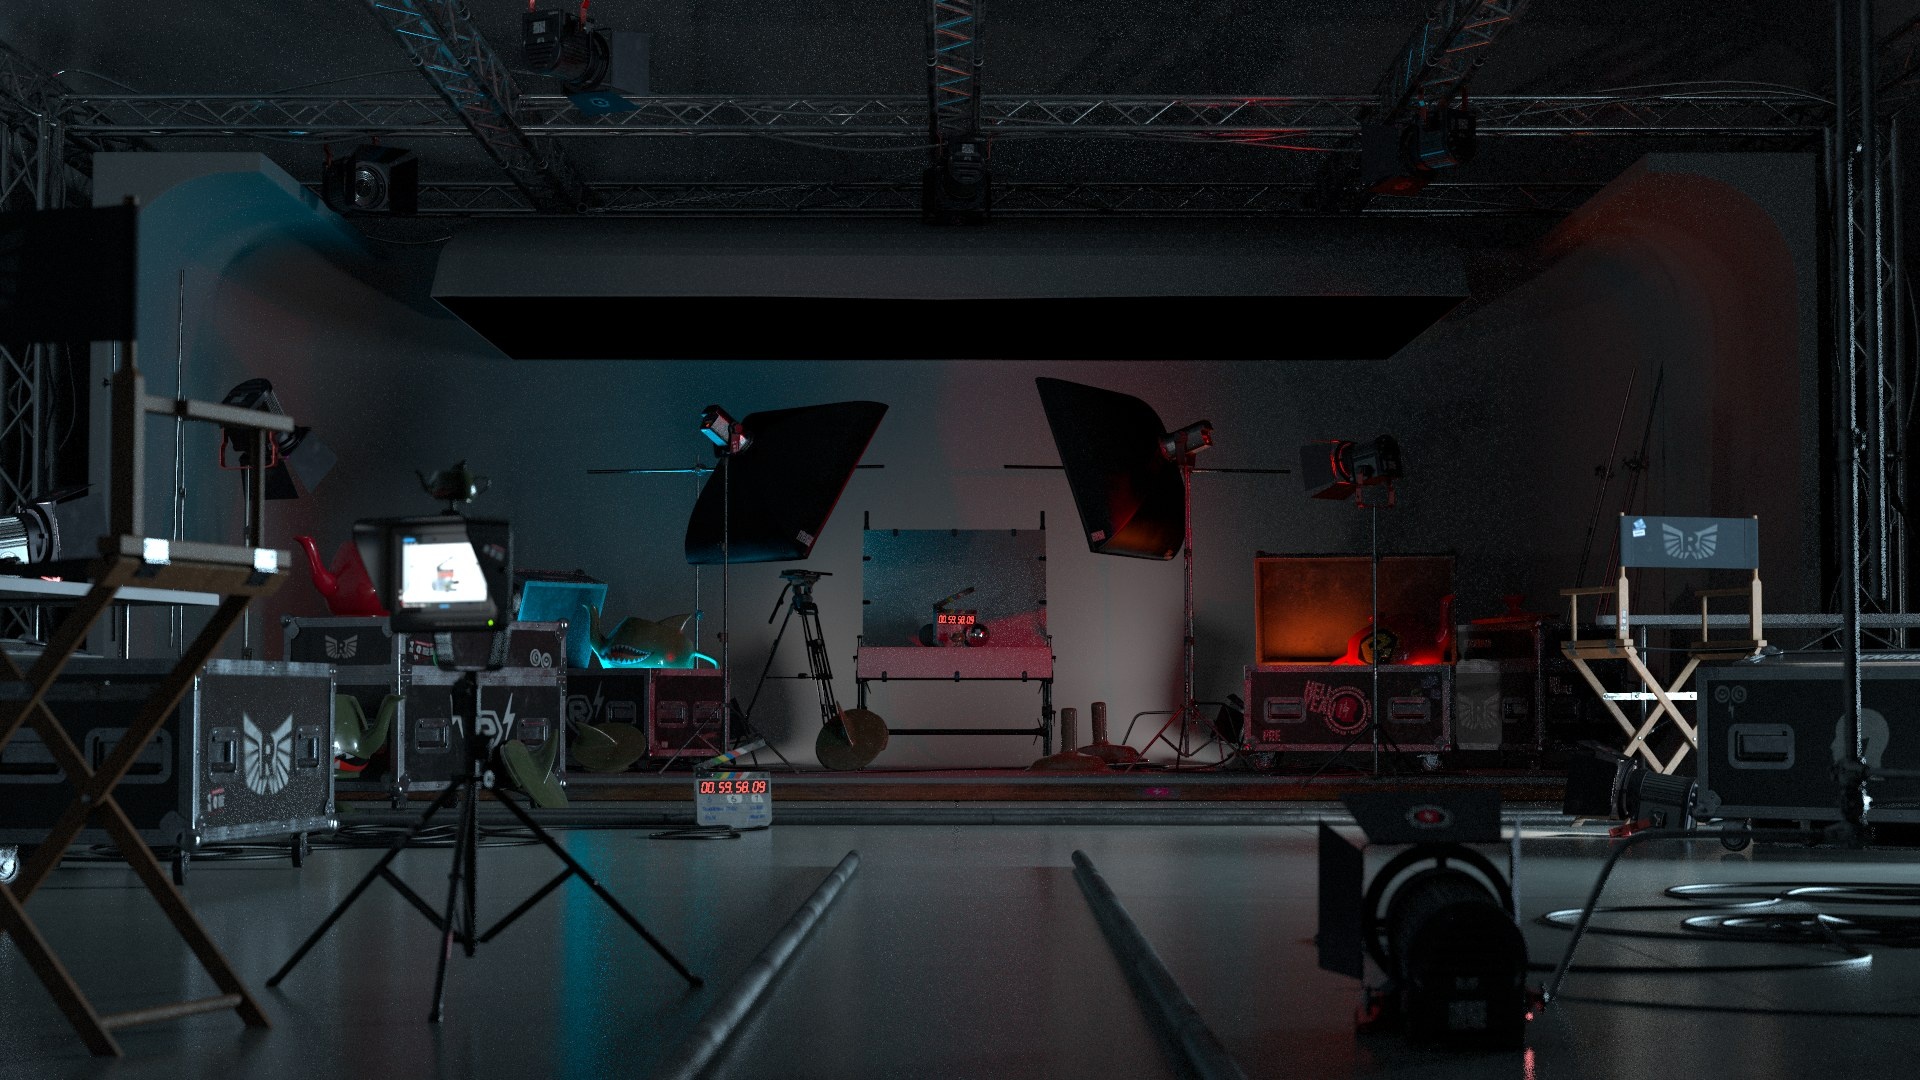
Checkpoint Interval
This is a periodic checkpoint. This can be specified with an interval measured either in a number of increments (i.e., passes over the image), or by the elapsed wall clock time. For example, you could ask the renderer to write checkpoints with an interval of 100i, meaning every 100 increments and it will update the images on disk with the state of the render on the 100th, 200th, 300th increment, and so forth.
Both methods for generating checkpoints can be used together. For example, it is possible to request a checkpoint be written every 100 increments until 15 minutes has elapsed. At that point, any periodic checkpoints that were written will simply be replaced with the final checkpoint when exiting.
Note that checkpointing is designed for batch rendering to images on disk. Renders to a live framebuffer such as "it" are already updated on-the-fly as the render proceeds. Of the built-in display drivers, currently, only the TIFF and OpenEXR display drivers support checkpointing. The "Output Type" on the RenderMan LOP must be set to OpenEXR or TIFF rather than "Raster" to cause RenderMan's display drivers to be used. Even though Husk can output OpenEXR or TIFF images in Raster mode, the RenderMan display drivers are not being used in that case, so checkpointing will not work. You may notice that the image files produced by RenderMan include a ~w labeled channel. This is data stored to resume a render from this file.
Recovery
Recovery of an interrupted render is automatic, as long checkpoint frames exist already.
RenderMan will then load the scene as normal but rather than start from scratch and overwrite the existing images it will examine them to determine where it was interrupted. If successful, it will continue from close to the point where it left off. If instead the images were finished, missing, or don't match the current scene or each other for some reason, it will silently start from scratch.
It is not necessary to recover a render on the same render machine that it began on. So long as a RenderMan process can still find the images specified by the scene file and they are in a consistent and recoverable state it can resume the render.
Recovery can also be paired with the checkpointing options described above. In the case of a time limit, this basically serves as an extension of the original time limit. Incremental renders can be broken into an arbitrary number of time slices this way. Note that each recovery requires the scene and all of its assets to be reloaded, however, so care should be taken with this. Additionally, this feature is only supported for OpenEXR files.