Contents
Loading an older scene? Take a look at the migration page to solve possible issues.
Load the Plug-in
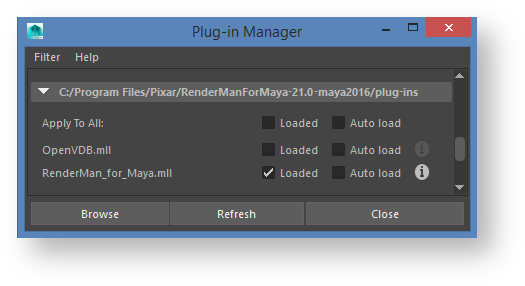
Open the Plug-in Manager in Maya, scroll down and find the RenderMan for Maya plug-in. If you can't find RenderMan for Maya listed, don't head for the browse button. See troubleshooting to figure out what may have gone wrong during installation.
Windows > Settings/Preferences > Plug-In Manager


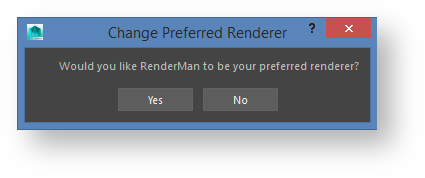
Preferred Renderer
Let's Render Something!
RenderMan for Maya requires RenderMan lights and materials. Most of Maya's texture nodes are supported, but Maya lights and materials are ignored.
Set Up Lights
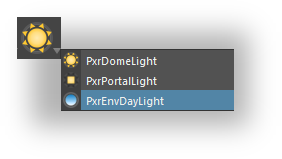
RenderMan lights can be created via the RenderMan Shelf, Hypershade, or the RenderMan Menu.
Go ahead and create a PxrEnvDayLight using the shelf button's popup menu.
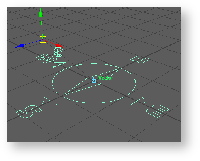
You'll see a new light manipulator in the scene:
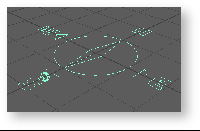
Hitting the 't' key while the manipulator is selected allows you to interactively position the sun. Other RenderMan lights show a center of interest manipulator when you hit 't'.
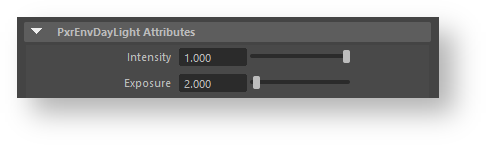
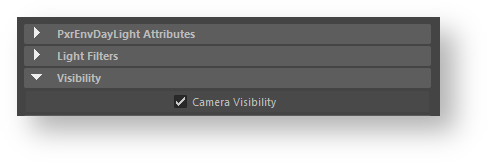
A couple commonly adjusted controls on RenderMan lights are exposure and visibility. Lights have a physical falloff. If a light seems dark in a scene, you may want to turn up the exposure from 0. Increasing by 1 doubles the energy emitted by the light source.
By default lights are not visible to the camera, so if you want to see the color of the day light in the back ground, it needs to be made visible to the camera.
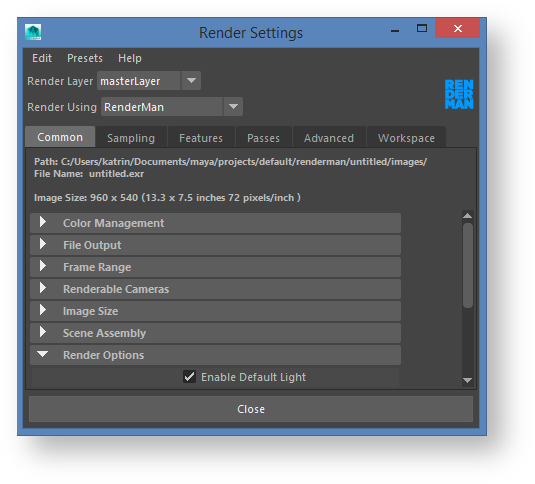
Even if you do not create any RenderMan lights or materials in your scene, the render will not be black, as long as Maya's default light setting is enabled in the Render Settings. Any Maya materials will render with the default RenderMan PxrDiffuse shader, which looks a lot like Maya's default lambert.
Create Geometry
Let's create a polygon sphere, from Maya's Polygons shelf.

Set Up Materials
The RenderMan shelf has a button which creates a PxrSurface or PxrLayerSurface and attaches to the current selection. Legacy materials, like PxrDisney are available through the RenderMan section in the Hypershade window.
Select the sphere in your scene and click the PxrSurface button.

Patterns
Attributes of PxrSurface can be connected to most Maya texture nodes or any of RenderMan's extensive set of pattern nodes.
Preset Browser
PxrSurface is the single material that you can go to for nearly all your shading needs. But that one we just created actually looks pretty dull. And the list of attributes looks a bit daunting. Where to start? RenderMan includes a library of preset material networks based on PxrSurface.
Let's check it out! Click this button in the RenderMan shelf to open the Preset Browser.

The first time you open the Preset Browser, a file dialog will open asking you to navigate to the location of a preset library. The one that ships with RenderMan is under the install.
eg. C:/Program Files/Pixar/RenderManProServer-22.0/lib/RenderManAssetLibrary
Either copy that directory to your own work area and point there, or go ahead and point the preset browser at the one in the install.
If you ever need to change this location, visit the Preset Browser section of the RenderMan Preferences.
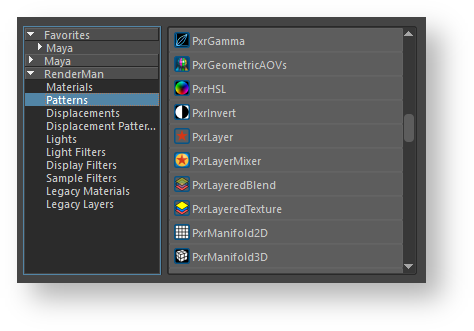
Here's how the Preset Browser will look once it finds the presets, and you click on one of the categories.

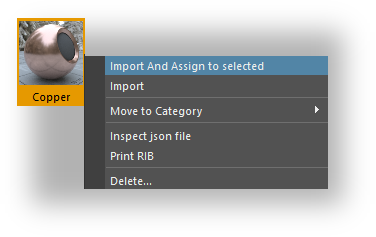
Right-click on a material to import and attach it to selected geometry.
Render!
The RenderMan shelf includes buttons for preview rendering and interactive preview rendering (IPR). Maya's buttons for these actions work as well.


IPR continues rendering until stopped, while changes to materials or lights appear in the render. Preview rendering continues until the image converges or is cancelled.
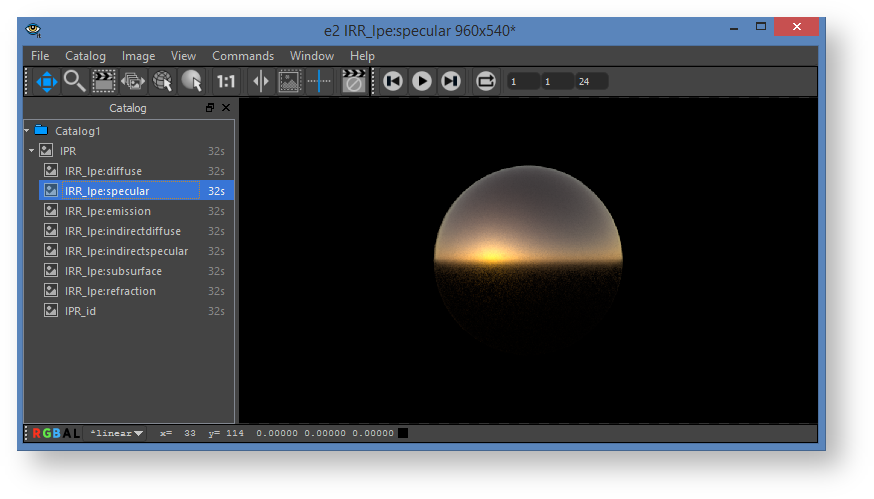
The first time you render, the Image Tool 'It' opens.
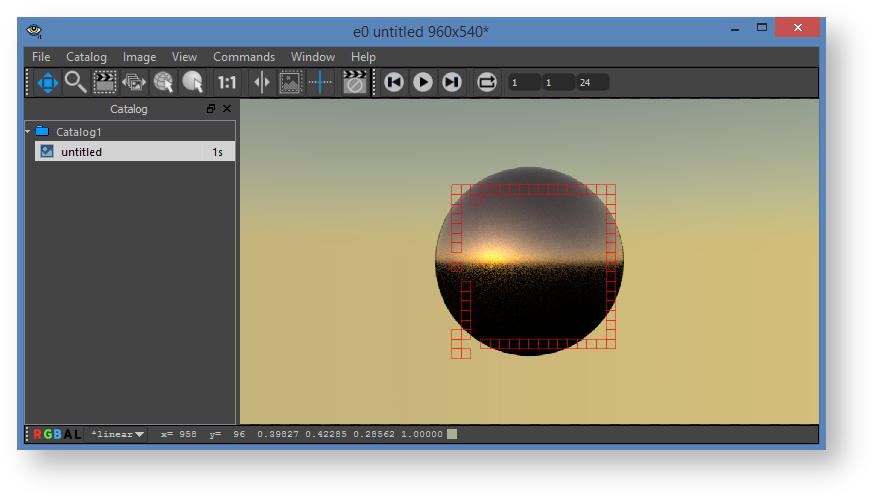
The Image Tool has a button which will cancel either preview or IPR renders.

You can also use the "escape" hot-key to easily cancel renders from the Image Tool window.
If you prefer to use Maya's Render View, visit the RenderMan Preferences.
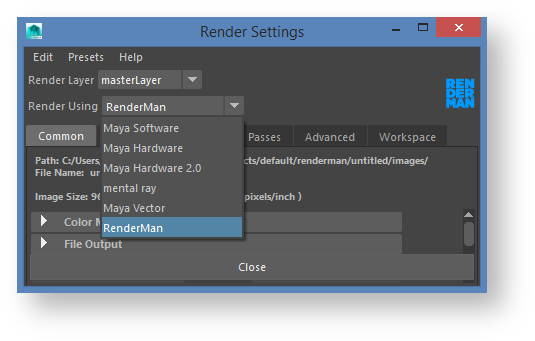
Render Settings
You'll get a reasonable render out of box without adjusting Render Settings. However, let's take a look a few of the interesting things that can be accessed in there.
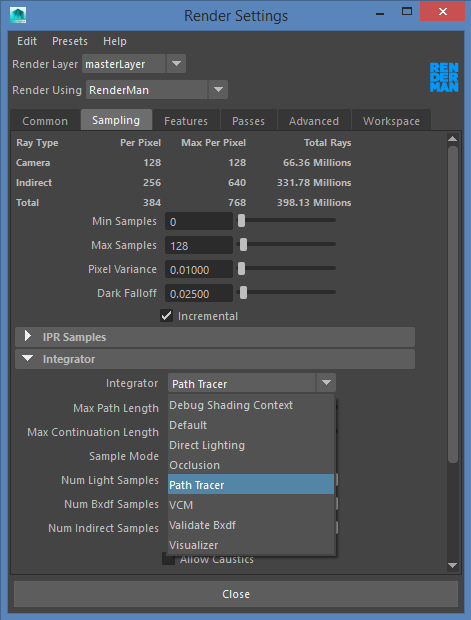
- The Path Tracer is the default integrator, but you can try out others, even while IPR is running.
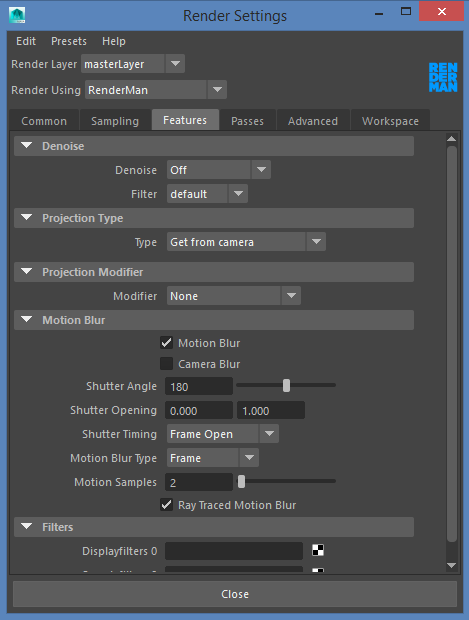
- Enable features like motion blur and denoise.
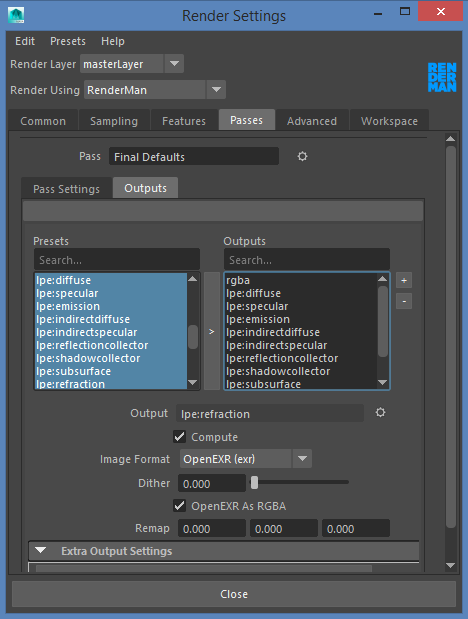
- Add extra Outputs to the render. These get written out at the same time as the main render, and can be viewed in the Image Tool